Best Way to Seal Wood for Painting: Expert Tips & Techniques
Sealing wood before painting is essential. It ensures durability and a smooth finish.
But what’s the best way to seal wood for painting? Sealing wood can make a huge difference. It prevents paint from soaking into the wood and keeps moisture out. This step can save you time and effort in the long run.
Without sealing, paint can chip and peel. This leads to more frequent touch-ups and repairs. Understanding the right sealing method will ensure your paint job lasts longer and looks more professional. Ready to learn the best techniques? Keep reading to discover how to properly seal wood before painting. Your projects will look better and last longer with these tips.
Preparing The Wood Surface
Preparing the wood surface is crucial for achieving a smooth, professional finish. Proper preparation ensures the paint adheres well and lasts longer. Below, we break down the essential steps to get your wood surface ready for painting.
Cleaning The Wood
Before starting, it’s important to clean the wood thoroughly. Dust, dirt, and grease can prevent paint from sticking. Follow these steps to clean the wood:
- Use a vacuum or a soft brush to remove loose dust.
- Wipe the wood with a damp cloth to remove dirt.
- For greasy or oily surfaces, use a mild soap solution.
- Let the wood dry completely before moving to the next step.
Sanding Techniques
Sanding helps to smooth out any imperfections and creates a better surface for paint to adhere to. Here are some effective sanding techniques:
- Start with a coarse sandpaper (around 80-grit) to remove rough areas.
- Move to a medium-grit sandpaper (around 120-grit) for a smoother finish.
- Finish with fine-grit sandpaper (around 220-grit) for a polished surface.
- Always sand in the direction of the wood grain to avoid scratches.
- Wipe the wood with a tack cloth to remove sanding dust.
Properly cleaned and sanded wood ensures a smooth and lasting paint job. This preparation step cannot be overlooked.
Choosing The Right Sealant
Choosing the right sealant is crucial for ensuring a smooth, long-lasting finish on your painted wood surfaces. The right sealant not only protects the wood but also enhances the paint’s durability and appearance. Let’s dive into the different types of sealants and their properties to help you make an informed decision.
Types Of Sealants
There are several types of sealants available for wood. Each has its unique properties and benefits. Understanding these can help you choose the best one for your project.
Shellac: Made from natural resin, shellac is quick-drying. It provides a glossy finish and is easy to apply.
Polyurethane: This synthetic sealant offers excellent durability. It comes in both oil-based and water-based forms.
Varnish: Varnish is a versatile sealant that provides a hard, protective finish. It can be used on a variety of wood surfaces.
Water-based Vs. Oil-based
Water-based and oil-based sealants each have their own set of advantages. Understanding these can help you choose the right one for your needs.
Water-based Sealants: These are easier to clean up and have low odor. They dry quickly and are less toxic. Great for indoor projects.
Oil-based Sealants: These are more durable and offer a richer finish. They take longer to dry and are harder to clean up. Ideal for high-traffic areas.
Applying Primer
Applying primer is a crucial step in sealing wood before painting. It helps to create a smooth and durable surface. This ensures that the paint adheres well to the wood. Primer also helps in blocking stains and reducing the number of paint coats needed. Here, we will discuss the benefits of primer and how to apply it effectively.
Benefits Of Primer
Primer provides several benefits for your wood painting project. Firstly, it improves paint adhesion. This means the paint will stick better to the wood surface. Secondly, primer helps to block stains. Wood can have knots and sap that can bleed through the paint. Primer seals these stains, preventing them from ruining your paint job. Lastly, primer reduces the number of paint coats needed. This saves time and effort.
How To Apply Primer
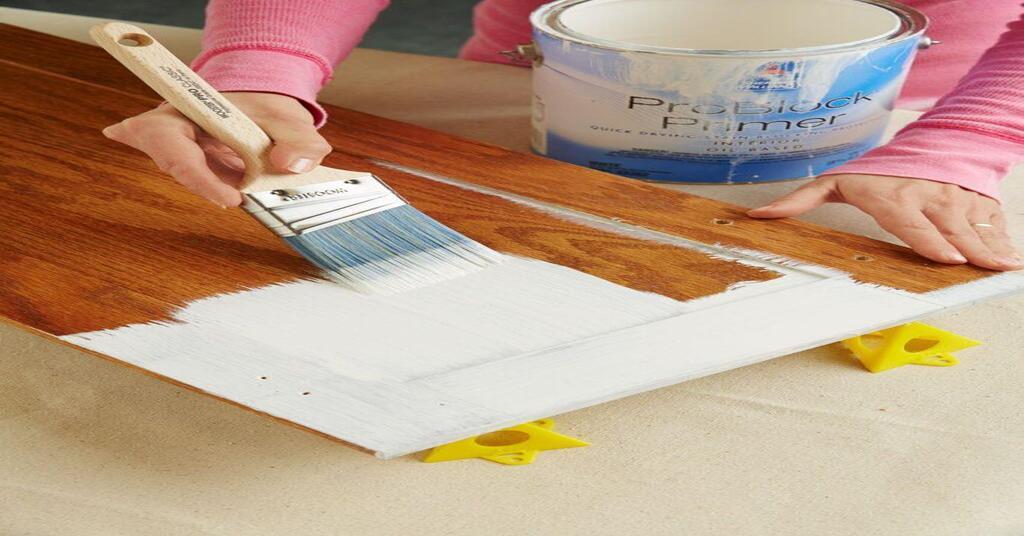
Applying primer is a straightforward process. Start by cleaning the wood surface. Remove dust, dirt, and grease using a damp cloth. Allow the wood to dry completely. Next, sand the wood lightly. This helps to create a smooth surface for the primer. Wipe away any dust from sanding.
Choose a high-quality primer suitable for wood. Stir the primer well before use. Use a brush or roller to apply a thin, even coat of primer. Follow the wood grain while applying. Let the primer dry according to the manufacturer’s instructions. Usually, it takes a few hours. After the primer dries, inspect the surface. If needed, apply a second coat for better coverage. Sand lightly between coats for a smoother finish.
Sealing The Wood
Sealing the wood before painting is essential. It ensures a smooth finish and protects the wood. This process helps in achieving a professional look. Here is a detailed guide on how to seal wood for painting.
Step-by-step Guide
- Clean the Wood Surface: Use a damp cloth to wipe off dust and dirt. Make sure the wood is dry before moving to the next step.
- Sand the Wood: Sand the wood surface with fine-grit sandpaper. This helps in removing any rough spots and prepares the wood for sealing.
- Choose the Right Sealer: Pick a sealer that suits the type of wood. Water-based sealers are good for indoor projects. Oil-based sealers are better for outdoor projects.
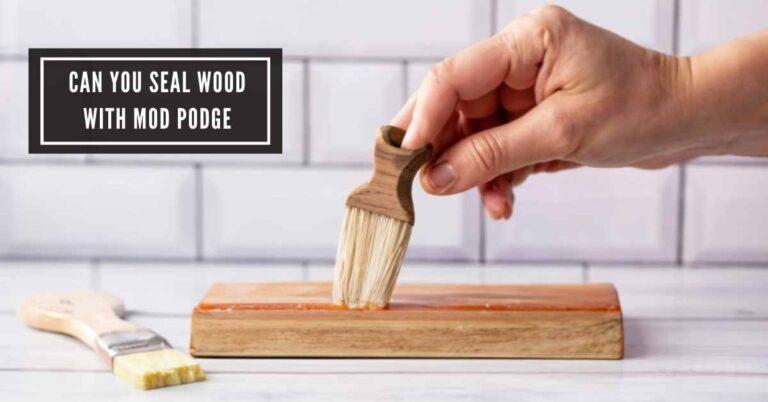
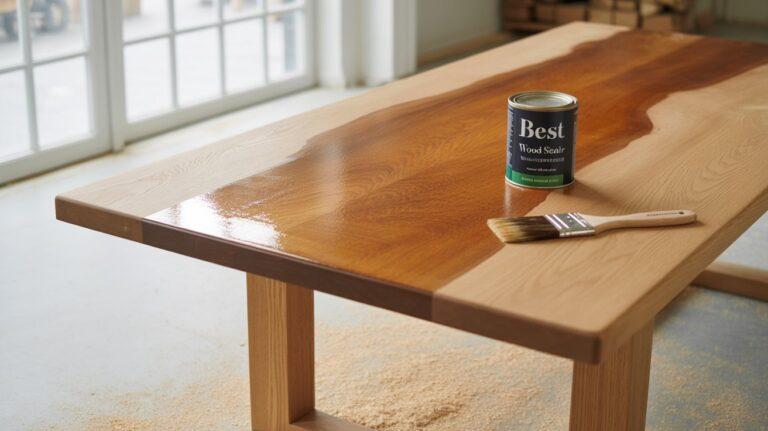
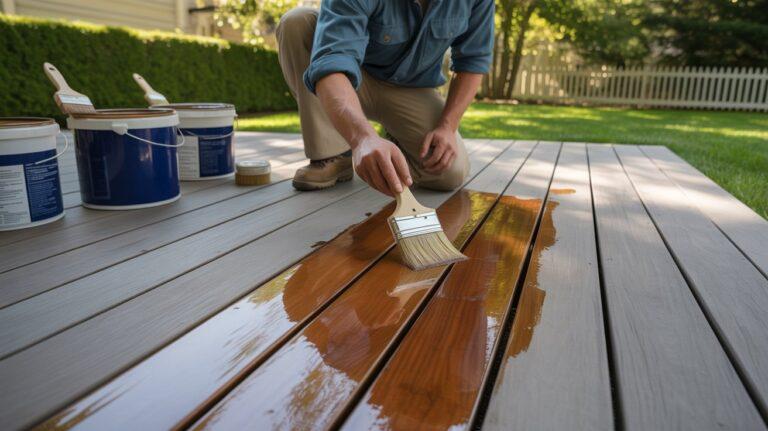
- Apply the Sealer: Use a brush or a roller to apply a thin coat of sealer. Ensure even application. Allow it to dry completely.
- Sand Again (if needed): After the first coat dries, lightly sand the surface again. This step is optional but recommended for a smoother finish.
- Apply a Second Coat: Apply a second coat of sealer for better protection. Allow it to dry thoroughly before painting.
Common Mistakes To Avoid
- Skipping Sanding: Not sanding the wood can lead to a rough finish. Always sand before and after applying the sealer for best results.
- Using the Wrong Sealer: Different sealers work for different types of wood. Choose the right one to avoid peeling or cracking.
- Applying Too Thick Coats: Thick coats can cause uneven drying and bubbles. Apply thin, even coats for a smooth finish.
- Not Allowing Enough Drying Time: Rushing the drying process can ruin the final look. Patience is key for a perfect finish.
- Ignoring Manufacturer Instructions: Always read and follow the sealer’s instructions. This ensures the best results and durability.
Drying And Curing Time
Sealing wood before painting is crucial. It helps achieve a smooth, durable finish. But understanding the drying and curing time is vital. This ensures the sealant is fully effective. Let’s explore the best practices.
Optimal Drying Conditions
Creating the right environment for drying is key. Here are some tips:
- Temperature: Keep the room between 60-80°F (15-27°C).
- Humidity: Maintain humidity levels between 50-70%.
- Ventilation: Ensure good air circulation. Use fans if needed.
- Dust-Free Area: Keep the space clean to avoid dust settling on the wet sealant.
Curing Time Tips
Once the sealant is dry, curing begins. This is when the sealant fully hardens. Follow these tips for optimal curing:
- Patience: Allow sufficient time. Curing can take days or weeks.
- Avoid Moisture: Keep the wood away from water until fully cured.
- Temperature Control: Maintain a steady temperature, similar to drying.
- Check Manufacturer’s Instructions: Always follow specific product guidelines for curing times.
Understanding the drying and curing time ensures the sealant works properly. This leads to a beautiful, long-lasting paint job.
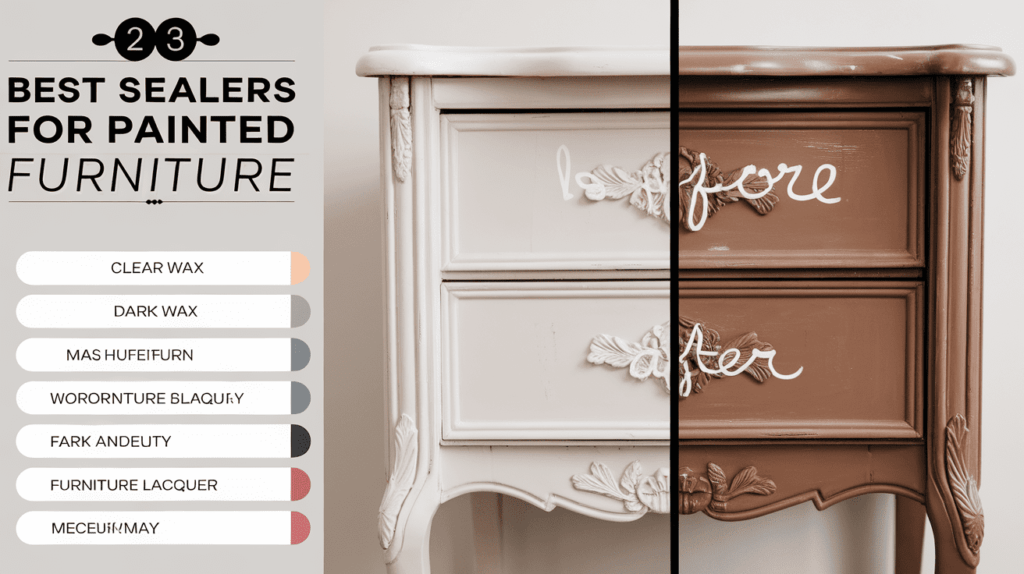
Credit: inmyownstyle.com
Painting Over Sealed Wood
Sealing wood before painting ensures a smooth, long-lasting finish. Use a good quality primer to seal the surface. This step helps the paint adhere better and prevents peeling.
Sealing wood before painting ensures a smooth finish. It also protects the wood. When the wood is sealed, it becomes non-porous. This means the paint will adhere better and last longer. But choosing the right paint and applying it properly is crucial.
Best Paint Types
Not all paints work well on sealed wood. The best options are latex and acrylic paints. Latex paint is water-based and easy to clean. It dries fast and is less toxic. Acrylic paint is durable and resistant to weather. It works well for both indoor and outdoor projects. Oil-based paints can also be used. They provide a smooth finish but take longer to dry. They also have a stronger odor.
Application Techniques
Applying paint over sealed wood needs careful steps. First, clean the sealed surface. Use a damp cloth to remove dust and dirt. Let the surface dry completely. Next, apply a primer. This will help the paint stick better. Use a brush or roller for even coverage. Let the primer dry as per the instructions. Then, apply the paint in thin, even coats. Start with a light coat and let it dry. Apply a second coat if needed. Ensure the paint dries completely between coats. This will give you a smooth and lasting finish.
“`
Finishing Touches
Applying the final touches ensures your wood painting project looks professional and lasts long. The right finishing steps protect the wood and enhance its beauty. Here, we’ll discuss adding a topcoat and polishing the surface.
Adding A Topcoat
A topcoat is essential to seal and protect your painted wood. It provides a durable finish and enhances the color. Follow these steps for the best results:
- Choose the right topcoat: Options include polyurethane, lacquer, or wax.
- Apply the topcoat: Use a brush or spray for even coverage.
- Let it dry: Allow the topcoat to dry completely before touching.
- Apply multiple coats: For extra protection, add 2-3 layers.
Polishing The Surface
Polishing gives your wood a smooth, glossy finish. It also removes any imperfections. Here’s how to polish the surface:
- Sand lightly: Use fine-grit sandpaper to smooth the surface.
- Wipe off dust: Clean the surface with a damp cloth.
- Apply polish: Use a soft cloth to rub polish in circular motions.
- Buff the surface: Buff the wood to a shine with a clean cloth.
By following these finishing touches, your wood painting project will have a polished and protected look. Enjoy your beautifully sealed and painted wood!
Maintenance Tips
Proper maintenance is crucial for keeping your painted wood in top condition. Regular care ensures the paint job lasts longer and looks fresh. Here are some essential maintenance tips to help you keep your painted wood looking its best.
Regular Cleaning
Dust and dirt can https://sealertips.com/how-to-remove-lexel-sealant/damage the paint on wood surfaces. Regular cleaning is essential. Follow these steps:
- Use a soft cloth or a feather duster to remove dust.
- For stubborn dirt, use a damp cloth with mild soap.
- Avoid abrasive cleaners; they can scratch the paint.
- Dry the surface with a clean, soft cloth.
Touch-up Tips
Even with regular cleaning, painted wood may need touch-ups. Here are some tips:
- Inspect regularly: Check for chips and scratches.
- Sand lightly: Smooth the damaged area with fine-grit sandpaper.
- Apply primer: Use a small brush to apply primer to the exposed wood.
- Paint: Match the original paint color and apply it in thin layers.
- Seal: Once dry, apply a clear sealant to protect the touch-up.
These simple steps can help maintain the beauty of your painted wood and extend its life.
Frequently Asked Questions
What Is The Best Primer For Wood?
Using a high-quality, oil-based primer is best for wood. It seals the surface, providing a smooth base for painting.
How Do I Prepare Wood For Painting?
Sand the wood surface to remove imperfections. Clean it thoroughly to remove dust and debris before priming.
Can I Paint Directly On Raw Wood?
No, painting directly on raw wood is not recommended. Always apply a primer first to seal the wood properly.
How Many Coats Of Primer Should I Use?
Two coats of primer are usually sufficient. This ensures thorough coverage and seals the wood surface well.
Conclusion
Sealing wood before painting ensures a smooth, durable finish. Choose the right sealer. Sand the wood for better adhesion. Apply primer evenly. Let it dry completely. This simple process protects your wood. It also makes your paint job last longer.
Follow these steps for beautiful, long-lasting results. Happy painting!

Hi Friends, I’m SealerMrinal, your go-to expert for all things sealing. With years of hands-on experience across a wide range of materials—concrete, wood, metal, and more—I bring deep knowledge and practical insights into every sealing project. On my website, I share expert tips, proven techniques, and product recommendations to help you get the best results. Whether you’re tackling a DIY project or seeking professional-grade advice, I’m here to guide you through the art and science of effective sealing.

