Do You Need To Seal Both Sides Of Butcher Block?
Butcher blocks are favored in butcher shops and meat processing plants and have become a timeless and trendy material for our home’s kitchen countertops.
Sealing this beautiful, durable, natural wood surface is necessary to protect it from water and food residues. Otherwise, stains and bacteria will ruin the surface.
The glossy-looking appearance won’t last long. You will have to replace it soon. But do you need to seal both sides of butcher block?
In this article, I will guide you on why sealing both sides of this slab wood is necessary. You will also learn how to seal it using the best product. Let’s jump in without further ado!
Do You Need To Seal Both Sides Of Butcher Block?
Sealing the butcher block’s top, bottom, and sides is necessary to protect it from moisture penetration, warping, and humidity-caused potential damage.
If both sides or one side of this slab wood is unfinished, it will likely warp a few times faster during the humid summer months.
The unfinished or unsealed sides will shrink quickly. It will cause undue stress and result in warping.
But sealing both sides of the butcher block will balance moisture-vapor exchange. It will prevent unwanted and faster expansion or shrinkage.
It will work as a protective, durable barrier to safeguard the wood surface from moisture and humidity.
How to Seal Butcher Block with Polyurethane?
Wonder how to seal a butcher block step-by-step? Here is easy-going guidance to add a good-quality sealant on a wood slab.
Step: 01—Cleaning the Wood Surface
The first important task is cleaning the wood surface appropriately. It may have some food residues.
You can use a plastic scraper to remove sticky materials and stubborn residues from the wood surface.
It won’t cause any scratches on the wood surface. This handheld tool will create a tip-top flat surface.
Step: 02—Sanding the Surface
Does your butcher block have minor imperfections or marks? If so, sand the wood surface with 120-grit sandpaper.
You can use a 6-inch random-orbit sander to make the sanding work faster and easier. Maintain a slow and overlapping direction.
Don’t sand in the opposite direction of the grain. Make sure to sand with the grain to decrease the appearance of scratches showing through stains or finishes.
After sanding the wood with 120-grit sandpaper, go for another session with 220-grit sandpaper to make the wood surface ultra-smooth.
Now, hand sand the edges of the butcher block. Use a sanding sponge to avoid building up any dust while sanding the corners. This will help you leave minimal scratches.
Step: 03—Preparing the Wood Surface
The following job is removing all sand residues from the wood surface. You can use a tack cloth to wipe off all loose particles and get a blemish-free result.
Avoid using a painter’s rag, regular towel, or cotton rage. They may leave small particles of dirt or dust. It can contaminate the surface that needs to be coated.
Grab a lint-free microfiber cloth and add a small amount of undiluted denatured alcohol.
Wipe all the sanding area using the fabric to remove apparent finishers from the wood surface. It will dry instantly and give the wood a professional and glossy finish.
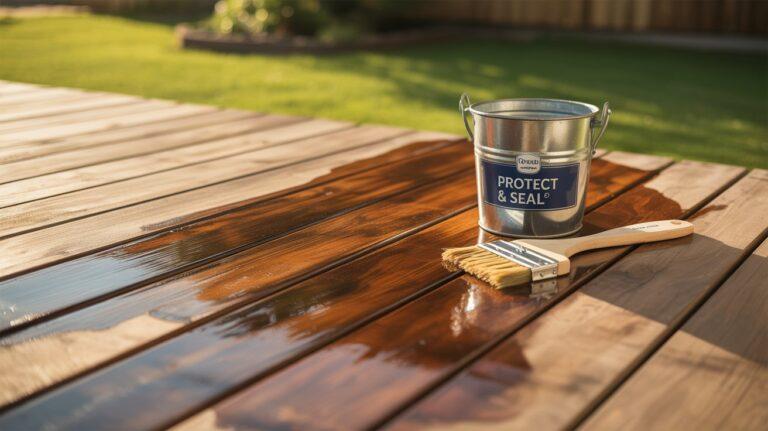
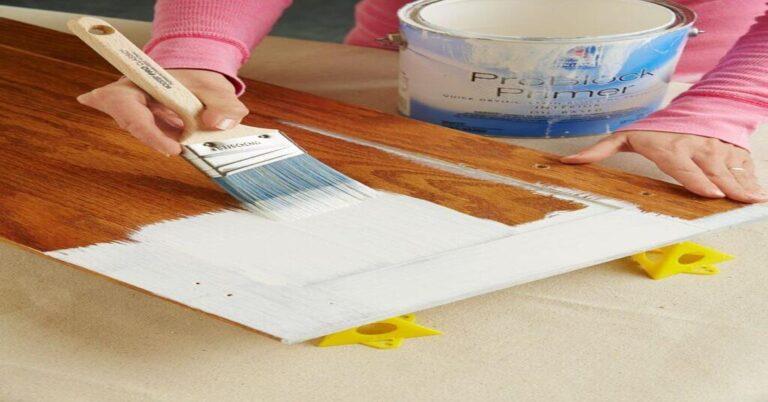
Step: 04—Applying the First Coat
Take your oil-based polyurethane. Ensure enough ventilation in your room when working inside.
Make sure to stir the can of polyurethane properly. Avoid shaking it. Otherwise, it will cause air bubbles in the finish. You will achieve an imbalanced coat.
Use a lambswool applicator or paintbrush to apply polyurethane on your butcher block. Follow the wood grain direction when applying the finish.
Work on the corners and edges of the butcher block too. Avoid overloading your lambswool applicator or brush. Get rid of the excess finish.
Wear a disposable head cover to avoid hair getting into the painted surface. If any still notice hair, use a sewing needle to remove it before it dries instantly.
Step: 05—Applying the Second Coat
After applying the first coat correctly, let it dry for 5-6 hours. Carefully inspect the results. There might be some minor imperfections and tiny bumps.
Use 220-grit sandpaper to lightly sand the wood surface. Avoid adding any pressure. Just simply sand the area to make the texture smooth.
Now, apply the second coat like the first coat. Please don’t make it too thick. The primary purpose of the second coat is to create a barrier and protect the first coat.
You will see minimal penetration of nicks and bumps through the paint. Follow the same instruction mentioned above to apply the second coat.
Please wait for 6 hours to let it dry completely. This is how you should seal butcher blocks properly.
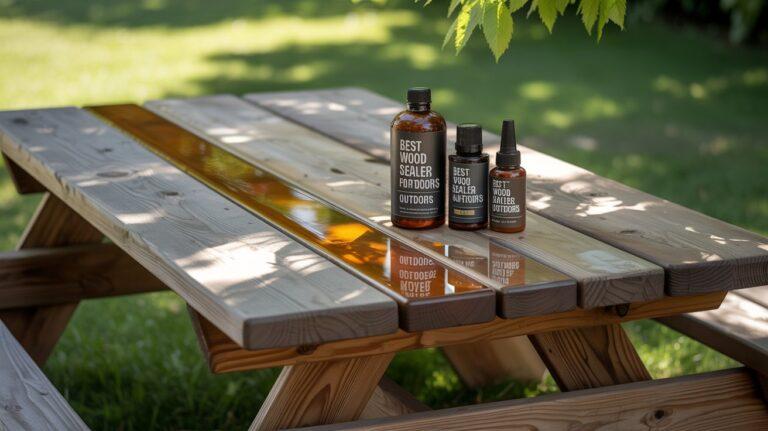
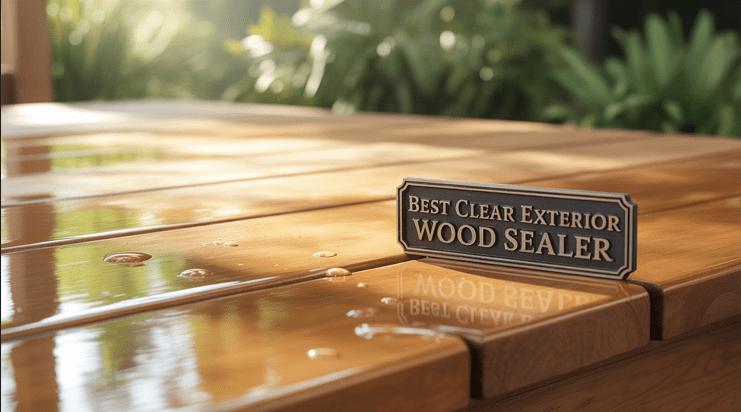
What Sealant to Use for Butcher Blocks?
A lot of wood sealants are available in the market. Are they good enough for butcher blocks? What are the best sealants for butcher blocks?
After going through in-depth market research, I have figured out two top-rated sealants for butcher blocks. One is Oil-based Polyurethane, and the other one is Tung oil. Let’s know why!
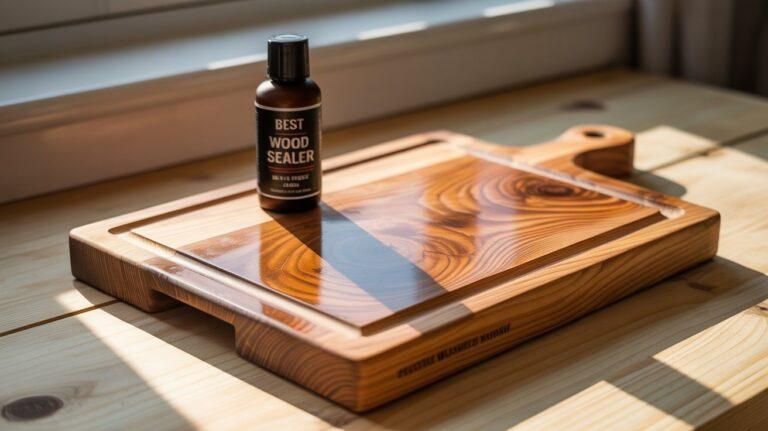
Oil-based Polyurethane
One of the primary reasons to use an oil-based polyurethane is due to its abrasion and scratch resistance properties.
You apply less amount while leaving a rich, golden glow. It is also unquestionably durable to offer good protection. Water and heat will cause minimal damage to the wood surface.
Besides, it is a water-tight finish. You will see no or minimal mold and fungi growth if applied correctly.
I will personally recommend you use Varathane Oil-Based Ultimate Polyurethane. It can provide a smooth and classy look on your butcher block.
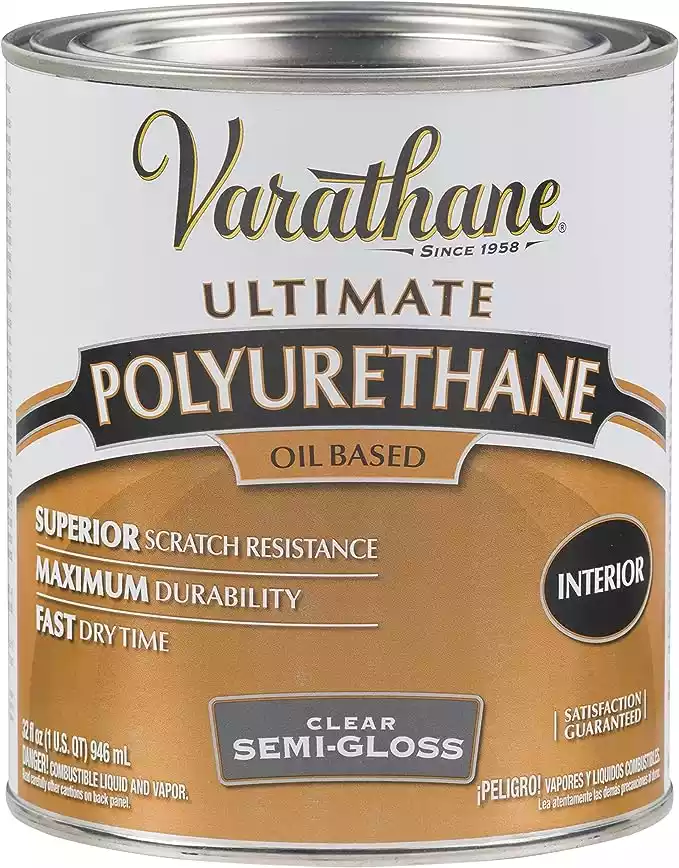
This oil-based polyurethane has a unique formula to resist scratches and stains. It takes only four hours to dry thoroughly.
Tung Oil
Another popular option is Tung oil. You can use it on butcher blocks due to its food-safe formula.
But why should you apply Tung oil on this wood surface? Nuts are the primary source of Tung oil. They are well known for having impressive water resistance properties.
If applied correctly, Tung oil will showcase the natural appearance of your butcher block.
However, using 100% pure and natural Tung oil ensures optimal safety. You can rely on HOPE’S 100% Pure Tung Oil.
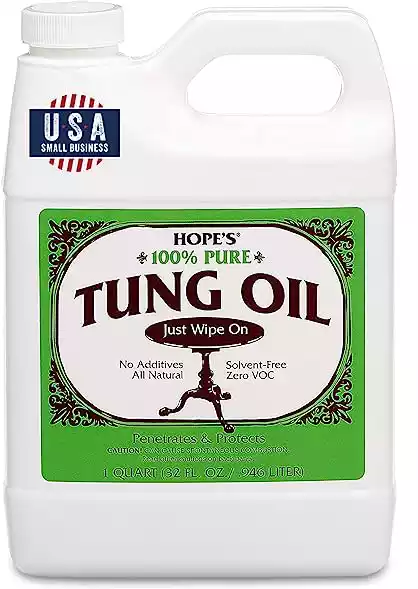
This oil is extracted from the best Tung nut crops. It works well in all types of fine wood.
Apply the oil on the wood surface and let it cure at room temperature. Once cured properly, it will penetrate the wood fibers deeply and create a non-oily solid surface.
Moisture, alcohol, oil, and dirt will cause minimal harm to your butcher block surface.
Common Mistakes When Sealing Butcher Block
Of course, butcher blocks are durable. But your negligence and improper use may shorten the lifespan of this slab wood.
i) Using Beeswax
Beeswax has a low melting point. If you expose them to heat, they will melt quickly.
Plus, regular heavy use will cause a faster breakdown of the finish. Hence, you have to reapply it due to less durability.
You won’t get persistent from a beeswax finish like polyurethane. It is a bit complex to remove Beeswax. You have to use your bare hands to apply it.
ii) Not Removing Knicks And Scratches
Does your butcher block contain a good amount of knicks and scratches? If so, removing them properly before applying the sealant is necessary.
It doesn’t matter how good the sealant is. The finish won’t be long-lasting if the wood surface is not prepared well.
You may have to use coarse or fine-grade sandpaper initially to remove all imperfect from the slab wood.
iii) Choosing A Wrong Brush
Avoid using any cheap paintbrushes. They are rough and more prone to leave streaks.
I know you are not a professional worker. But the least you can do is use a good brush.
If you use an oil-based finish, it is best to use a lambswool applicator. This functional tool can help you achieve even coverage with minimal effort.
Alternatively, you can use a natural bristle brush. It holds more paint. Hence, you have to load paint less frequently. Plus, it is a low-abrasion material to ensure a smooth finish.
Tips For Butcher Block Maintenance
Butcher blocks are long-lasting. But its finish requires careful maintenance to keep the glossy shine for a long time.
i) Don’t Keep Hot Pots and Pans
Do you habitually keep hot pots and pans directly on top of the butcher block surface?
It can cause burn marks and scorch the wood surface. You will have to reapply the sealant to get rid of the marks.
ii) Keep The Moisture Content Minimal
Foods are filled with moisture content. It is necessary to practice keeping the wood surface dry and clean after using it.
Simply wipe it with a paper towel or a dry fabric to remove all the water content from the wood surface. It will prevent unwanted water damage.
iii) Don’t Cut Everything On The Butcher Block
Will it cost hundreds of dollars to buy a cutting board? But buying a good quality butcher block will cost you at least $50.
Won’t it be wise to use a cutting board to cut regular items, such as vegetables and fruits? This will help you keep your butcher board in good condition in the long run.
FAQ’s
How often should I seal my butcher block?
It depends on usage and the type of sealant. Generally, every 6-12 months is recommended.
Can I use vegetable oil to seal my butcher block?
It’s not recommended as vegetable oils can become rancid over time.
How long should I wait before using my butcher block after sealing?
Typically, 24 hours is sufficient, but always refer to the sealant’s instructions.
Will sealing change the color of my butcher block?
Some sealants might darken the wood slightly, enhancing its natural grain and beauty.
Can I cut directly on a sealed butcher block?
Yes, but using a cutting board can help prevent scratches and prolong the life of the sealant.
Summing UP
Sealing your butcher block with a good quality sealant will protect the wood surface for a long time. Food and water won’t get inside the porous weed surface.
Hopefully, you got a clear idea regarding the question, “Do you need to seal both sides of butcher block?” Take care of your beautiful wood piece to ensure long-lasting durability.

I am Robert Sandin, a professional sealing expert with a diverse range of expertise. From concrete to various other materials, I possess in-depth knowledge and experience in the art of sealing. On my website, I offer valuable tips and expert recommendations on sealing techniques and products for different materials. Whether it’s concrete, wood, metal, or more, I am committed to providing you with the guidance you need for successful sealing projects.