How Do You Seal DensShield Seams for a Waterproof Finish?
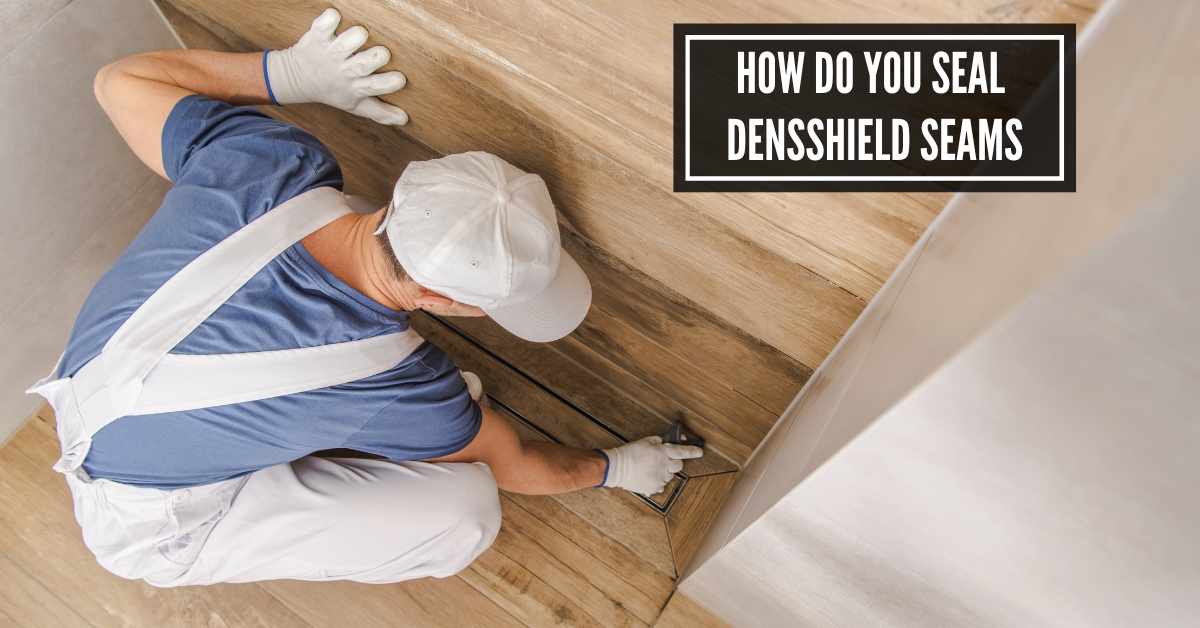
Clean the seams and joints of shower or washroom walls appropriately. Apply a 100% waterproof silicone sealant properly. Then, add joint compound (mud) and fiberglass mesh tape. Finally, apply a few coats of liquid waterproof membrane for the best protection.
How do you seal DensShield seams in your bathroom walls? If you want to learn details, keep scrolling the post until you reach the bottom!
Unlocking the Secrets: How Do You Seal DensShield Seams for a Waterproof Finish?
DensShield is a gypsum-based tile backer that is a perfect choice for high-moisture areas such as showers, bathrooms, etc.
But, sealing the seams of DensShield is necessary to keep it waterproof and provide protection from moisture damage.
Step: 01—Prepare The Work Surface
The first important task is properly installing the DensShield tile backer on the shower walls or subfloors.
If you have installed it for several weeks, there might be some dirt or dust buildup.
Grab a fresh rag to wipe away all the dirt and moisture. Let the working area dry correctly.
Step: 02—Apply The Sealant
Once the seams and joints of DensShield walls are appropriately cleaned, you can seal them.
100% waterproof silicone sealants are one of the best choices for filling the joints of DensShield.
Use a caulking gun to apply silicone caulk evenly in all areas. It will ensure a good distribution of the sealant and produce more accurate results.
Use a caulk smoothing tool or your wet fingers to smooth out the sealant. If there is any excess caulk, wipe it off the wall using a damp fabric.
Step: 03—Allow The Sealant To Dry
After applying the caulk correctly, let it dry for at least a few hours. This will make it touch dry. Debris or dust won’t stick on it.
However, the curing time may vary based on its formula. Follow the manufacturer’s instructions for the best result.
Once the caulk dries properly, use sandpaper to smooth any rough spots or uneven areas on the seams. Sand until the seams are flush with the surrounding surface.
Step: 04— Apply Joint Compound (Mud)
Add the joint compound into a bucket and pour the right amount of water into the mud based on the manufacturer’s recommendation.
For instance, joint compounds from Master Building Materials require 1.6 ounces of water for every gallon bucket of joint compound.
However, some manufacturers recommend using one part of water for every two parts of the joint compound (mud).
Stir the mixture thoroughly using a mud mixer attachment for a drill, a mixing paddle, or a hand trowel.
Apply the solution carefully to all the seams and joints. It will become touch dry within a few hours. You may need to wait up to 24 hours for a 100% cure.
Step: 05— Add Fiberglass Mesh Tape
The next task is adding fiberglass mesh tapes on top of the joint compound. This self-adhesive tape is moisture-resistant and inherently mold-resistant.
Fiberglass mesh tapes are easy to work with because they will expand under ultimate tensile load.
While the joint compound is still wet, press fiberglass mesh tape firmly onto the seams. Ensure that the tape is centered over the seam and covers the entire length of the joint.
Use a drywall knife or your fingers to smooth out any wrinkles or bubbles in the tape.
Step: 06— Apply Liquid Waterproof Membrane
Your shower walls’ grout joints and seams will likely absorb moisture over time. It may cause mold growth and cracking issues.
If you want to provide your shower walls with increased protection against water damage, apply a few coats of liquid waterproof membrane.
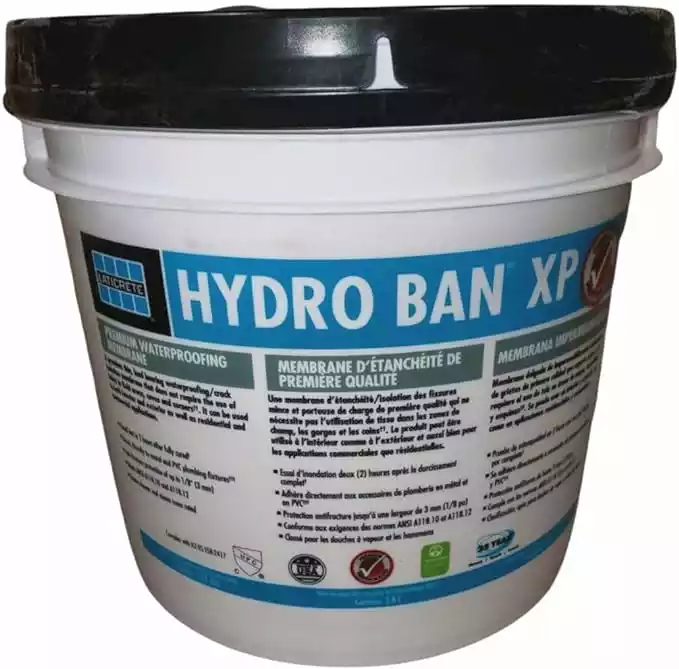
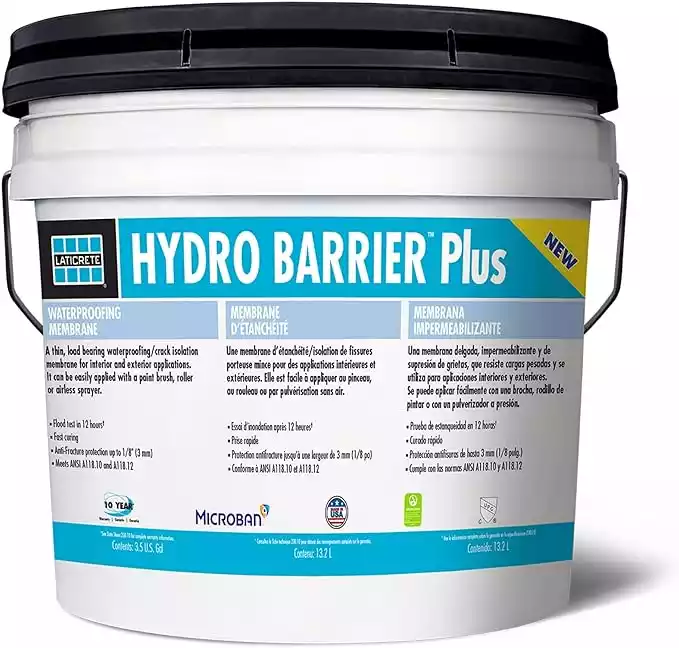
You can choose Laticrete Water Tite or Hydro Ban brand. This non-flammable, protective liquid rubber membrane can protect your bathroom walls from non-structural cracks.
Allow the solution to dry properly for 4–6 hours at 21°C temperature. You won’t have to worry about thickness as it is only a thickness of 0.020–0.030 inches (0.5–0.8 mm).
Step: 07— Give A Final Finish
Give yourself a little break after applying all the items sequentially and successfully.
Then, inspect all the joints, edges, and seams carefully. There should not be any gaps or holes.
That’s it! You have finally sealed your DensShield seams.
What to Use to Seal Densshield Seams in Shower Walls?
When it comes to sealing Densshield seams and joints in shower walls or bathroom floors, a single product may not give a long-lasting result.
You want to use several solutions as the walls are exposed to moisture continuously. The following are the best products for sealing joints and seams of shower walls.
Silicone Caulk
Silicone caulks are good to go for shower walls as they are water, cold, and heat-resistant.

Make sure to use 100% silicone sealants for increased protection against higher moisture levels.
This highly waterproof and elastic solution is an ideal choice for damp conditions.
You can rely on pure silicone for long-lasting results without coming in contact with paint afterward.
Liquid Membrane
Another essential product to use is a liquid membrane. They provide excellent waterproofing characteristics.
However, these products are not 100% waterproof. You need to use additional products at the bottom of the seams to prevent water penetration.
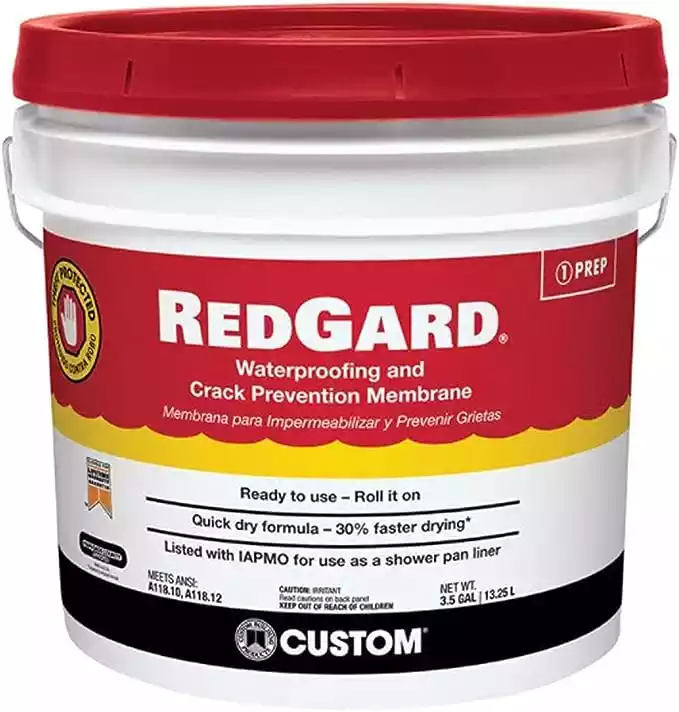
RedGuard liquid membrane is an excellent choice for filling joints and seams in shower walls.
It can create a weather-tight seal. You won’t have to worry about any shrinkage, yellowing, or staining issues. The product is suitable for use in damp conditions.
FAQ
Can I use any sealant for DensShield seams?
It’s recommended to use a waterproof, mildew-resistant sealant, preferably silicone-based or acrylic.
How long does it take for the sealant to cure?
Typically, it takes between 24 to 48 hours, but refer to the manufacturer’s instructions for accurate curing time.
Is it necessary to clean the seams before application?
Yes, cleaning is crucial for better adhesion and the effectiveness of the seal.
Can unsealed DensShield seams lead to structural issues?
Yes, unsealed seams can allow moisture ingress, leading to structural problems in the long run.
Is sealing DensShield seams a DIY task, or should I hire a professional?
While it is possible to DIY, hiring a professional can ensure a more thorough and reliable job, especially for larger or more complex installations.
Final Words
Shower walls are exposed to water continuously. Regardless of how powerful a single sealant is, its effectiveness won’t be the same as 2-3 products combined.
That’s why using two or three high-quality items is best for optimal long-lasting protection. Of course, you want to use compatible and top-tier products.
Another vital point to remember is to use them sequentially in the same way I have mentioned above.
You can skip using fiberglass mesh tape if you have a high-quality liquid waterproof membrane. Hopefully, you got a clear answer to the question, “How do you seal DensShield seams?”

I am Robert Sandin, a professional sealing expert with a diverse range of expertise. From concrete to various other materials, I possess in-depth knowledge and experience in the art of sealing. On my website, I offer valuable tips and expert recommendations on sealing techniques and products for different materials. Whether it’s concrete, wood, metal, or more, I am committed to providing you with the guidance you need for successful sealing projects.