How To Change The Brushes In A Tile Saw: Expert Guide
Tile saws are great tools. They cut tiles with precision. But sometimes, they need a bit of care. One thing you might need to do is change the brushes. Brushes are small parts inside the saw. They help the motor run smoothly.
Why Change Tile Saw Brushes?
Brushes wear out over time. When they wear out, the motor won’t work well. You might hear strange noises. Or the saw might not cut properly. Changing the brushes can fix these problems. It’s a simple task. You don’t need to be an expert.
Tools You Need
Before you start, gather some tools. You will need:
- Screwdriver
- Replacement brushes
- Safety gloves
- Clean cloth
Make sure you have the right brushes. Check your tile saw model. Buy brushes that match the model.
Safety First
Safety is important. Always wear safety gloves. They protect your hands. Also, unplug the saw. This stops it from turning on by accident. You should also work in a clean area. This makes the job easier.

Steps To Change Brushes
Follow these steps to change the brushes:
Step 1: Remove The Cover
First, find the motor cover. It is usually on the side of the saw. Use a screwdriver to remove the screws. Keep the screws safe. You will need them later. Once the screws are out, take off the cover.
Step 2: Locate The Brushes
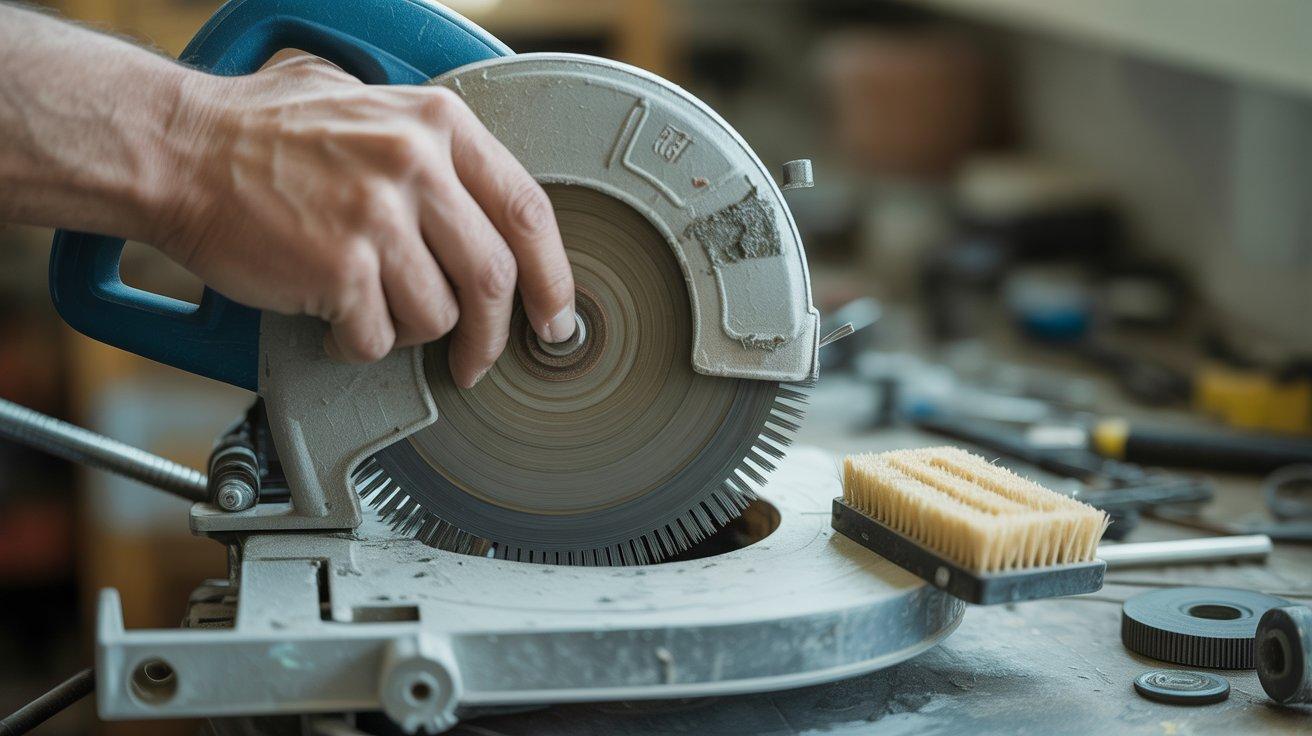
Inside, you will see the motor. Look for two small black parts. These are the brushes. They are near the motor shaft. Take note of their position. This will help when you put in new ones.
Step 3: Remove The Old Brushes
Carefully take out the old brushes. They might be stuck. If so, gently wiggle them. Use a clean cloth to wipe the area. This removes dust and dirt.
Step 4: Insert New Brushes
Now, take the new brushes. Place them where the old ones were. Make sure they fit snugly. They should not move around. Check the position again. It should be the same as before.
Step 5: Replace The Cover
Once the brushes are in, put the cover back. Use the screwdriver to tighten the screws. Make sure the cover is secure. This protects the brushes inside.
Step 6: Test The Saw
Finally, plug in the saw. Turn it on. Listen for any strange sounds. The motor should run smoothly. If it does, you did a great job!
Tips For Maintaining Tile Saw Brushes
Brushes need care. Here are some tips:
- Check them regularly.
- Clean the area around them.
- Replace them when worn.
Regular checks help find problems early. Cleaning keeps them free from dust. Replacing them ensures the saw works well.
Frequently Asked Questions
What Tools Do I Need To Change Tile Saw Brushes?
You need a screwdriver and replacement brushes. Check the saw’s manual for specific tools.
How Often Should Tile Saw Brushes Be Replaced?
Replace brushes every 100 hours of use or when worn out. Inspect regularly for wear.
Can Worn Brushes Damage My Tile Saw?
Yes, worn brushes can cause overheating and damage. Replace them promptly to avoid costly repairs.
Why Is My Tile Saw Losing Power?
Worn brushes may cause power loss. Inspect and replace them to restore performance.
Conclusion
Changing tile saw brushes is easy. Follow the steps. Use the right tools. Be safe. With practice, you will get better. Your saw will thank you. It will cut tiles like new!
Thank you for reading. We hope this guide helps. Now, go ahead and change those brushes!