How to Make Seal at Home: Easy DIY Guide
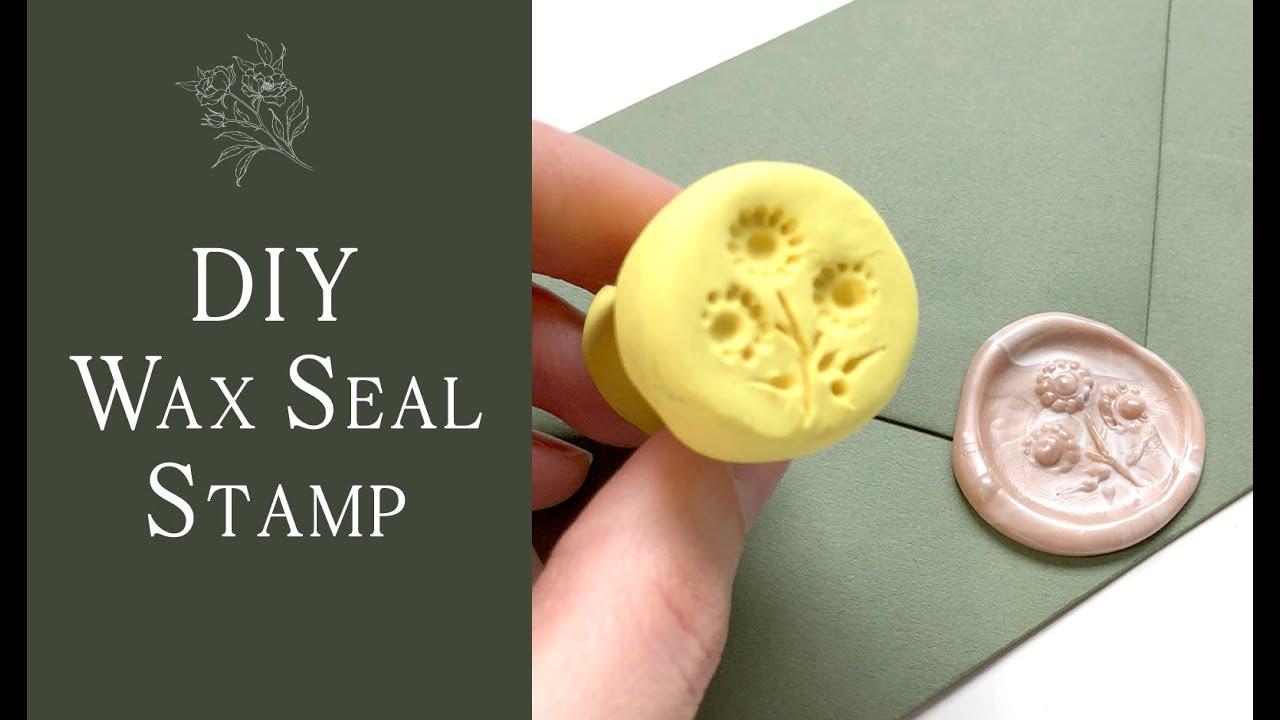
Making a seal at home can be simple and fun. You don’t need special skills or expensive tools.
Seals add a personal touch to letters, crafts, and gifts. Creating one yourself allows for unique designs and customization. Whether you’re looking to add a classic touch to your correspondence or personalize your art projects, learning how to make a seal at home is a rewarding skill.
In this guide, we’ll explore easy steps and materials you can use. From everyday household items to a few craft supplies, making your own seal is within reach. Ready to get started? Let’s dive into the world of homemade seals and discover how you can create one right in your kitchen or craft room.
Materials Needed
Creating your own seal at home can be a fun and rewarding activity. To get started, it’s important to gather all the materials you’ll need. This will ensure a smooth and enjoyable crafting experience. Let’s dive into the essential supplies and optional enhancements for making your own seal.
Essential Supplies
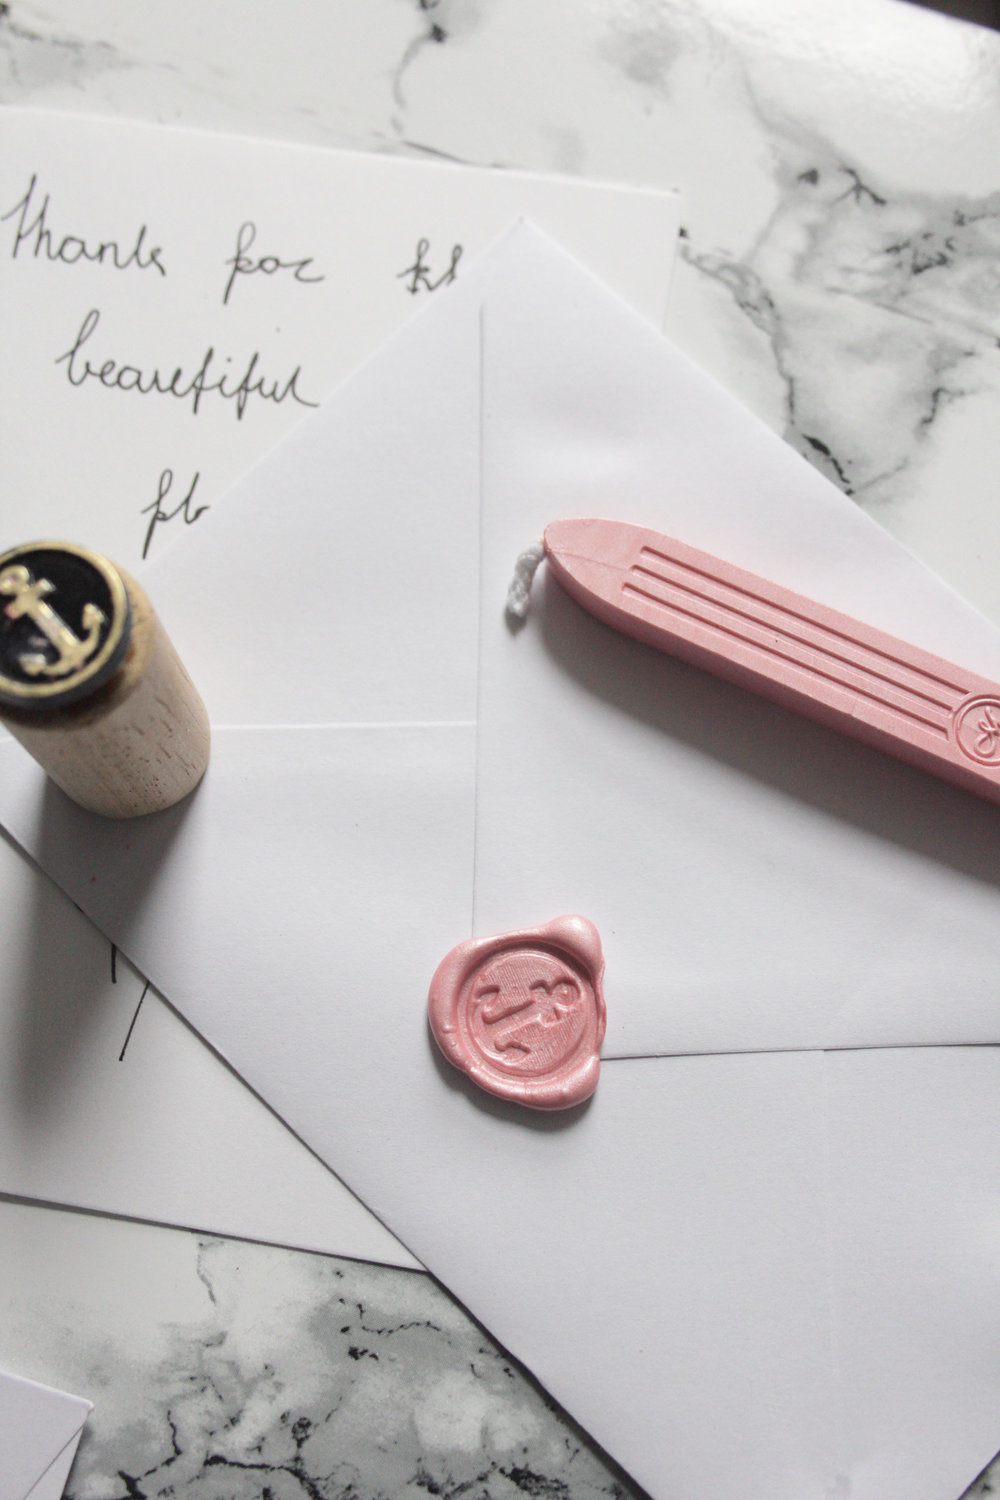
First, you’ll need sealing wax. This is the main material for making seals. Sealing wax comes in sticks or beads, and both work well. You’ll also need a seal stamp. Seal stamps come in various designs and can be customized. A heat source is necessary to melt the wax. A lighter or candle works perfectly for this.
Next, have some parchment paper or a non-stick surface ready. This will prevent the wax from sticking to your table. A metal spoon helps in melting and pouring the wax. Finally, paper towels are useful for cleaning any spills or drips.
Optional Enhancements
For a more personalized touch, consider adding colored wax. Different colors can make your seal unique. Glitter or metallic powders can also enhance the look. They add a sparkling effect to the wax.
Another optional item is a wax seal warmer. This tool maintains the wax at the perfect temperature. It prevents the wax from cooling too quickly. You may also want to use a wax seal melting kit. This kit includes a melting spoon and a heat source stand. It makes the process easier and more organized.
Lastly, decorative elements like dried flowers or leaves can be embedded in the wax. These small additions make your seal stand out. They add an extra layer of creativity to your project.

Credit: www.hestershandmadehome.com
Choosing The Right Wax
Creating a seal at home involves several steps, but one of the most important is choosing the right wax. The wax you select can affect the seal’s appearance, durability, and ease of use. There are various types of wax available, and each has its own characteristics. Below, we will explore different types of wax and provide some quality tips to help you make the best choice.
Types Of Wax
There are several types of wax that can be used for making seals:
- Sealing Wax: Traditionally used for sealing letters and documents. It is hard and brittle.
- Beeswax: A natural option that is softer and more pliable. It may not hold intricate details well.
- Paraffin Wax: Commonly used in candles. It is soft and can be mixed with other waxes for better results.
- Soy Wax: Environmentally friendly and easy to work with. It has a lower melting point.
- Shellac Wax: A resin-based wax that is durable and provides a glossy finish.
Wax Quality Tips
Here are some tips to ensure you choose high-quality wax for your seal:
- Purity: Ensure the wax is pure and free from impurities. Impurities can affect the appearance and adhesion.
- Melting Point: Select a wax with an appropriate melting point. Low melting points make the wax too soft.
- Color: Choose a color that complements your project. Quality waxes have vibrant and consistent colors.
- Texture: High-quality wax should have a smooth texture. It should not be gritty or lumpy.
- Durability: Ensure the wax is durable and resistant to cracking. Test a small sample before committing to a larger batch.
By carefully selecting the right wax, you can create beautiful and durable seals that add a personal touch to your projects.
Designing Your Seal
Creating your own seal at home can be fun and rewarding. The design process is crucial. It defines the seal’s uniqueness. Let’s explore two main design styles: simple designs and complex patterns. Each style has its charm and purpose.
Simple Designs
Simple designs are easy to make. They usually feature basic shapes and symbols. Here are some ideas for simple seal designs:
- A circle with your initials
- A star or heart shape
- A basic logo or symbol
Using simple tools like a pencil and paper, sketch your design first. Then transfer it to the material of your choice. Simple designs work well for many uses. They are great for personal letters or small businesses.
Complex Patterns
Complex patterns add elegance and detail to your seal. These designs often include intricate shapes and lines. Here are some examples of complex seal patterns:
- Detailed floral or geometric patterns
- Elaborate logos or family crests
- Custom illustrations with multiple elements
Creating complex patterns requires more time and skill. Use tools like graphic design software to perfect your design. Once ready, print or draw it onto your seal material. Complex patterns are ideal for formal events and professional branding.
Whether you choose a simple or complex design, ensure it reflects your style. Happy designing!
Credit: www.hestershandmadehome.com
Creating The Seal Stamp
Creating a seal stamp at home can be a fun project. It allows you to personalize your letters and crafts. The process can be simple or intricate, depending on your choice. In this section, we will explore two methods for creating your own seal stamp: carving techniques and using pre-made stamps.
Carving Techniques
Carving your own seal stamp offers a unique touch. Start with a soft material like rubber or linoleum. Draw your design on paper first. Transfer the design onto your carving material. Use a carving tool to carefully cut out the design. Make sure to carve away the areas you don’t want to print. Test your stamp with ink to check your design. Adjust as needed.
Using Pre-made Stamps
Using pre-made stamps is a quicker option. You can find a variety of designs in craft stores. Select a stamp that suits your style. Attach the stamp to a wooden handle. This gives you better control while stamping. Try different inks to see which looks best. Practice on scrap paper before using it on your final project.
Melting The Wax
Melting the wax is a crucial step in making a seal at home. This process allows the wax to become soft and pliable, ready for stamping. Let’s explore the safe and effective ways to melt wax for your seal.
Safety Precautions
Safety is important when melting wax. Always work in a well-ventilated area. Keep a fire extinguisher nearby. Use heat-resistant gloves to protect your hands. Avoid leaving the wax unattended while it melts. Ensure children and pets are not nearby during the process.
Melting Methods
There are several ways to melt wax. Each method has its benefits. The simplest method is using a wax melting spoon. Hold the spoon over a candle flame. Stir the wax until it melts evenly. This method is ideal for small amounts of wax.
A double boiler is another method. Place the wax in a heat-safe bowl. Set the bowl over a pot of boiling water. The indirect heat will melt the wax gently. This method prevents the wax from burning.
You can also use a microwave. Place the wax in a microwave-safe container. Heat the wax in short intervals. Stir between each interval to ensure even melting. Be cautious, as microwaves can overheat the wax quickly.
Applying The Wax
Applying the wax is a crucial step in making a seal at home. This step ensures your seal looks professional and lasts long. Follow these simple steps to apply the wax correctly.
Preparation Steps
First, gather all your materials. You will need sealing wax, a seal stamp, a spoon, and a heat source. Set up your workspace on a flat, stable surface. Protect it with a piece of parchment paper.
Next, cut a piece of wax about the size of a marble. Place it in the spoon. Hold the spoon over your heat source. This could be a candle or a lighter. Be careful not to burn yourself. Wait until the wax melts completely.
Application Techniques
Once the wax is melted, pour it onto your desired surface. Let it form a small pool. Immediately press your seal stamp into the hot wax. Hold it there for a few seconds. This helps the design set properly.
Remove the stamp gently. Allow the wax to cool and harden. This usually takes a few minutes. Your seal is now ready and can be admired for its craftsmanship.
Pressing The Seal
Pressing the seal is a crucial step in making your own seal at home. This step requires precision and attention to detail. Ensuring a clean and clear impression is key. Let’s dive into the proper timing and the best way to remove the stamp.
Proper Timing
Timing is everything in pressing the seal. You need the right moment to press. Ensure the wax is not too hot. It should be warm and pliable. If it’s too hot, it will spread too much. If it’s too cold, it might crack. Wait for the right consistency. This usually takes a few seconds. Once ready, press the seal firmly.
Removing The Stamp
Removing the stamp requires care. Do not rush this step. Lift the stamp gently. Ensure the wax has set but is not too hard. If you lift too soon, the impression will be unclear. If you wait too long, it might stick. Peel the stamp back at an angle. This helps in creating a clean edge. Repeat this process for each seal you make.
Finishing Touches
Creating a seal at home involves simple materials and easy steps. Gather wax, a heat source, and a mold. Gently melt the wax, pour into the mold, and let it cool.
After crafting your seal, it’s essential to perfect the final details. These finishing touches ensure your seal looks professional and lasts long. This section will guide you through cleaning and storing your homemade seal.
Cleaning Up
Once your seal is complete, it’s time to clean it. Use a soft cloth to wipe away any excess material. Ensure you remove all dust and debris. This step is crucial for a polished look.
For a deeper clean, use a mild soap solution. Gently scrub the seal with a soft brush. Rinse thoroughly with water. Dry it completely with a towel. Avoid harsh chemicals. They can damage your seal.
Regular cleaning keeps your seal in top shape. It also ensures better impressions on wax or clay.
Storing The Seal
Proper storage prolongs the life of your seal. Store it in a cool, dry place. Avoid direct sunlight. Sunlight can cause fading and cracks.
Consider using a protective case. This keeps your seal safe from dust and damage. If you don’t have a case, wrap it in a soft cloth.
Keep it away from sharp objects. They can scratch the surface. Proper storage keeps your seal ready for use anytime.
Your homemade seal is now clean and well-stored. Enjoy using it for your projects!
“`

Credit: www.terminix.com
Frequently Asked Questions
What Materials Do I Need To Make A Seal At Home?
You will need clay, a carving tool, a seal handle, and ink. These materials are essential for creating a homemade seal.
How Do I Carve A Seal Design?
Start by sketching your design on paper. Then transfer the design to the clay and carefully carve it out using a carving tool.
Can I Use Household Items To Make A Seal?
Yes, household items like a pencil, knife, or bottle cap can be used to create a simple seal.
How Long Does It Take To Make A Seal?
It typically takes a few hours to make a seal, including drying time. The carving process itself is quicker.
Conclusion
Creating a seal at home is easier than you think. Gather your materials and follow the steps. Practice makes perfect. Soon, you’ll craft seals like a pro. This skill can add a personal touch to letters and gifts. Enjoy the process and get creative.
Try different designs and techniques. Share your homemade seals with friends and family. They will surely appreciate your effort. Happy crafting!

Hi Friends, I’m SealerMrinal, your go-to expert for all things sealing. With years of hands-on experience across a wide range of materials—concrete, wood, metal, and more—I bring deep knowledge and practical insights into every sealing project. On my website, I share expert tips, proven techniques, and product recommendations to help you get the best results. Whether you’re tackling a DIY project or seeking professional-grade advice, I’m here to guide you through the art and science of effective sealing.

