How to Permanently Seal a Floor Drain: Step-by-Step Guide 2025
Sealing a floor drain permanently stops water and pests from entering. It also prevents unwanted odors.
Floor drains are useful, but sometimes you need to seal them. Maybe you want to stop pests or prevent smells. Or perhaps you want to avoid water damage. Sealing a floor drain is not hard, but you must do it right.
A proper seal will last a long time. It will give you peace of mind. This guide will show you how to permanently seal a floor drain. We will cover the steps and tools needed. By the end, you will know how to protect your home effectively. Let’s get started!
Preparation
Sealing a floor drain permanently requires careful preparation. This step ensures a successful, long-lasting outcome. The process involves gathering the necessary tools and observing safety precautions. Let’s dive into the key aspects of preparation.
Gathering Necessary Tools
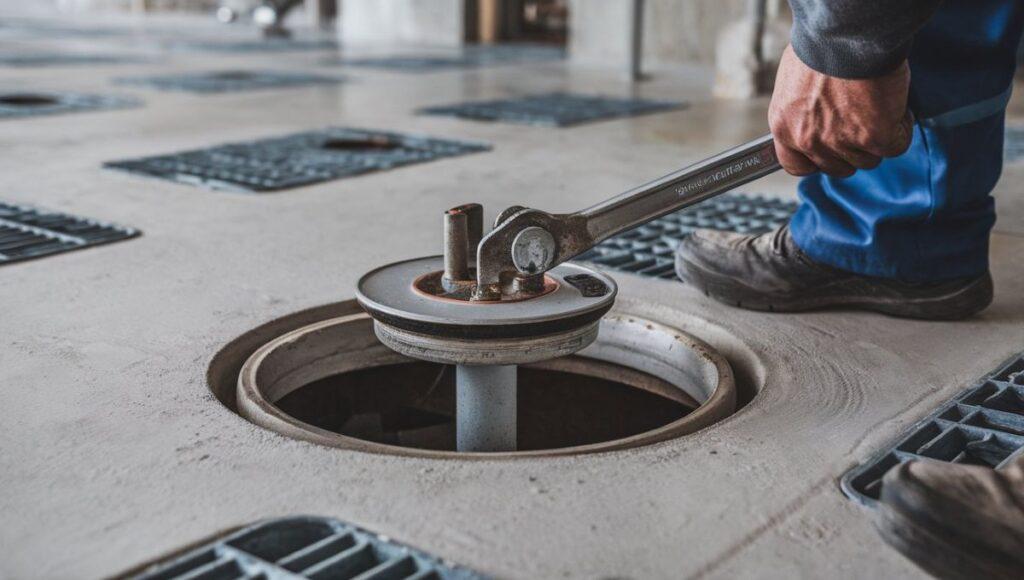
Begin by collecting all required tools. You will need a wrench, a screwdriver, and a utility knife. Also, get a drain plug, plumber’s putty, and a bucket. Having these items ready will save you time and effort.
Check your toolbox for any missing tools. If you lack any, visit your local hardware store. Proper tools make the task smoother and more efficient.
Safety Precautions
Prioritize your safety before starting. Wear gloves to protect your hands from sharp edges. Safety goggles will shield your eyes from debris. Make sure the area is well-ventilated to avoid inhaling fumes.
Keep a first-aid kit nearby. Accidents can happen, and being prepared is wise. Clear the workspace of any obstacles to prevent trips and falls.
Cleaning The Drain
Before sealing a floor drain permanently, it is crucial to clean it thoroughly. Proper cleaning ensures that no debris or residue remains, which could hinder the sealing process. A clean drain provides a smooth surface, making the seal more effective and long-lasting.
Removing Debris
Begin by removing any visible debris from the drain. Use gloves to protect your hands while doing this. Pick out any large objects and dispose of them properly. Then, use a brush to scrub away smaller particles stuck inside the drain.
For stubborn debris, try using a wire hanger. Straighten the hanger and create a small hook at one end. Insert the hook into the drain and pull out any remaining debris. This step ensures that the drain is clear and ready for the next cleaning phase.
Cleaning With A Drain Cleaner
Once the debris is removed, apply a drain cleaner. Choose a cleaner suitable for your floor type. Pour the cleaner into the drain according to the instructions on the bottle. Let it sit for the recommended time to dissolve any grime.
After the cleaner has done its job, flush the drain with hot water. This helps to wash away the dissolved grime and cleaner residue. Repeat this process if necessary until the drain is completely clean. A clean drain ensures a strong and durable seal.
Inspecting The Drain
Before you can successfully seal a floor drain permanently, you need to inspect it thoroughly. This step is crucial to ensure the sealing process is effective and long-lasting. Neglecting the inspection can lead to future problems, like leaks or structural damage, which can be costly and frustrating.
Checking For Damage
Start by examining the drain for any visible damage. Look for cracks, rust, or other signs of wear and tear. These issues can compromise the integrity of the seal.
Use a flashlight to get a clear view inside the drain. Sometimes, the damage isn’t obvious at first glance. If you find any serious issues, you may need professional help before proceeding.
Remember the time I tried to seal my basement drain without checking it properly? I ended up with a flooded basement after the first heavy rain. Don’t make the same mistake.
Assessing The Seal Condition
Next, evaluate the current condition of the seal around the drain. If the seal is deteriorating or missing, it won’t effectively block water or debris.
Gently probe the seal with a screwdriver or similar tool. If it crumbles easily or feels loose, it’s time to replace it. A strong, intact seal is essential for a permanent solution.
Think about the peace of mind you’ll have knowing your drain is sealed correctly. No more worrying about unwanted water damage. Isn’t that worth a little extra effort now?
Inspecting the drain might seem like a small step, but it’s a game-changer. By checking for damage and assessing the seal condition, you set yourself up for success. Have you inspected your drain thoroughly? If not, now is the perfect time to do so.
Sealing The Drain
Permanently sealing a floor drain prevents unwanted odors and pests from entering your home. Use a rubber gasket and cement to ensure a tight seal. Make sure the area is clean and dry before applying materials.
Sealing a floor drain can seem like a daunting task, but it’s entirely doable with the right tools and steps. Whether you’re looking to prevent leaks, eliminate odors, or stop pests from entering your home, sealing your floor drain can offer peace of mind. Below, we’ll discuss two effective methods: applying a sealant and using a drain plug.
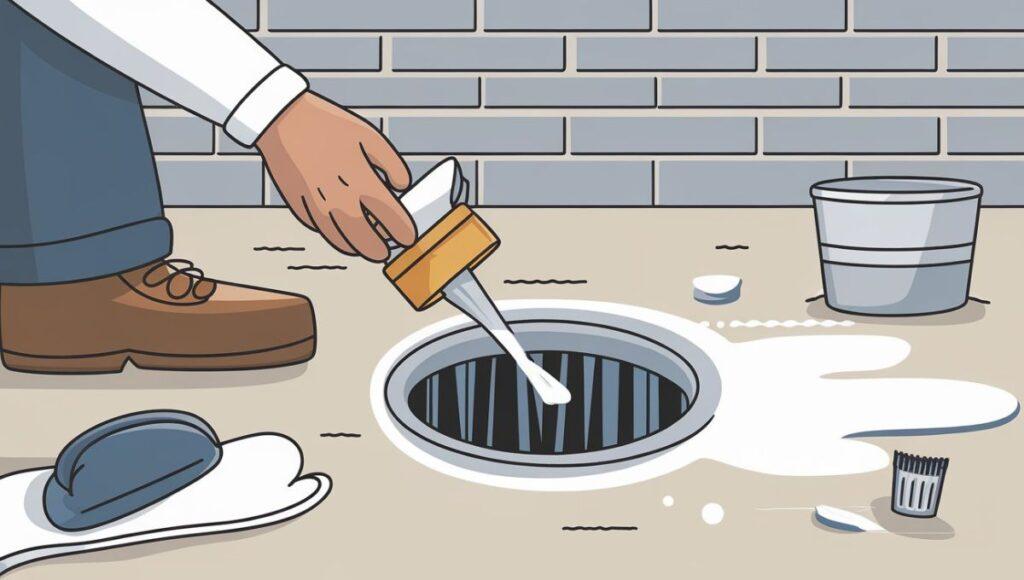
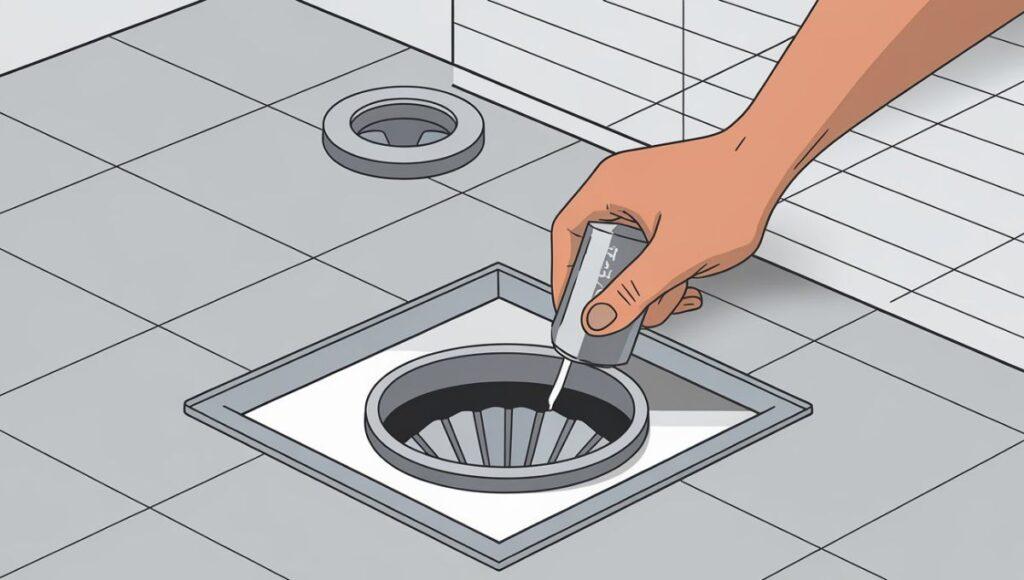
Applying A Sealant
Applying a sealant is one of the most straightforward ways to seal a floor drain. First, you need to ensure the drain is clean and dry. Any moisture or debris can prevent the sealant from adhering properly.
Use a high-quality silicone or polyurethane sealant. These materials are flexible and durable, making them perfect for this job. Squeeze the sealant around the edge of the drain, filling in any gaps.
Smooth the sealant with a gloved finger or a tool. This will ensure a tight seal. Allow it to cure as per the manufacturer’s instructions. Usually, this takes about 24 hours.
Using A Drain Plug
A drain plug is another effective method to seal a floor drain. It’s quick and requires minimal effort. Choose a plug that fits snugly into your drain.
Insert the plug into the drain and press it down firmly. Make sure it sits flush with the floor. This will create an airtight seal.
If you have an older drain, you might need a rubber expansion plug. Tighten the wing nut on top to expand the plug inside the drain. This will secure it in place.
Have you ever considered the long-term benefits of sealing your floor drain? Taking these small steps can save you from future headaches and repair costs. Whether you choose a sealant or a drain plug, both methods provide a reliable solution.
Are you ready to tackle this project? With these simple steps, you can ensure your floor drain is sealed effectively.
Finalizing The Seal
Sealing a floor drain permanently prevents unwanted odors and pests. Use a reliable sealant to block the drain securely. Ensure the area is clean and dry before applying the sealant.
Finalizing the Seal
You’ve done the hard work of preparing and sealing your floor drain. Now, it’s time to ensure everything sets correctly and the seal is perfect. This final step is crucial for long-term success.
Allowing Time To Cure
Patience is key here. Allow the sealant to cure fully before testing it. Different products have different curing times, so check the manufacturer’s instructions.
In my experience, waiting at least 24 hours can make a huge difference. I once rushed this step and ended up with a leaky seal. Trust me, you don’t want to redo this process.
Ensure the area is undisturbed during this time. Keep pets and kids away to avoid accidental tampering.
Testing The Seal
After the curing period, it’s time to test the seal. Pour a small amount of water around the drain. Check for any signs of leaks or moisture.
If everything looks good, you’ve done a great job. If not, you may need to apply another layer of sealant.
A quick tip: Use a flashlight to inspect closely. Sometimes leaks are tiny and hard to see with the naked eye.
How confident do you feel about your sealing job? Testing ensures peace of mind and confirms your work is solid.
Finalizing the seal properly ensures that your floor drain remains functional and leak-free for years. Take your time with these final steps, and you’ll thank yourself later.
Alternative Methods
Sealing a floor drain permanently can prevent unwanted odors or pests. There are several methods to achieve this. Here, we explore alternative techniques that can be effective and simple. These methods include using a concrete patch and installing a permanent cap.
Using A Concrete Patch
A concrete patch offers a durable solution. Clean the drain thoroughly. Remove any debris or standing water. Prepare the concrete mix according to the instructions. Pour the mix into the drain opening. Smooth the surface with a trowel. Allow the patch to cure fully. This method creates a solid seal, preventing any future issues.
Installing A Permanent Cap
Another effective method is installing a permanent cap. Measure the drain opening to ensure a proper fit. Purchase a cap designed for your drain type. Clean the drain and apply a strong adhesive around the edge. Place the cap over the opening and press firmly. Allow the adhesive to dry completely. This method provides an easy and secure seal for your floor drain.
Maintenance Tips
Maintaining a sealed floor drain is essential for a clean and odor-free space. Regular maintenance helps prevent clogs and costly repairs. Follow these tips to keep your floor drain in top condition.
Regular Inspections
Inspect the floor drain regularly for any signs of wear or damage. Look for cracks or gaps in the seal. Check the drain cover for debris or blockage. Remove any visible dirt or hair to ensure smooth water flow.
Preventing Future Issues
Use a drain cover to catch debris before it enters the drain. This simple step can prevent clogs and buildup. Pour a gallon of water down the drain monthly. This keeps the trap full and prevents sewer gases from entering your home. Avoid pouring grease or heavy oils down the drain. These substances can harden and cause clogs over time.
Frequently Asked Questions
How To Permanently Close A Floor Drain?
To permanently close a floor drain, remove the drain cover. Fill the pipe with hydraulic cement. Seal it completely.
How Do You Waterproof A Floor Drain?
Apply a waterproofing membrane around the drain. Seal with silicone caulk. Ensure proper installation to prevent leaks.
How To Block Off An Unused Drain?
To block off an unused drain, use a rubber drain plug or cap. Seal with plumber’s tape or silicone caulk for extra protection.
How To Keep Floor Drains From Drying Out?
Pour water or a mix of water and mineral oil down the floor drains regularly. This prevents them from drying out.
Conclusion
Sealing a floor drain permanently is simple. Follow the steps carefully. Ensure you have the right tools and materials. Clean the drain thoroughly before sealing. Use a strong sealant for lasting results. Check the seal regularly for any issues. This helps prevent unwanted leaks.
Enjoy peace of mind with a properly sealed drain. Your home will stay cleaner and safer.

Hi Friends, I’m SealerMrinal, your go-to expert for all things sealing. With years of hands-on experience across a wide range of materials—concrete, wood, metal, and more—I bring deep knowledge and practical insights into every sealing project. On my website, I share expert tips, proven techniques, and product recommendations to help you get the best results. Whether you’re tackling a DIY project or seeking professional-grade advice, I’m here to guide you through the art and science of effective sealing.