How to Remove And Replace Sealant: Expert DIY Guide
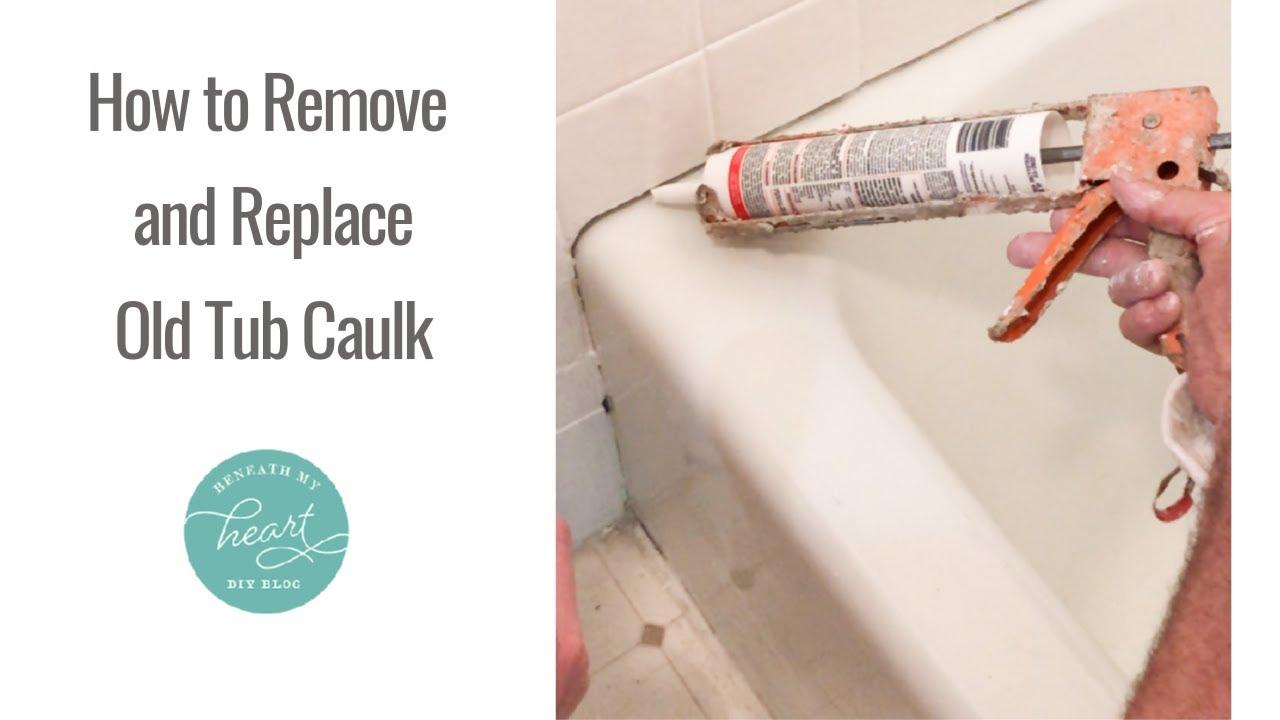
Removing and replacing sealant can seem like a daunting task. But with the right tools and steps, it’s quite manageable.
Sealant, often used in bathrooms and kitchens, helps prevent water damage. Over time, it can wear out or get moldy. Replacing it ensures your surfaces stay protected and looking fresh. In this guide, you’ll learn how to remove old sealant and apply new sealant effectively.
This process will help maintain the longevity of your tiles and fixtures. Whether you’re a DIY enthusiast or a novice, these simple steps will make the task easier. Let’s dive in and get your surfaces looking as good as new!
Tools Needed
Removing and replacing sealant can seem daunting. But with the right tools, the task becomes much easier. This section outlines the tools you need. Whether you’re a beginner or an expert, having the right tools is key.
Essential Tools
To successfully remove and replace sealant, you must have the following tools:
- Utility Knife: Essential for cutting through old sealant.
- Caulk Remover Tool: Scrapes off the old sealant effectively.
- Caulk Gun: Applies the new sealant smoothly.
- Sealant: Choose a high-quality sealant for best results.
- Rubbing Alcohol: Cleans the surface before applying new sealant.
- Rags: Wipe away debris and clean the area.
Optional Tools
While not necessary, these tools can make the job easier:
- Painter’s Tape: Helps create clean lines when applying new sealant.
- Hair Dryer: Softens old sealant for easier removal.
- Smoothing Tool: Ensures an even application of the new sealant.
- Gloves: Protect your hands from chemicals and sharp edges.
- Sponge: Useful for cleaning up after the job is done.
Having these tools on hand can save time. They also help make the process smoother and more efficient.
:max_bytes(150000):strip_icc()/how-to-remove-old-caulk-1824827-hero-4863fcf5169e426da8f822429ed46301.jpg)
Credit: www.thespruce.com
Safety Precautions
Removing and replacing sealant requires careful attention to safety. It’s important to protect yourself and prepare your work area. Follow these guidelines to ensure a smooth and safe process.
Protective Gear
Wearing the right protective gear is crucial. This helps to prevent any injuries or health risks during the task.
- Gloves: Use durable gloves to protect your hands from chemicals and sharp tools.
- Safety Glasses: Wear safety glasses to guard your eyes from debris and splashes.
- Respirator Mask: A respirator mask will help you avoid inhaling harmful fumes.
Work Area Preparation
Preparing your work area ensures a smooth workflow and minimizes hazards. Follow these steps to set up your space effectively:
- Ventilation: Ensure the area is well-ventilated to disperse any harmful fumes.
- Clear the Area: Remove any unnecessary items to create a clear workspace.
- Cover Surfaces: Use drop cloths or plastic sheets to protect surrounding surfaces from sealant spills.
- Tool Organization: Arrange your tools within reach to avoid unnecessary movements.
Choosing The Right Sealant
Learn how to remove and replace sealant with ease. Use a knife to cut away old sealant carefully. Apply new sealant smoothly for a clean finish.
Selecting the correct sealant for your project is crucial. It ensures the longevity and quality of the work. With many types of sealants available, it can be overwhelming. This section will guide you through the process.
Types Of Sealants
There are several types of sealants. Each has its unique properties. Silicone sealants are flexible and water-resistant. They are ideal for bathrooms and kitchens. Acrylic sealants are paintable. They work well for indoor projects. Polyurethane sealants are durable and tough. They are perfect for outdoor use.
Best Sealant For Your Project
Choosing the best sealant depends on your project needs. For wet areas like bathrooms, silicone is best. It provides a strong, water-resistant barrier. For areas needing painting, use acrylic sealants. They blend well with walls and ceilings. For outdoor projects, choose polyurethane. It withstands harsh weather conditions.
Understanding the types of sealants helps you select the right one. This ensures your project is successful and long-lasting.
Credit: www.dap.com
Preparing The Surface
Proper surface preparation is crucial for effective sealant replacement. This step ensures the new sealant adheres well. It also helps prevent future leaks and damage.
Cleaning The Area
Start by cleaning the area around the old sealant. Use a damp cloth with mild soap. Gently scrub to remove dirt, dust, and grime. Rinse the area with clean water. Let it dry completely.
For stubborn stains, use a stronger cleaner. But be careful. Avoid harsh chemicals that could damage the surface. Always wear gloves for protection.
Removing Old Sealant
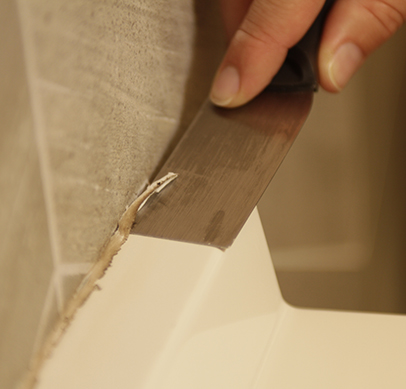
Use a utility knife or a sealant remover tool. Carefully cut along the edges of the old sealant. Be gentle to avoid damaging the surface underneath. Pull the old sealant away from the joint.
If the old sealant is stubborn, apply a sealant remover solution. Let it sit for the recommended time. Scrape off the softened sealant with your tool. Clean the area again to remove any residue.
Ensure the surface is smooth and dry. Now, it is ready for new sealant application.
Applying The New Sealant
Applying new sealant is an essential step in ensuring a tight seal. This process involves a few crucial steps to achieve a professional finish. Let’s dive into the key aspects of applying the new sealant.
Cutting The Nozzle
First, cut the nozzle at a 45-degree angle. Ensure the opening matches the width of the joint. A sharp utility knife works best for this. Always cut the nozzle tip smaller at first. You can always cut more if needed. This method provides better control during application.
Even Application Techniques
Start by applying steady pressure on the caulking gun. Move the nozzle smoothly along the joint. Keep the gun at a consistent angle for an even bead. Do not rush; a slow pace ensures an even line. After applying the sealant, smooth it with a wet finger or a sealant tool. This step ensures the sealant adheres well and fills all gaps. Remove any excess sealant with a damp cloth promptly.
Smoothing The Sealant
Smoothing the sealant is a crucial step in achieving a neat finish. It can make the difference between a professional look and a messy job. This process helps to create a uniform and waterproof seal. Here’s how you can do it effectively.
Using A Tool
Using a tool is the most efficient way to smooth sealant. A sealant smoothing tool or a caulking tool is perfect for this task. These tools are designed to create a smooth and even surface. Simply run the tool along the sealant line. Apply even pressure and move steadily. This will help remove any excess sealant. It also ensures a consistent and clean line.
Diy Methods
DIY methods can also be effective for smoothing sealant. You can use your finger for this task. Wet your finger with soapy water. Gently run it along the sealant line. The soapy water prevents the sealant from sticking. This method is simple but effective. Another DIY tool is a plastic spoon. The curved edge helps in creating a smooth finish. You can also use a popsicle stick for smaller areas. Ensure you move in one continuous motion. This prevents gaps and creates a uniform line.
Curing Time
Understanding the curing time of sealant is essential for a successful application. It ensures the sealant bonds properly and achieves maximum strength. Curing time varies by product and environmental conditions. Let’s explore the important aspects of curing time for sealant.
Drying Period
The drying period is the initial phase of curing. This is when the sealant starts to harden. On average, sealant takes 30 minutes to form a skin. But this can vary. Temperature and humidity play a big role. Warmer, drier conditions speed up drying. Cooler, humid conditions slow it down.
When To Use The Area
Patience is key during the curing time. Avoid using the sealed area immediately. Full curing can take 24 hours or more. Check the product instructions for exact times. Using the area too soon can weaken the sealant. It may not bond properly. Wait until the sealant is fully cured for the best results.
Common Mistakes
Removing and replacing sealant can seem straightforward. But many people make common mistakes. These errors can lead to bigger problems. Understanding these mistakes is key to a successful sealant project. Let’s explore the common mistakes and how to avoid them.
What To Avoid
Many people rush the removal process. They do not remove all the old sealant. This can cause poor adhesion of the new sealant. Always ensure the surface is clean and dry.
Another mistake is using the wrong type of sealant. Different projects need different sealants. Using the wrong kind can lead to leaks and damage. Always choose the right sealant for your project.
Improper application is also common. Applying too much or too little sealant can cause issues. Follow the instructions carefully to get the best result.
Fixing Errors
If you make a mistake, do not panic. You can fix it. If you missed some old sealant, remove it and clean the area again.
Using the wrong sealant? Remove it and apply the correct type. This can save you from future problems.
Applied too much sealant? Use a scraper to remove the excess. Applied too little? Add more sealant to fill the gaps.
By avoiding these common mistakes, your sealant project will be more successful. Proper preparation and application are key. Pay attention to details, and you will achieve a great result.

Credit: www.youtube.com
Frequently Asked Questions
How Do You Remove Old Sealant?
To remove old sealant, use a utility knife or scraper. Cut along the edges and peel it away. Clean the surface thoroughly before applying new sealant.
What Tools Do I Need To Replace Sealant?
You need a utility knife, scraper, and sealant remover. Additionally, have a caulk gun, new sealant, and cleaning supplies ready.
How Long Does Sealant Take To Dry?
Sealant typically takes 24 hours to fully dry. However, it may vary depending on the type and brand of sealant used.
Can I Apply New Sealant Over Old Sealant?
It’s best to remove old sealant before applying new. This ensures a clean, strong bond and prevents future issues.
Conclusion
Removing and replacing sealant is a simple DIY task. Gather your tools. Follow the steps carefully. Ensure the surface is clean and dry. Apply new sealant smoothly. Allow it to dry completely. Check for gaps or leaks. Regular maintenance extends the life of your sealant.
With practice, the process becomes easier. Your home will look neat and well-maintained. Enjoy your improved space!

Hi Friends, I’m SealerMrinal, your go-to expert for all things sealing. With years of hands-on experience across a wide range of materials—concrete, wood, metal, and more—I bring deep knowledge and practical insights into every sealing project. On my website, I share expert tips, proven techniques, and product recommendations to help you get the best results. Whether you’re tackling a DIY project or seeking professional-grade advice, I’m here to guide you through the art and science of effective sealing.

