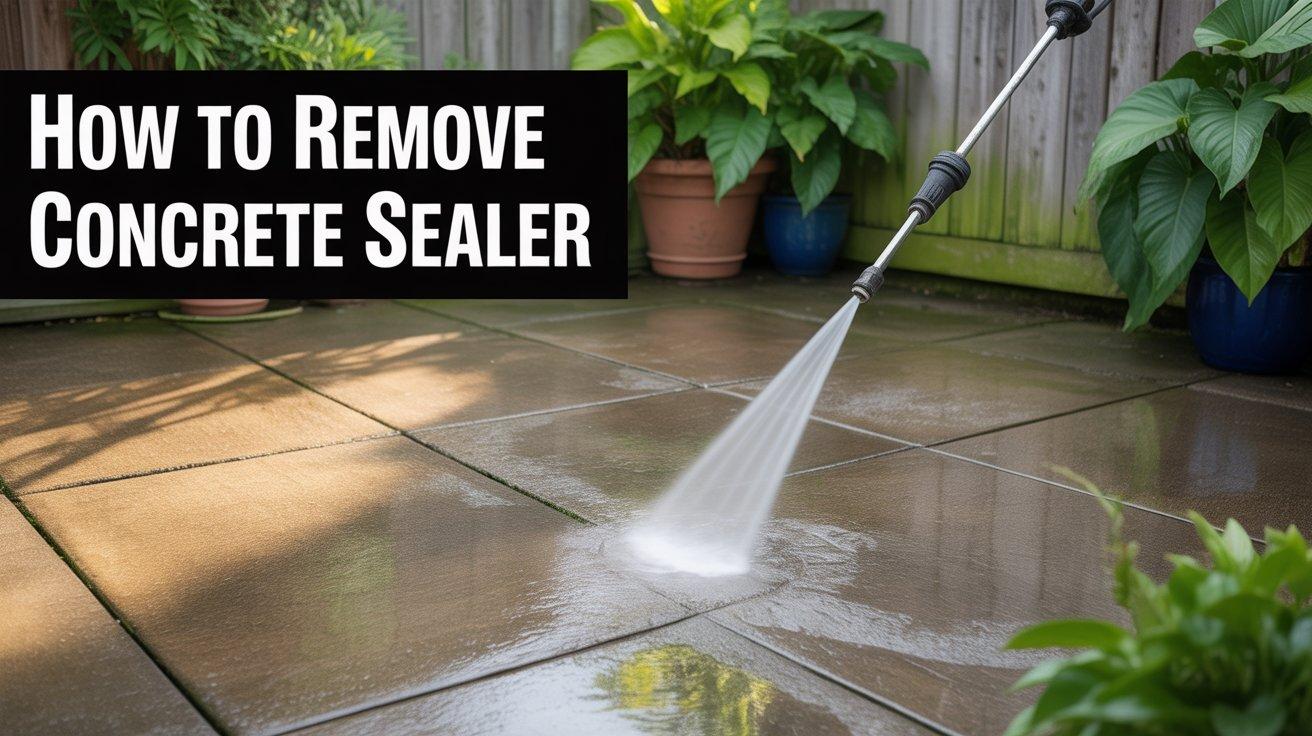
How to Remove Concrete Sealer: Easy DIY Techniques
Concrete sealers protect concrete surfaces. They make surfaces last longer. But sometimes, you need to remove the sealer. Maybe the sealer is old or damaged. Perhaps you want a new look. This guide will help you remove concrete sealer.
Why Remove Concrete Sealer?
Sealers can wear out over time. They may turn yellow or peel. Removing the old sealer makes your concrete fresh again. It prepares the surface for a new sealer. This keeps your concrete looking its best.
What You Will Need
- Protective gloves
- Safety goggles
- Mask for breathing
- Concrete sealer remover
- Brush or broom
- Power washer or hose
- Scraper or putty knife
Safety First
Always be safe. Wear gloves to protect your hands. Use goggles to protect your eyes. Wear a mask to avoid breathing in fumes. Safety is very important.
Steps to Remove Concrete Sealer
Step 1: Clean The Surface
First, clean the concrete surface. Use a broom to sweep away dirt and debris. Cleaning helps the remover work better. Clean surfaces are easier to work with.
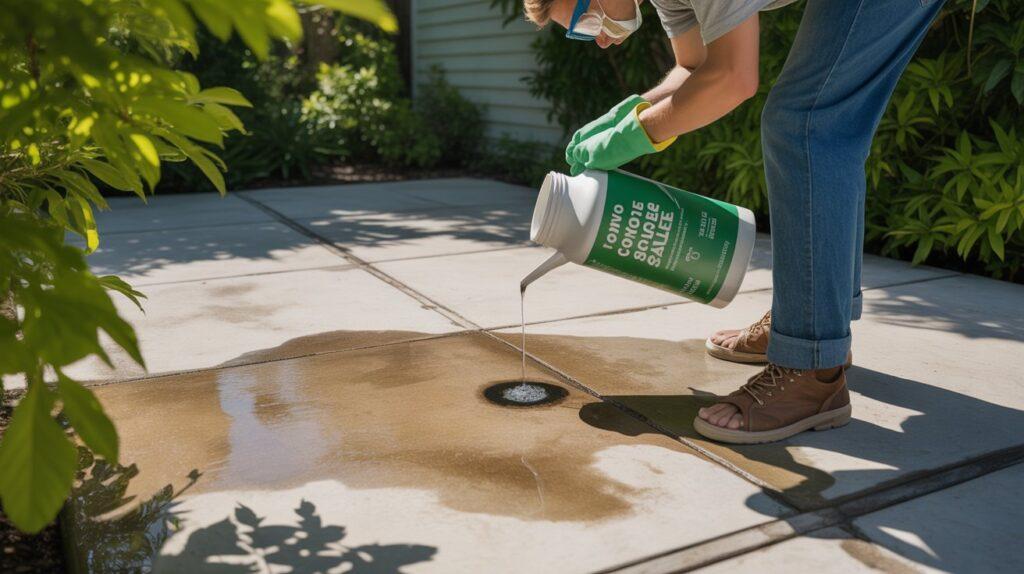
Step 2: Apply The Sealer Remover
Next, apply the sealer remover. Read the instructions on the remover. Follow them carefully. Pour the remover onto the concrete. Spread it evenly with a brush. Make sure the entire area is covered.
Step 3: Let It Sit
Let the remover sit on the concrete. Leave it for the time on the instructions. This allows the remover to break down the sealer. Be patient. This step is important for success.
Step 4: Scrape Off The Sealer
Now, it is time to scrape. Use a scraper or putty knife. Gently scrape off the sealer. Be careful not to damage the concrete. If the sealer is tough, apply more remover and wait.
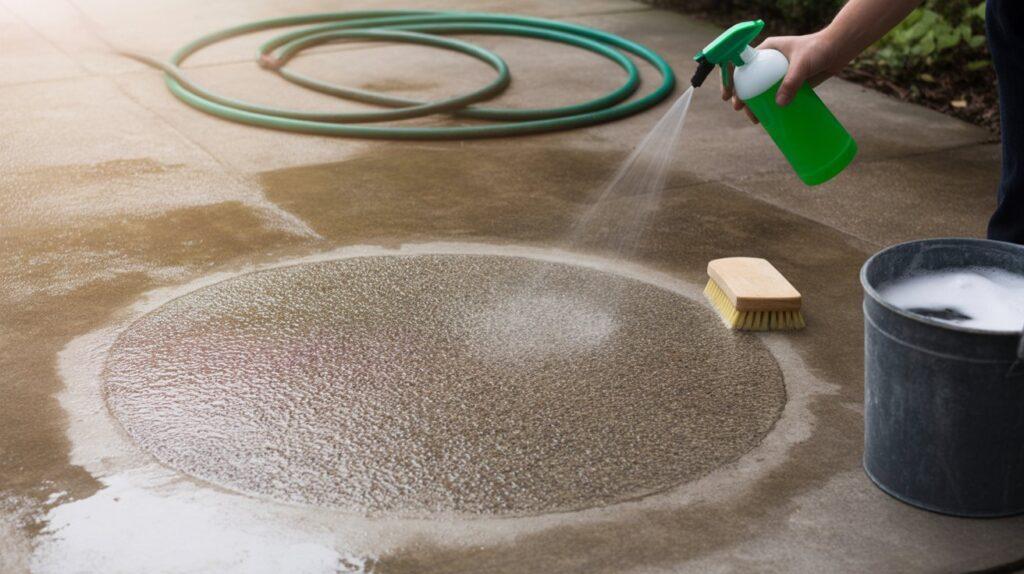
Step 5: Wash The Surface
After scraping, wash the surface. Use a power washer or a garden hose. Wash away any leftover remover. Make sure the concrete is clean. It should be free of any sealer residue.
Step 6: Check The Surface
Check the concrete surface. Look for any sealer you missed. If you find some, repeat the process. Apply more remover, wait, and scrape again. Make sure the surface is completely clean.
Tips for Success
- Work in small sections. This makes the job easier.
- Choose the right remover for your sealer type.
- Test the remover on a small area first.
- Do not rush. Let the remover work.
Common Mistakes to Avoid
Do not skip cleaning the surface first. Dirt makes removal harder. Avoid using too much pressure when scraping. This can damage concrete. Do not forget to wash the surface after scraping. Leftover remover can cause issues.
After Removing the Sealer
Once the sealer is gone, let the concrete dry. This may take a day or two. Dry concrete is important for the next step. After drying, consider applying a new sealer. This protects your concrete and keeps it looking good.
Choosing a New Sealer
There are many sealers to choose from. Pick a sealer based on your needs. Some sealers enhance color. Others protect against stains. Read labels and choose wisely. A good sealer extends the life of your concrete.
Benefits of a New Sealer
- Prevents water damage
- Protects against stains
- Improves appearance
- Makes cleaning easier
Frequently Asked Questions
What Tools Do I Need To Remove Concrete Sealer?
You need a pressure washer, solvent, and protective gear. Ensure safety by wearing gloves and goggles.
Can I Remove Concrete Sealer By Myself?
Yes, you can. Follow safety guidelines. Use the right tools. Be patient during the process.
Is Removing Concrete Sealer Expensive?
Costs vary. DIY is cheaper. Professional help may cost more. Prices depend on sealer type and size.
How Long Does It Take To Remove Concrete Sealer?
Depends on area size and sealer type. Small areas may take hours. Larger spaces might take days.
Conclusion
Removing concrete sealer is an important task. It keeps your concrete looking fresh. Follow these steps for success. Remember to stay safe and be patient. With the right tools and effort, you can do it. Once done, enjoy your clean and beautiful concrete surface.