How to Remove Lexel Sealant without Damaging Surfaces: Tools and Techniques
If you’ve ever been faced with the task of removing Lexel sealant, you might have felt overwhelmed, especially if it’s your first time dealing with it. But let me assure you, it’s easier than you might imagine. With the right set of tools and a bit of know-how, it becomes a relatively straightforward process.
In this blog post, I will guide you through a detailed, step-by-step process on how to remove Lexel sealant. Plus, I will introduce you to a handy product available on Amazon that can make this job significantly easier for you.
What is Lexel Sealant?
Lexel sealant is a high-performance adhesive and sealant that offers excellent adhesion to a wide range of materials, including glass, metal, wood, and plastics. It is known for its flexibility, durability, and resistance to harsh weather conditions. Lexel sealant forms a watertight, long-lasting bond, making it a popular choice for various sealing applications.
Essential Tools and Materials to Remove Lexel Sealant
Before you dive into the task, it’s important to ensure you have all the necessary materials on hand. Here’s a list of items you’ll need to carry out the process smoothly:
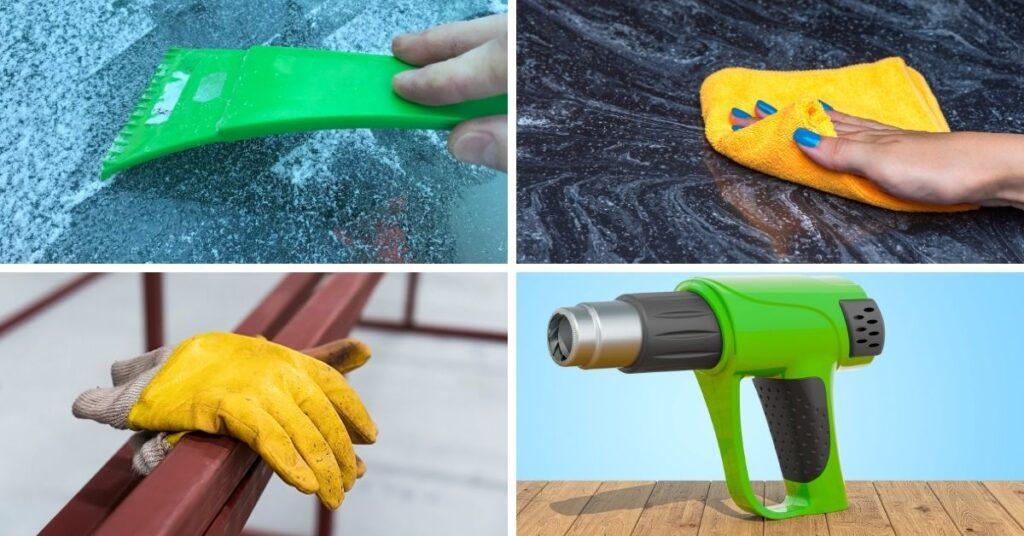
1. Safety Glasses
Protecting your eyes is paramount when dealing with materials like Lexel sealant. Safety glasses will provide the required shield against any potential splashes or debris.
2. Work Gloves
A good pair of work gloves will keep your hands clean and protect them from any accidental cuts or scrapes during the process.
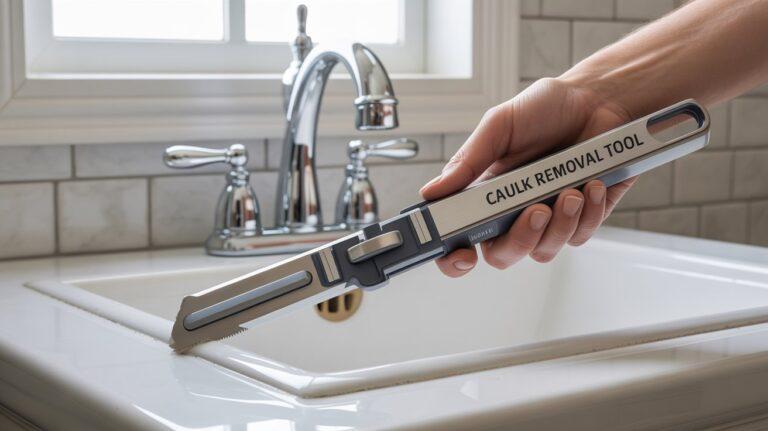
3. Plastic Scraper or Putty Knife
This is an essential tool for scraping off the sealant. Opt for plastic to avoid damaging the surface underneath the sealant.
4. Hairdryer or Heat Gun
A heat source like a hairdryer or a heat gun is needed to soften the sealant, making it easier to remove.
5. Paper Towels or Rags
You’ll need these for clean-up purposes. It’s always handy to have them around to wipe off any residue or excess sealant remover quickly.
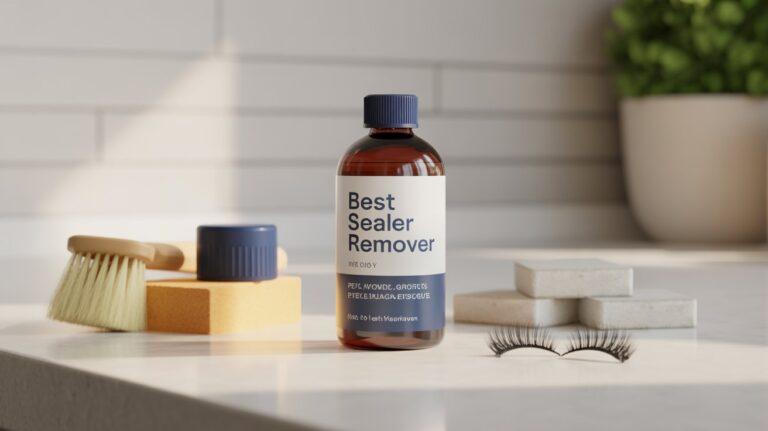
6. Effective Lexel Sealant Remover
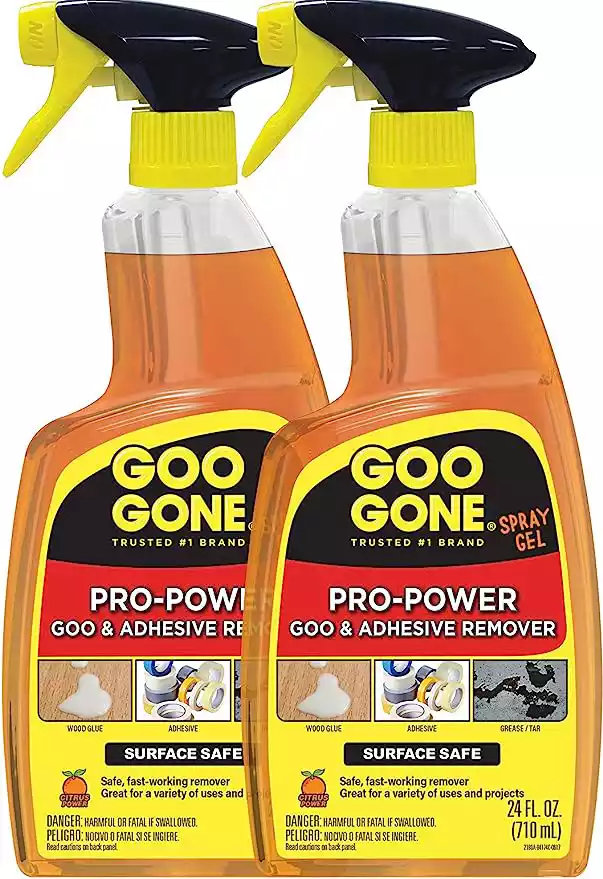
A potent sealant remover is key for a smooth and efficient sealant removal process. I suggest Goo Gone Pro-Power, which you can conveniently find on Amazon. It’s proven to be reliable and effective in tackling stubborn sealant.
Remember, being well-prepared makes the task easier and ensures it’s done effectively and safely.
Detailed Walkthrough: How to Remove Lexel Sealant
Here’s a comprehensive, step-by-step guide
Step 1: Prepping the Area
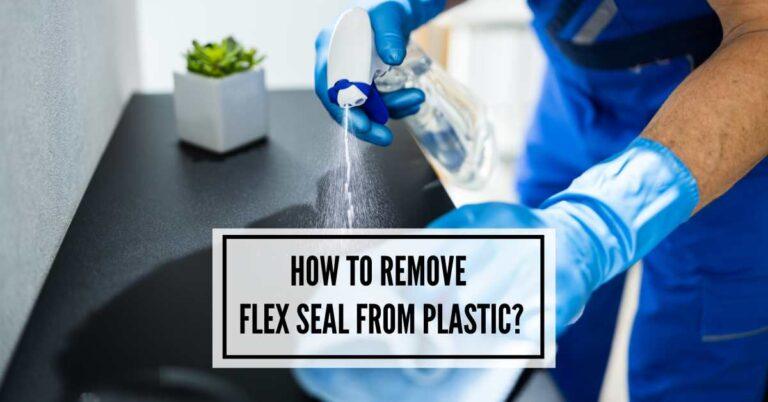
Safety should always come first. To start, make sure you put on your safety glasses and work gloves. These will protect your eyes and hands against potential hazards during the sealant removal.
Step 2: Soften the Lexel Sealant
This is where your heat source – a hair dryer or heat gun – comes into play. Gently warm the sealant until it starts to soften. Be cautious during this process; avoid overheating the sealant, potentially harming the surrounding materials.
Step 3: Scraping Off the Sealant
With the sealant softened, you’re now ready to scrape it off. Utilize your plastic scraper or putty knife for this purpose. Initiate from an edge and slowly work your way toward the center of the sealant. Be patient and gentle during this process to avoid causing any damage to the underlying surface.
Step 4: Applying the Sealant Remover
If you find the sealant quite stubborn and not coming off easily, it’s time to bring out your secret weapon – the sealant remover. The Goo Gone Pro-Power is a great choice for this task. Coat the remaining sealant with the remover and let it sit for a few minutes. This product works by breaking down the sealant’s structure, making it easier to scrape off.
Step 5: Final Clean Up
After successfully removing all the sealant, it’s time for the final cleanup. Wipe down the area with a damp cloth or paper towel to get rid of any remaining sealant remover. Be thorough during this step to ensure that all traces of the sealant and remover are gone, leaving you with a clean, fresh surface.
The daunting task of removing Lexel sealant becomes a manageable and satisfying DIY project by following these steps.
The Pros of Using Goo Gone Pro-Power
When pondering over what is the best way to remove Lexel sealant, and more specifically, how to tackle removing dried Lexel sealant, Goo Gone Pro-Power emerges as a clear winner for several reasons. Here’s why this product is a standout:
i) Efficacy
The fundamental reason for recommending Goo Gone Pro-Power is its efficiency in breaking down the Lexel sealant. By disrupting the structure of the sealant, it makes it significantly easier to scrape off, thus simplifying the entire removal process.
ii) Versatility
Another impressive feature of this product is its versatility. It’s not just limited to sealants; Goo Gone Pro-Power also works effectively in removing other sticky substances like glue, tape residues, and various adhesives. This multi-purpose utility makes it a valuable addition to any tool kit.
iii) Safety
A crucial aspect to consider while choosing a sealant remover is its safety on various surfaces. Goo Gone Pro-Power scores high in this regard as it’s safe for use on a wide range of materials, including metal, glass, plastic, and wood. This ensures that while removing the sealant, you’re not compromising the integrity of the surface beneath.
Thus, Goo Gone Pro-Power is effective and versatile and safe, making it an excellent choice for your Lexel sealant removal needs.
The Downside of Goo Gone Pro-Power
While Goo Gone Pro-Power has numerous advantages that make it an excellent choice for sealant removal, it’s also important to note some potential disadvantages that users might encounter:
i) Residue
One common issue users report is that Goo Gone Pro-Powe can sometimes leave a greasy residue behind. This can necessitate an additional cleaning step to remove this residue from the surface altogether.
ii) Smell
Some users have reported that the product has a strong smell which they found unpleasant. If you’re sensitive to strong odors, you should ensure proper ventilation while using it.
iii) Effect on Certain Plastics
While Goo Gone Pro-Power is generally safe for most surfaces, it can cause damage to certain types of plastic surfaces. Therefore, testing the product on a small, inconspicuous area is essential.
iv) Potential Skin Irritation
Although this isn’t common, some people may experience skin irritation when using Goo Gone Pro-Power. Wearing gloves during application can help prevent this issue.
v) Not Effective on All Types of Adhesives
While Goo Gone Pro-Power works well on most adhesives and sealants, some materials might need help. This is a typical limitation of most removal products and is not unique to Goo Gone Pro-Power.
In conclusion, while Goo Gone Pro-Power is generally a great product for removing Lexel sealant and other adhesives, it’s essential to be aware of these potential issues to make an informed decision and utilize the product effectively.
FAQ’s
Can I Use A Regular Knife Instead of a Plastic Scraper or Putty Knife for Scoring the Sealant?
It’s best to use a plastic scraper or putty knife as they provide better control and precision when scoring the sealant. Regular knives or razors may not be as effective and could cause damage to the surface.
What If the Sealant Doesn’t Soften Even After Using A Sealant Softener?
If the sealant doesn’t soften after using a sealant softener, you may need to consult a professional for assistance. They can recommend alternative methods or provide specialized solutions.
Can I Reuse Lexel Sealant Once It Has Been Removed?
No, it is not recommended to reuse Lexel sealant once removed. Its adhesive properties may have diminished, and reusing it could compromise the effectiveness of the seal.
Is It Necessary to Clean the Surface After Removing the Lexel Sealant?
Yes, cleaning the surface after removing Lexel sealant is important to ensure no residue or adhesive is left behind. A clean surface allows for better adhesion when applying new sealant or making repairs.
Can I Remove Lexel Sealant from All Types of Surfaces?
Lexel sealant can be removed from most surfaces, including glass, wood, metal, plastic, and ceramic, by using a solvent or a remover.
Wrapping Up
And there we go! You now have a detailed and thorough guide on how to remove Lexel sealant at your disposal. It’s important to remember that the secret to successful sealant removal lies in patience and the correct tools. By following this guide and utilizing the recommended product, Goo Gone Pro-Power, you should find this task far less intimidating and more manageable. So, gear up and prepare to take on this DIY project confidently and enthusiastically. Happy sealant-removing!

I am Robert Sandin, a professional sealing expert with a diverse range of expertise. From concrete to various other materials, I possess in-depth knowledge and experience in the art of sealing. On my website, I offer valuable tips and expert recommendations on sealing techniques and products for different materials. Whether it’s concrete, wood, metal, or more, I am committed to providing you with the guidance you need for successful sealing projects.

