How to Remove Lexel Sealant: Step-by-Step Guide
Removing Lexel sealant can seem challenging. But with the right steps, it’s simple.
Lexel is a strong, durable sealant. It’s great for many surfaces. But if you need to remove it, you must do it carefully. In this guide, you’ll learn how to remove Lexel sealant effectively. We’ll cover the tools you need and the steps to follow.
Whether it’s on wood, metal, or glass, you can get it off without damage. By the end, you’ll know how to handle Lexel sealant with ease. Ready to tackle that sealant? Let’s get started.
Gathering Materials
Removing Lexel sealant can be a tricky task. But with the right materials, it becomes much easier. This section will guide you on what you need for the job. Gather all your tools and safety gear before starting.
Required Tools
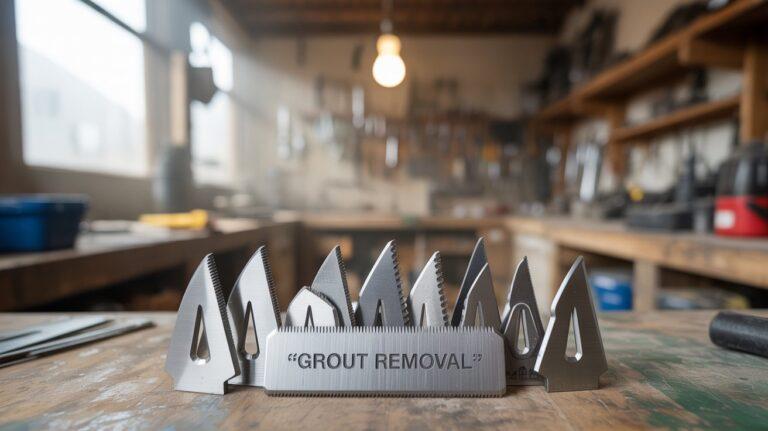
To remove Lexel sealant, you need a few specific tools. A utility knife is essential. It helps you cut through the sealant. A putty knife is also useful. It helps you scrape off the sealant. Pliers can help you pull off any stubborn pieces. Make sure you have these tools ready.
Safety Gear
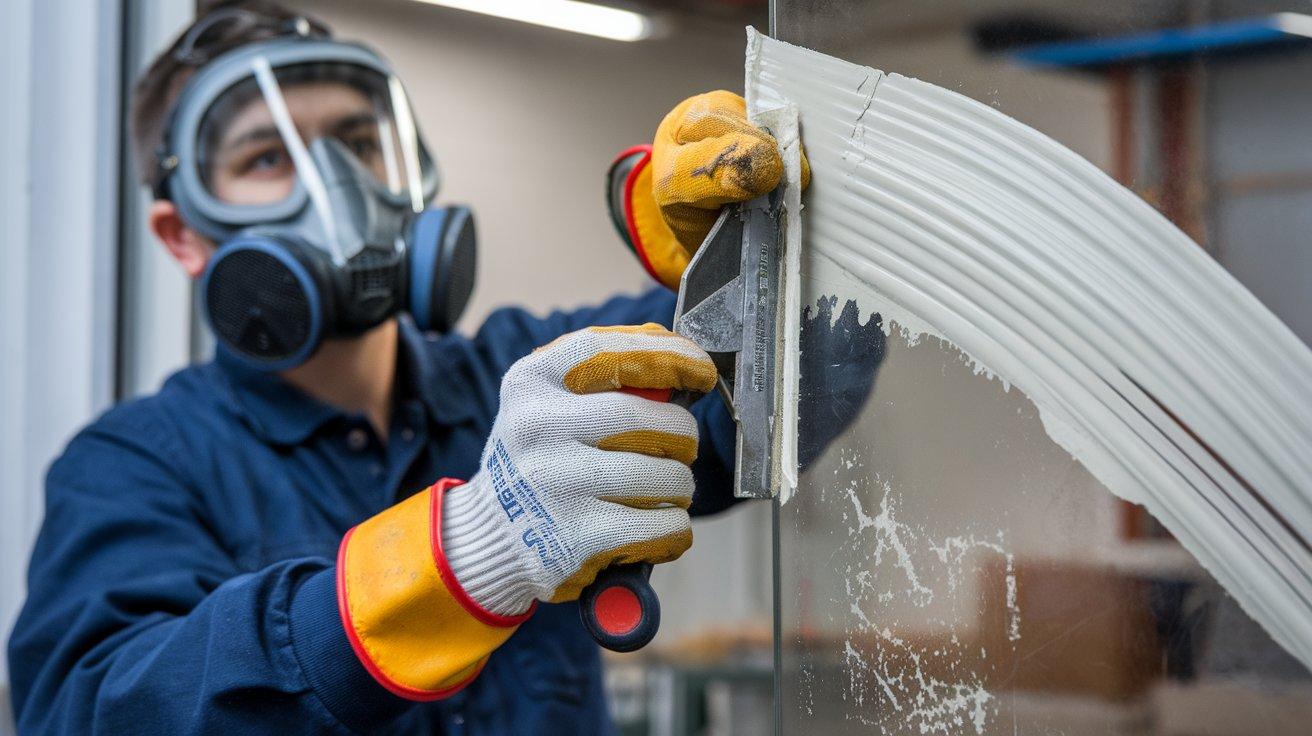
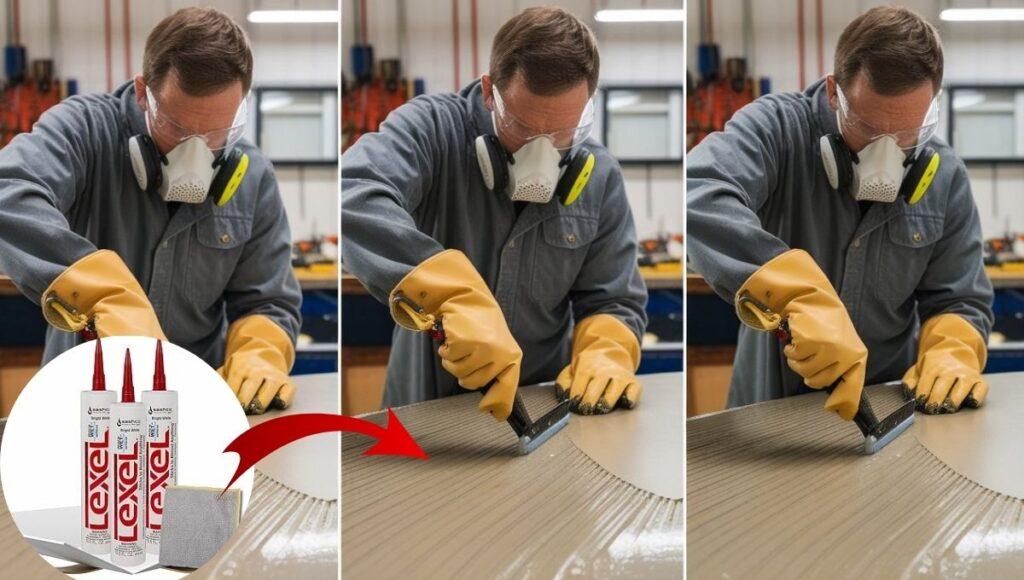
Safety should always come first. Wear protective gloves to keep your hands safe. Lexel sealant can be sticky and hard to remove from skin. Safety goggles are also important. They protect your eyes from any flying debris. A mask can help if you are sensitive to strong smells. Make sure you wear your safety gear at all times.
Preparing The Area
Removing Lexel sealant can be a daunting task, but preparing the area can make the process much smoother. By taking the time to clean the surface and protect the surroundings, you will ensure a more efficient and effective removal. Let’s dive into the essential steps for preparing the area.
Cleaning The Surface
Before you begin removing the Lexel sealant, it’s important to clean the surface thoroughly. Dirt and grime can interfere with the removal process. Use a mild detergent and warm water to clean the area. Scrub gently with a brush to remove any debris.
Once cleaned, dry the surface completely with a clean cloth. This helps the sealant remover adhere better and ensures a smoother process. A clean surface is crucial for a successful removal.
Protecting Surroundings
Sealant removal can get messy, and you don’t want to damage nearby areas. Use painter’s tape to cover edges and surfaces you want to protect. This creates a barrier that prevents the remover from spreading.
Lay down plastic sheets or old newspapers to catch any drips or splashes. This will save you from cleaning up a bigger mess later. Taking these precautions will make the entire process less stressful and more efficient.
Have you ever tackled a project only to realize you didn’t protect your surroundings? How did that affect your overall experience? Preparing the area is a small step that can make a huge difference.
Softening The Sealant
Removing Lexel sealant can be a bit of a task, but softening the sealant first can make the job much easier. The sealant’s tough and durable nature is great for its intended use, but it can pose a challenge during removal. Whether you’re dealing with a small repair or a larger project, starting with a softened sealant can save you time and effort.
Using Heat
One effective way to soften Lexel sealant is by applying heat. A heat gun or hairdryer can do the trick. Hold the heat source about 6 inches away from the sealant and move it back and forth.
Be cautious not to overheat and damage the surrounding material. The heat will make the sealant more pliable, making it easier to scrape off. Have you ever tried this method? It’s surprisingly effective!
Chemical Softeners
Chemical softeners are another great option. Products like mineral spirits or specialized sealant removers can break down Lexel sealant’s composition. Apply the chemical softener to the sealant and let it sit for a few minutes.
This will allow the chemical to penetrate and soften the sealant. Always follow the manufacturer’s instructions and safety precautions. Have you considered using chemical softeners before? They can be a game-changer.
Removing Loose Sealant
Removing loose Lexel sealant can be easy. Gently peel off the loose sections with a plastic scraper. Clean the surface thoroughly before reapplying new sealant.
Removing Lexel Sealant can be a tricky task. Loose sealant makes it easier to start. With the right tools, you can effectively remove it. This guide will help you through the process.
Scraping Techniques
Scraping techniques are essential for removing loose sealant. Use a scraper with a sharp edge. Apply firm pressure to lift the sealant. Move the scraper in a steady motion.
Be careful not to damage the surface. Scrape away from your body to avoid injury. Repeat this process until most of the sealant is removed.
Using A Putty Knife
A putty knife is another useful tool. Choose a putty knife with a flexible blade. Insert the blade under the loose sealant edge. Gently push the knife forward.
Lift the sealant while applying steady pressure. This method helps to remove larger chunks. Avoid using excessive force.
Using a putty knife minimizes surface damage. Clean the blade frequently to maintain efficiency. Continue until all loose sealant is gone.
Removing Stubborn Sealant
Lexel sealant is known for its durability. But, removing it can be tough. If you are dealing with stubborn Lexel sealant, don’t worry. There are effective methods to make the process easier. Follow these steps for a cleaner surface.
Applying Solvent
First, choose a solvent designed to break down Lexel sealant. You can find these at hardware stores. Apply the solvent directly to the sealant. Use a brush for even coverage. Let it sit for 20 minutes to soften the sealant.
Scrubbing And Wiping
After the solvent has done its job, it’s time to scrub. Use a stiff brush or scrub pad. Scrub the softened sealant vigorously. This will help loosen the residue. Once the scrubbing is complete, wipe away the debris. Use a clean cloth for the best results. Repeat if needed until the surface is clean.
Cleaning Residue
Cleaning up after removing Lexel Sealant can be a bit of a challenge. Leftover residue can be sticky and stubborn. But with the right methods, you can get rid of it completely.
Using Alcohol
Alcohol is a powerful solvent for cleaning Lexel Sealant residue. First, pour some rubbing alcohol onto a clean cloth. Gently rub the area with the residue. The alcohol will break down the sealant. It may take a few minutes of rubbing to see results. Be patient and keep applying alcohol as needed.
For tougher spots, you can use a brush. Dip the brush in alcohol. Scrub the area gently. Avoid using too much force. This can damage the surface underneath. Continue until the residue is gone.
Final Wipe Down
Once the residue is removed, it’s time for a final wipe down. Take a clean, damp cloth. Wipe the area to remove any remaining alcohol. This step is important. It ensures no alcohol or sealant particles are left behind.
Dry the area with a soft, dry cloth. Your surface should now be clean and free of any Lexel Sealant residue. Regularly clean the area to keep it in good condition. This will help prevent any future buildup.
Inspecting The Area
Before you remove Lexel sealant, it’s important to inspect the area thoroughly. This step ensures you understand the scope of the task. You’ll identify any problem spots and prepare for a smooth removal process. Let’s break down this inspection into key parts.
Checking For Residue
First, check for any old sealant residue. Use a flashlight to see clearly. Residue can hide in corners and small cracks. Look for any discoloration or leftover pieces. These might be stuck and need extra effort to remove.
Run your fingers over the area. Feel for any bumps or rough spots. These can indicate hidden residue. You’ll want to remove all of it for a clean finish.
Preparing For New Sealant
After checking for residue, prepare for the new sealant. Clean the area with soap and water. Dry it completely with a clean cloth. This removes any dirt or debris that could affect the new sealant’s adhesion.
Ensure the surface is smooth and ready. Any remaining residue can prevent the new sealant from sticking properly. Use a scraper if needed to get a clean surface. Your new sealant will last longer and perform better on a well-prepared surface.
Disposing Of Materials
Removing Lexel Sealant involves using a utility knife to cut through the sealant. Gently peel away the loosened material. Use rubbing alcohol or mineral spirits to clean any remaining residue.
Disposing of Materials
After you’ve successfully removed Lexel sealant, it’s crucial to properly dispose of the leftover materials. Improper disposal can harm the environment and even get you into trouble with local regulations. Let’s make sure you’re doing it right.
Safe Disposal Methods
First, check your local waste management guidelines. Some areas have specific rules for disposing of sealants and other chemicals.
If your community has a hazardous waste collection program, take advantage of it. These programs are designed to safely handle materials like Lexel sealant.
For smaller amounts, you can let the sealant cure in a safe, ventilated area. Once it’s hardened, you can dispose of it with your regular trash. This method minimizes the risk of chemical leaks.
Cleaning Tools
Your tools are likely covered in sticky sealant. Cleaning them properly ensures they’ll be ready for your next project.
Use a solvent recommended by the Lexel manufacturer. Mineral spirits or isopropyl alcohol often work well. Make sure to wear gloves to protect your skin.
Wipe the tools down with a clean rag soaked in the solvent. You may need to scrub a bit to get all the sealant off. Dispose of the rags according to your local waste disposal guidelines.
Keep your workspace clean. Sealant can be tricky to remove once it sets. A clean surface helps you work more efficiently and reduces the risk of contamination.
Final Thoughts
Properly disposing of Lexel sealant and cleaning your tools not only keeps your workspace tidy but also protects the environment. Have you ever thought about the impact of improperly disposed materials? It’s worth considering next time you tackle a project.
By taking a few extra steps, you ensure that you’re not just a good DIYer, but also a responsible one. So, how do you plan to dispose of your materials safely?
Frequently Asked Questions
How Do I Get Rid Of Cured Lexel?
Use a utility knife or razor blade to cut away cured Lexel. For stubborn residue, apply mineral spirits and scrub gently.
How Do You Remove Lexel Glue?
To remove Lexel glue, use a utility knife to cut away excess. Apply mineral spirits or rubbing alcohol. Gently scrub with a cloth.
Is Lexel Permanent?
Yes, Lexel is permanent. It provides a durable, waterproof seal that lasts indefinitely without cracking or shrinking.
How To Smooth Out Lexel?
Use a caulk smoothing tool or your finger dipped in soapy water. Work quickly before Lexel starts to set.
Conclusion
Removing Lexel sealant doesn’t have to be difficult. Follow the steps closely. Use proper tools and techniques. Stay patient and work carefully. This will ensure a clean, residue-free surface. Practice makes perfect. With time, your skills will improve. Sealant removal will become easier.
Remember, always prioritize safety. Wear gloves and eye protection. With these tips, you can handle Lexel sealant removal efficiently. Happy DIY-ing!

Hi Friends, I’m SealerMrinal, your go-to expert for all things sealing. With years of hands-on experience across a wide range of materials—concrete, wood, metal, and more—I bring deep knowledge and practical insights into every sealing project. On my website, I share expert tips, proven techniques, and product recommendations to help you get the best results. Whether you’re tackling a DIY project or seeking professional-grade advice, I’m here to guide you through the art and science of effective sealing.