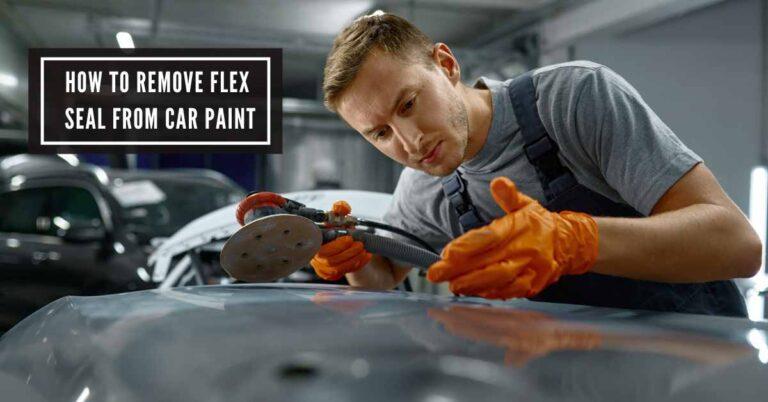
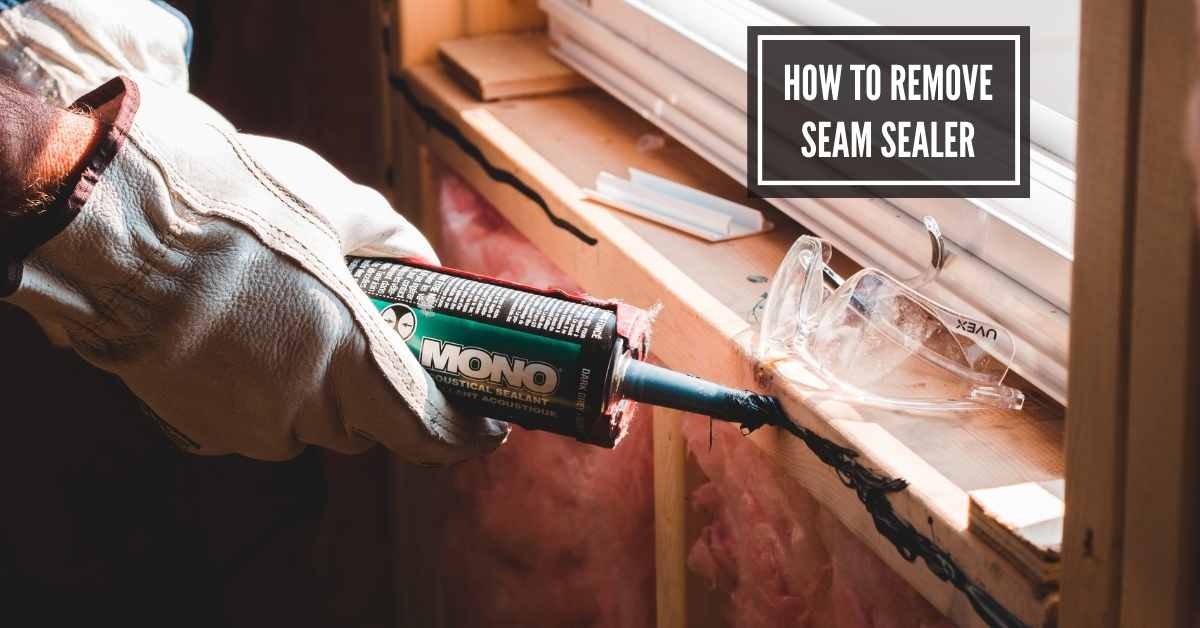
How To Remove Seam Sealer: Expert Methods for Flawless Results
Clean the object to remove loose dirt and debris. Cover the nearby surface and object, too. Then, use a hot air gun to soften the sealant and scrape away all the substances using a scraper tool. If there are still hard residues, use a stripping disc to remove as many substances as possible. Finally, clean the surface with a VOC-compliant surface cleaner.
Seam sealers are pretty popular to provide a layer of protection for plastic and metal-based items. But they won’t last a lifetime. You have to first remove the old seam sealer before applying a new one. This article will help you learn how to remove seam sealers in detail. Let’s dive in!
Step-by-step Removal Process
Seam sealers are excellent for protecting metal and plastic surfaces from moisture, dust, dirt, and corrosion.
Seam sealers can last 5 to 15 years, depending on the sealing quality, application methods, and other attributes.
Replacing old seam sealants routinely is crucial to ensure optimal protection for your particular item. So, what is the best way to remove the seam sealer?
Here, you will figure out how to remove seam sealers step by step.
Step: 01— Prepare The Work Area
The first substantial job is preparing the work area. Work in a well-ventilated area. Wear safety gear to protect yourself from heat, fumes, and sharp tools.
Cover nearby surfaces and objects to protect them from heat and debris.
Clean the plastic or metal surface where you have applied seam sealers. This will help you remove loose dirt and debris. Allow it to air dry, or use a clean cloth to dry the surface.
Step: 02— Soften The Sealer
Seam sealers last for years. They become super hard over time. Use a hot air gun to make the old seam sealers softer. You can effortlessly scrape away the old sealant.
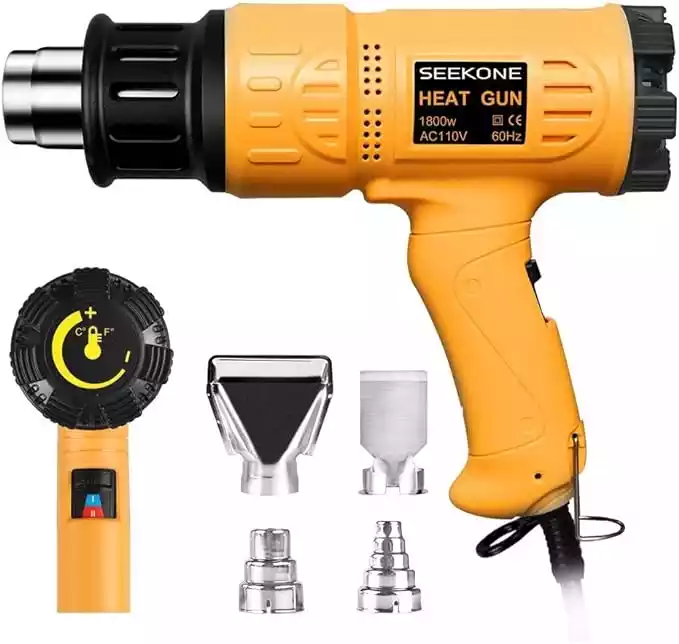
Hold the heat gun at a 45-degree angle without getting too close. Otherwise, you may damage the surface. Keep heating the surface gently until the sealant becomes pliable.
But watch your steps. You don’t want to hold the gun too long for a particular spot. Overheating will damage the surface.
Step: 03— Scrape Off The Old Sealant
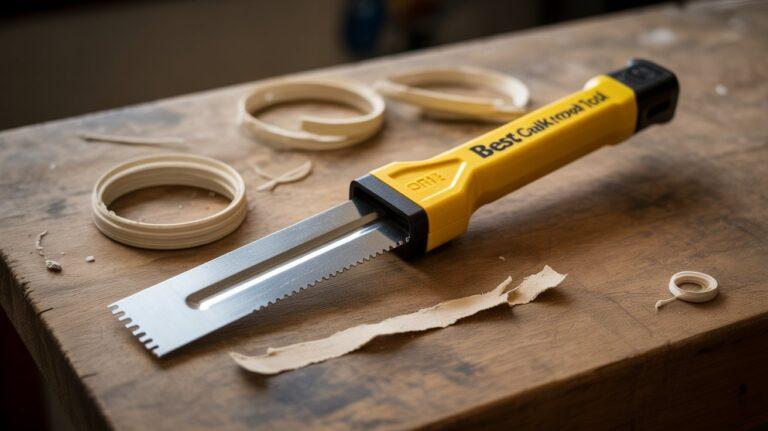
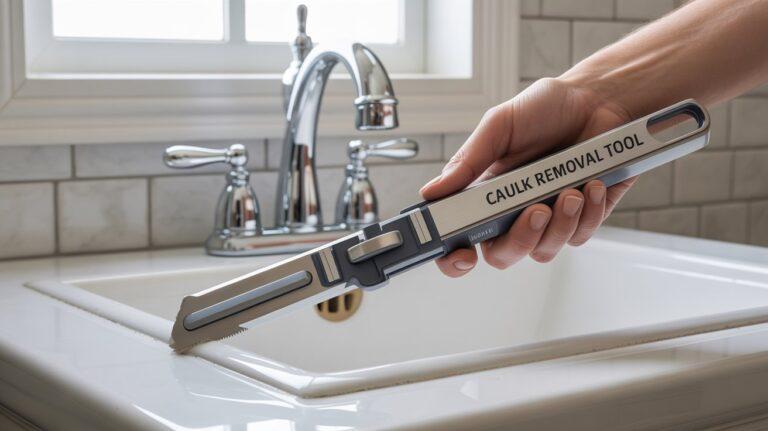
Gently scrape away the softened sealant using a scraper or similar tools. Use the seam sealer removal tool slowly, controlled to avoid damaging the surface underneath.
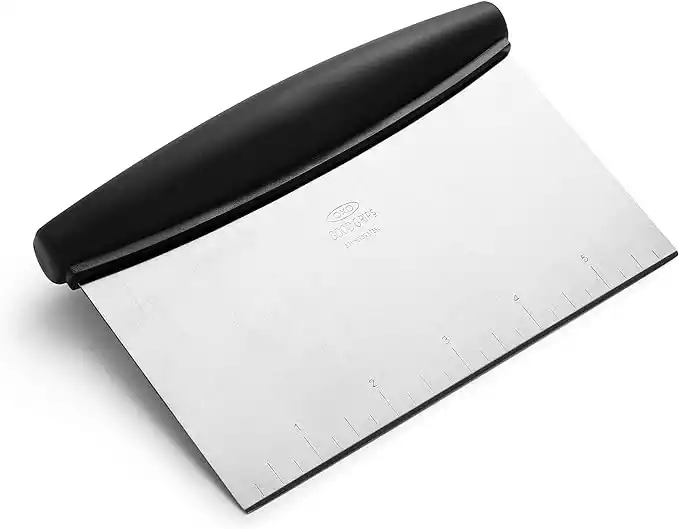
If you still notice any hard residues left, blow hot air with the heat gun to make it soft enough. Then, patiently and thoroughly use the single-edged tool to remove as much dirt and residues as possible.
Avoid using the metal scraper vigorously and quickly, as they can produce sparks. This may cause scratches or cracks.
Step: 04— Getting Off Hard Residues
Are you still noticing any residues left on the plastic or metal surface? The best solution for this problem is a stripping disc product.
They have nonwoven material impregnated with abrasive grain to remove any tough paint, rust, and residues quickly.
Maintain a 10-15° angle to eliminate any hard substances of seam sealants rapidly. Avoid putting too much pressure, as strip discs are quite aggressive.
Step: 05— Clean The Surface
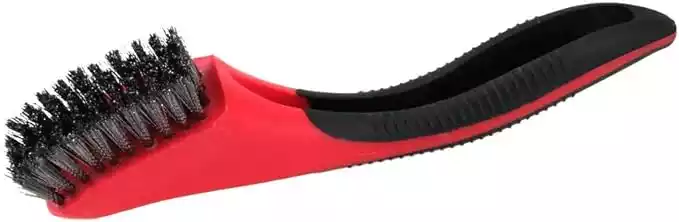
Once all residues are removed, use a stiff-bristled nylon or wire brush to wipe away all the substances from the surface.
Before applying a new sealer, you must clean it appropriately. A VOC-compliant surface cleaner is a perfect solution for this purpose.
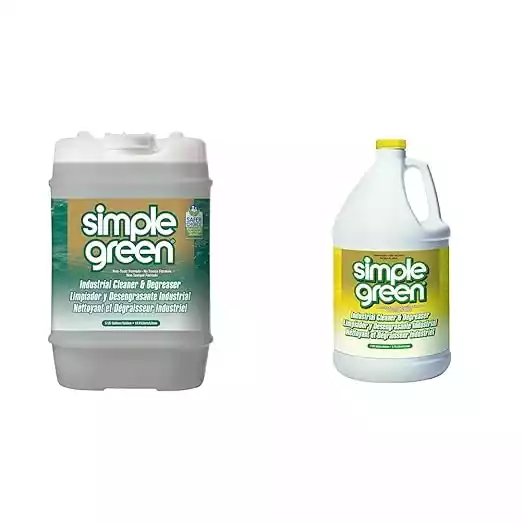
Add a small amount of the solution on a clean, soft, lint-free cloth. Then, immediately wipe off the surface thoroughly to remove any remaining residue and cleaner. Ensure the surface is completely clean and dry. That’s it. Now, the surface is ready for resealing with a seam sealant.
What Is The Best Seam Sealer Remover?
A lot of options are available to remove seam sealer from various surfaces. You can’t use any oil-based solution to get off seam sealants.
They are more likely to interfere with the paint adhesion. This may cause poor finishing results and potential long-term damage.
Scotch-Brite™ Clean N Strip Disc
This high-quality stripping disc is made of reengineered fiber with sharp abrasive grain to remove more sealant substances quickly.
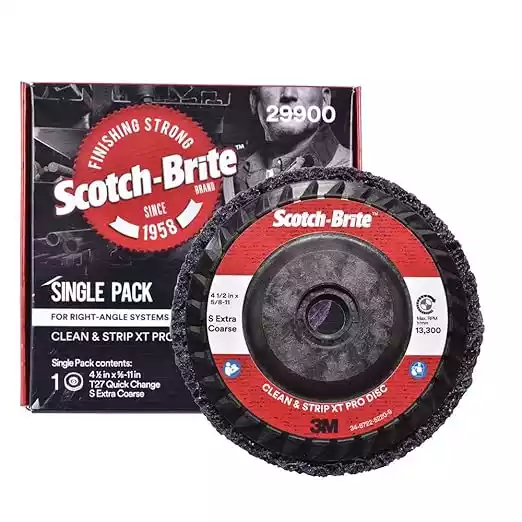
It will leave a fine finish with minimal sparks, vibration, and no marks. The strip disc will perfectly prepare the surface to reapply a seam sealer.
You won’t have to worry about damaging the underlying surface. However, the quality of these strip discs will deteriorate if the metal area has too many rough substances.
CRS Scotch-Brite™ Belt
Do you need help to remove sealers from any hard-to-reach areas? If so, this detail work belt is an excellent choice for removing hard substances from seam sealers.
It is made of aluminum oxide for roughing and finishing ferrous and non-ferrous metals.
The opposite side of the belt has nonwoven open web material to perform detailed work more precisely with less effort.
Tips To Use Seal Sealers
- Make sure to wait at least 12 to 24 hours to let it fully cure. A high humidity condition will increase the curing time.
- Apply seam sealers on a clean, dry surface. Avoid choosing any rainy or extremely sunny weather.
- Regularly clean the sealed surface to ensure long-lasting durability. There should not be any buildup of dirt and debris.
- Check for any sign of damage or cracks. Reseal the surface after every few years.
FAQ’s
What is the safest way to remove seam sealer?
Safety involves using the right protective gear and choosing a method that suits your skill level and the material you’re working with.
Can I remove seam sealer without specialized tools?
Yes, in many cases, a simple scraper and some patience can do the job.
How long does it take to remove seam sealer?
The time varies depending on the method and the size of the area you’re working on.
Is it necessary to remove all the seam sealer before reapplying?
Yes, for the best results and adhesion, it’s recommended to remove all old sealer.
Can heat damage the material under the seam sealer?
Yes, if not used carefully. It’s important to apply heat gradually and cautiously.
Conclusion
Are you still wondering how to remove seam sealer? Getting these sealants from your metal or plastic surface is not a tough job. All you need to know is the correct removal method.
I have already shared what products you can use to eliminate seam sealers and how to use them. Make sure to follow the manufacturer’s guidelines if there are any special instructions.
Be gentle while removing the residues of the sealants. Otherwise, you may damage the beneath surface. Hopefully, you have finally succeeded in getting off the seam sealers appropriately.

I am Robert Sandin, a professional sealing expert with a diverse range of expertise. From concrete to various other materials, I possess in-depth knowledge and experience in the art of sealing. On my website, I offer valuable tips and expert recommendations on sealing techniques and products for different materials. Whether it’s concrete, wood, metal, or more, I am committed to providing you with the guidance you need for successful sealing projects.