How to Reseal My RV Roof: The Ultimate Guide for a Leak-Free Journey
To reseal your RV roof, start by cleaning the surface thoroughly with a suitable cleaner. Next, apply a quality RV roof sealant to the roof according to the manufacturer’s instructions.
Taking care of your RV roof is essential to ensure protection and longevity for your vehicle. Properly sealing your RV roof can prevent leaks, water damage, and costly repairs down the line. By following a few simple steps, you can effectively reseal your RV roof and enjoy peace of mind on your travels.
Keep reading to learn more about the importance of maintaining your RV roof and the steps involved in resealing it effectively.
Assessing The Condition Of Your Rv Roof
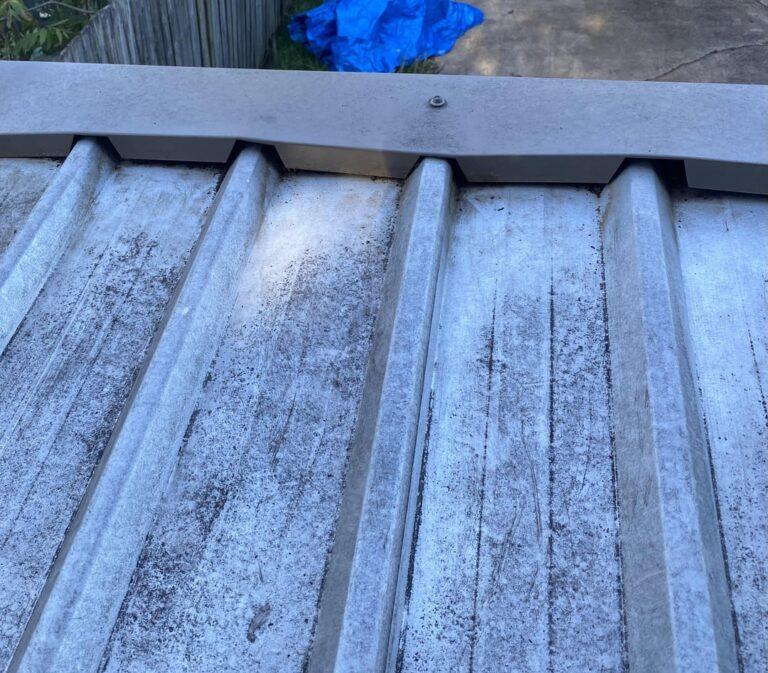
Assessing the condition of your RV roof is a crucial step before resealing it. Look for signs of wear and tear, such as cracks, gaps, or water damage. Ensure that the surface is clean and dry before applying a new sealant to maintain a strong and protective roof for your RV.
Inspecting For Damage
Start by thorough visual inspection of the RV roof for any signs of damage like cracks or leaks.
Check for water stains inside the RV, which can indicate roof damage.
- Look for any missing or loose sealant around vents, antennas, or seams.
- Inspect the roof vents, skylights, and air conditioning unit for any cracks or gaps.
Determining The Type Of Roof Material
Identify the type of material your RV roof is made of:
| Type of Roof Material | Description |
|---|---|
| Fiberglass | Smooth, shiny surface that is durable and easy to clean. |
| Rubber | Flexible rubber material that is common in many RVs. |
Gathering The Necessary Tools And Materials
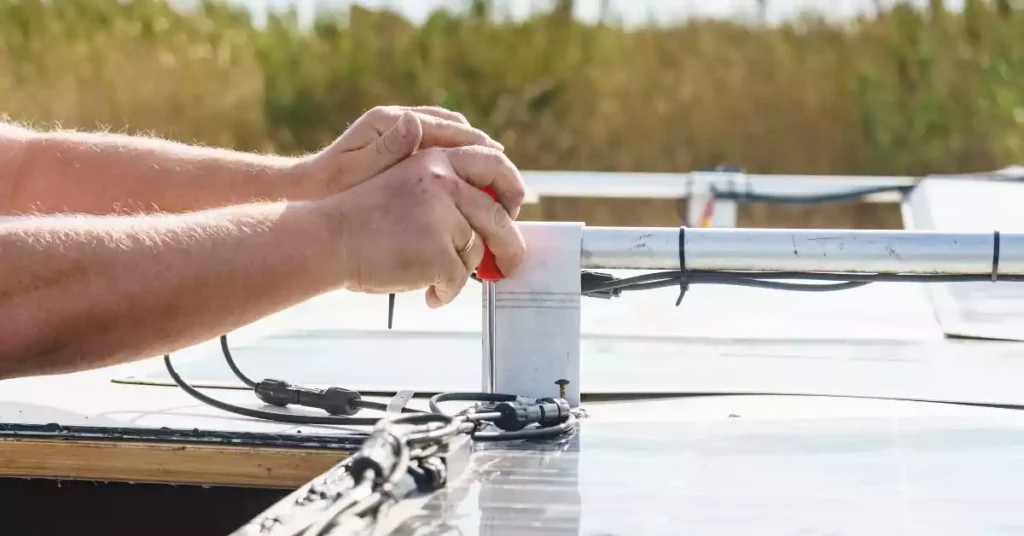
To reseal an RV roof, gather essential tools and materials: roof sealant, caulking gun, putty knife, rags, and cleaning solution. Ensure to have a ladder or scaffolding for safe access to the roof. These items will help you complete the resealing process efficiently and effectively.
Essential Tools
To properly reseal your RV roof, you’ll need essential tools such as a putty knife, a caulking gun, a ladder, and safety gloves.
Required Sealants And Adhesives
Sealants and adhesives are crucial for the resealing process. Be sure to have RV roof sealant, lap sealant, self-leveling sealant, and adhesive tape on hand.
Remember, having the right tools and materials is key to a successful RV roof resealing project.
Preparing The Rv Roof For Resealing
To reseal your RV roof, start by thoroughly cleaning the surface to remove dirt and debris. Inspect for any cracks or gaps that need repair before applying a high-quality sealant. Ensure proper adhesion by following the manufacturer’s instructions for a long-lasting seal and protection.
When it comes to resealing your RV roof, proper preparation is key to ensuring a successful and long-lasting result. Preparing the RV roof for resealing involves a few important steps, including cleaning and removing old sealant as well as making necessary repairs. Let’s take a closer look at how to effectively prepare your RV roof for resealing.
Cleaning And Removing Old Sealant
To start the process of resealing your RV roof, it’s essential to thoroughly clean and remove any old sealant. Use a gentle, non-abrasive cleaner to remove dirt, grime, and old sealant from the roof surface. Inspect the roof carefully and ensure that all areas are free of debris and old sealant before proceeding to the next step.
Making Necessary Repairs
After cleaning the roof, it’s important to inspect for any damage or areas in need of repair. Make necessary repairs such as fixing any cracks, holes, or damaged areas on the RV roof using suitable repair materials. It’s crucial to address any existing issues to prevent further damage and ensure a smooth surface for the resealing process.
By following these essential steps, you can effectively prepare your RV roof for resealing, setting the stage for a successful and durable resealing process.
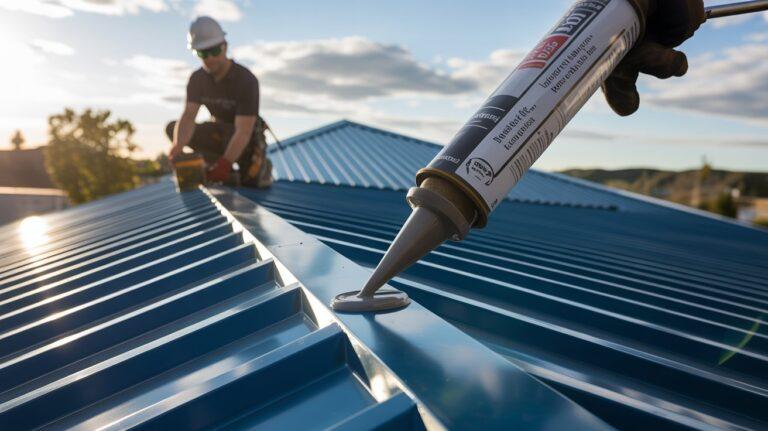
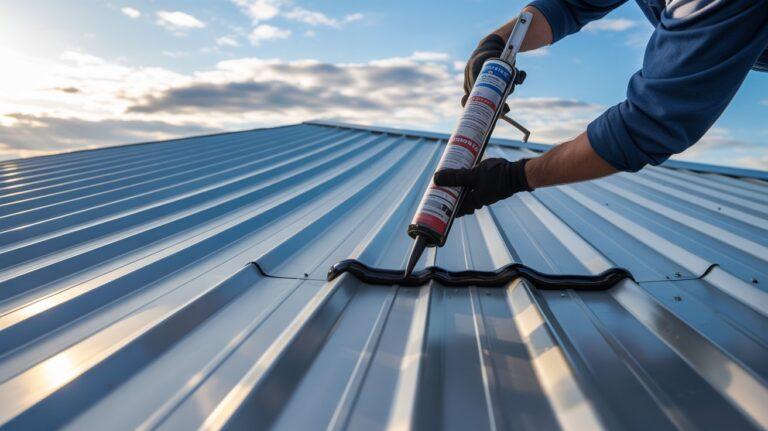
Applying The Sealant And Adhesive
To reseal an RV roof, start by applying a sealant and adhesive suitable for your roof material. Use a caulking gun to apply the sealant in a continuous, even line along the seams and edges. Make sure the area is clean and dry before application for a successful resealing process.
Choosing The Right Application Method
When it comes to resealing your RV roof, choosing the right application method is crucial for a successful and long-lasting repair. There are various methods available, each with its own advantages and considerations.
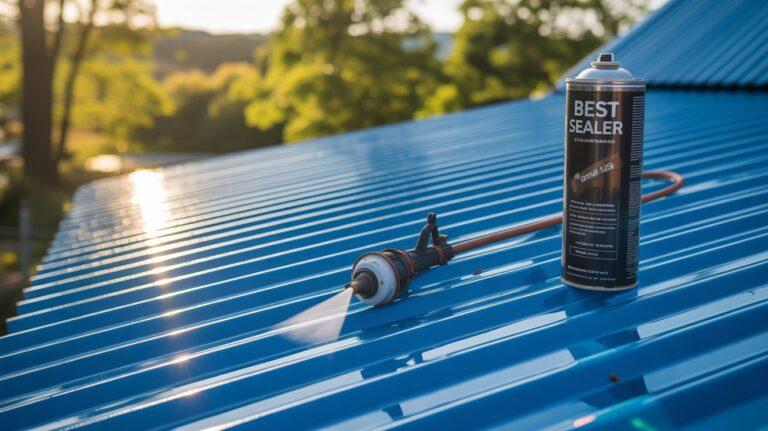
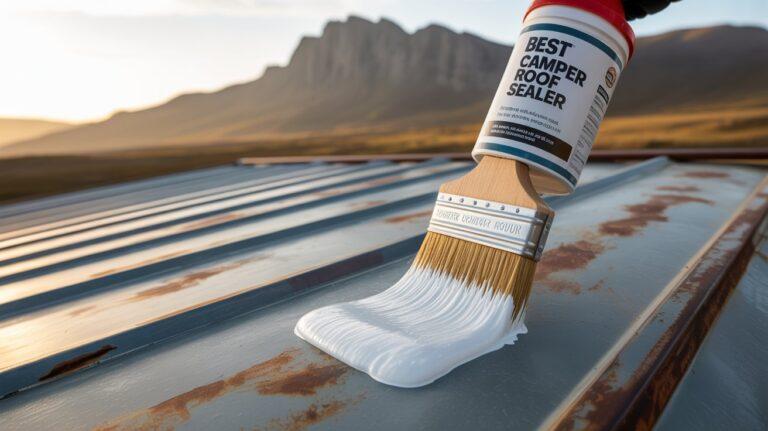
The most common application methods for RV roof sealants and adhesives are brush-on, spray-on, and self-leveling. Brush-on sealants are applied using a paintbrush, providing precise control over the coverage area. Spray-on sealants, on the other hand, offer even coverage and are ideal for larger areas or hard-to-reach spots. Self-leveling sealants are designed to flow and settle into low areas, creating a seamless and watertight seal.
Ensuring Proper Coverage And Adhesion
Proper coverage and adhesion are essential for ensuring the effectiveness of your RV roof sealant. Here are some tips to help you achieve optimal results:
- Clean the roof surface thoroughly before applying the sealant to remove any dirt, debris, or old sealants that may hinder adhesion.
- Make sure to follow the manufacturer’s instructions carefully, including any specific surface preparation requirements.
- Apply the sealant evenly and in a consistent thickness to ensure proper coverage. This will help prevent any areas of weakness where water may penetrate.
- Use a suitable applicator, such as a brush, roller, or sprayer, depending on the chosen application method. This will help you achieve the desired coverage and adhesion.
- Allow the sealant to cure fully before exposing it to water or harsh weather conditions. This will ensure that it has bonded properly and will provide maximum protection for your RV roof.
By following these tips and choosing the right application method, you can confidently reseal your RV roof and keep it watertight for years to come.
Final Steps For A Leak-free Roof
Discover the final steps to achieve a leak-free roof for your RV with our expert guide. Learn how to reseal your RV roof effectively and ensure long-lasting protection against leaks and water damage. Trust our expert tips to keep your RV in top condition for your next adventure.
Once you have resealed your RV roof, you’re almost there! However, to ensure a leak-free roof and a longer-lasting seal, there are a few more final steps you need to take. Follow these steps to give your RV roof the finishing touches it needs.
Allowing Sufficient Drying Time
Before you consider your resealing job complete, give the sealant ample time to dry. Allowing sufficient drying time ensures that the sealant sets properly and forms a tight bond with the roof surface. The drying time can vary depending on the type of sealant you used and the weather conditions in your area. However, as a general rule of thumb, it is recommended to wait at least 24 hours for the sealant to fully cure. To guarantee the best results, it is essential to strictly adhere to the manufacturer’s instructions regarding drying time.
Inspecting The Sealed Areas
After the sealant has dried, it’s crucial to conduct a thorough inspection of the sealed areas to ensure their effectiveness. Inspecting the sealed areas allows you to catch any potential issues that may cause leaks in the future. Here’s what you need to do:
1. Visually examine the sealed areas to check for any signs of cracks, gaps, or imperfections. Pay close attention to the edges and seams where the sealant meets other surfaces.
2. Run your hand gently along the sealed areas to feel for any uneven or raised spots. This step can help you detect any inconsistencies that may indicate an incomplete seal.
3. Use a water hose to test the roof’s resistance to leaks. Carefully spray water on the sealed areas and observe if any water penetrates through. If you notice any leaks, mark the spots for immediate resealing.
4. Inspect the interior of your RV for any signs of water infiltration, such as water stains or dampness. This step is crucial as it helps you identify leaks that may not be apparent from the outside.
By conducting a thorough inspection, you can catch and fix any potential issues before they turn into major problems. Regular inspections can help you maintain a watertight roof, ensuring a comfortable and worry-free RV experience. Remember, prevention is always better than dealing with costly water damage repairs later.
Following these final steps for a leak-free roof will help you achieve a secure and well-sealed RV roof. Remember to allow sufficient drying time for the sealant to set properly, and perform regular inspections to maintain the integrity of the seal. By taking these proactive measures, you can enjoy your RV adventures without the worry of leaks and water damage.
Frequently Asked Questions Of How To Reseal My Rv Roof
How Often Should I Reseal My Rv Roof?
As a general rule, you should reseal your RV roof every 2-3 years to prevent leaks and prolong its lifespan. However, factors like climate, usage, and the type of sealant used can affect the frequency of resealing. Regular inspections and maintenance can help determine if a reseal is necessary.
What Are The Signs That My Rv Roof Needs To Be Resealed?
If you notice water stains, mold growth, or a lingering musty smell inside your RV, it’s a clear sign that your roof may be leaking and needs to be resealed. Additionally, cracks, bubbling, or peeling sealant on the roof’s surface are visible indicators that it’s time to reseal and protect your RV from further damage.
Can I Reseal My Rv Roof By Myself?
Yes, you can reseal your RV roof yourself. It’s a simple process that involves cleaning the roof, removing old caulk, applying new sealant, and smoothing it out. Just make sure to use the right type of sealant for your roof material and follow the manufacturer’s instructions.
Conclusion
Resealing your RV roof is a crucial maintenance task to protect your investment. By following the steps outlined in this guide, you can extend the lifespan of your RV and prevent costly water damage. Regular maintenance will ensure your roof stays in top condition, providing you with peace of mind as you travel.

I am Robert Sandin, a professional sealing expert with a diverse range of expertise. From concrete to various other materials, I possess in-depth knowledge and experience in the art of sealing. On my website, I offer valuable tips and expert recommendations on sealing techniques and products for different materials. Whether it’s concrete, wood, metal, or more, I am committed to providing you with the guidance you need for successful sealing projects.