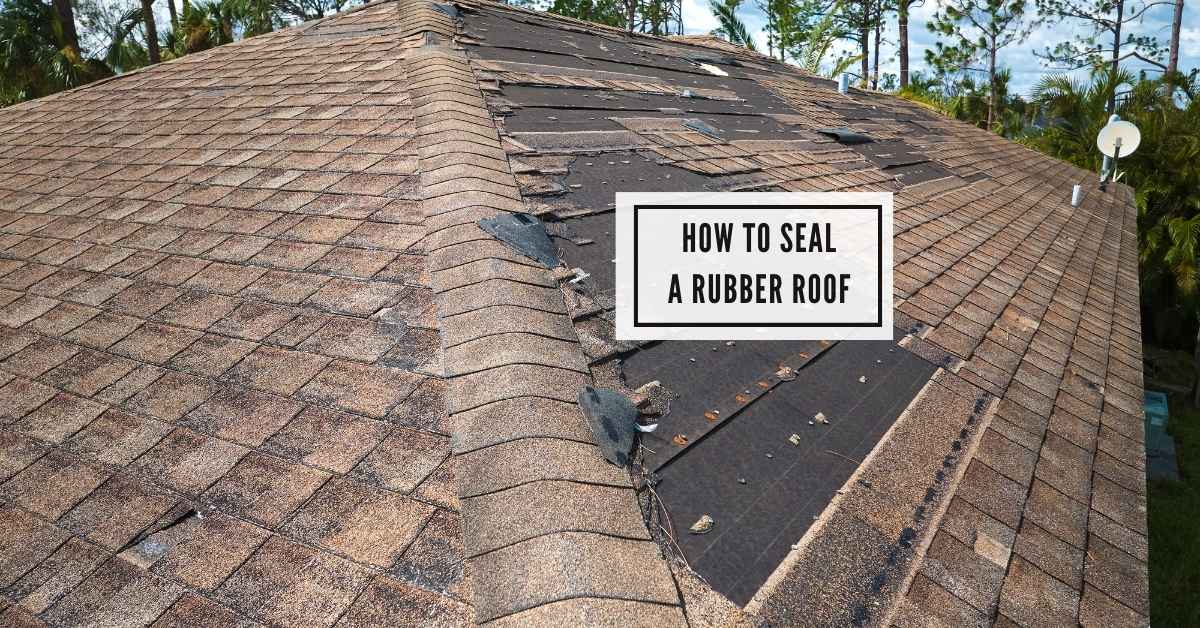
How to Seal a Rubber Roof: Expert Tips for Long-lasting Protection
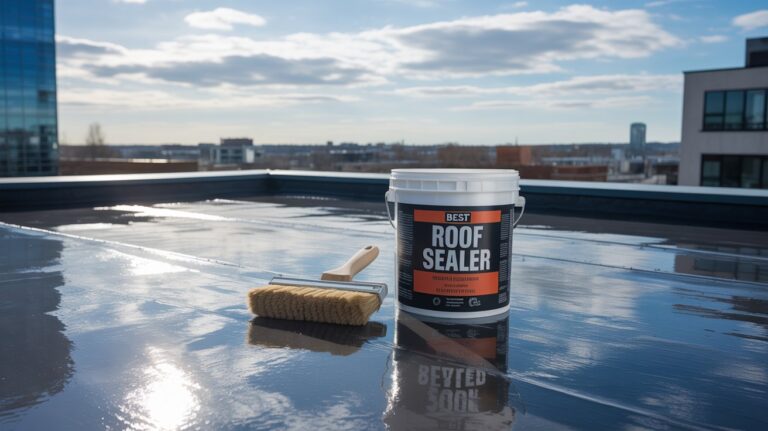
To seal a rubber roof, clean the surface thoroughly and apply a high-quality rubber roof sealant. Maintaining the integrity of your rubber roofing is essential for its longevity and protection against the elements.
Whether you have a rubber roof on your home or RV, regular maintenance and proper sealing will help prevent leaks and damage. By following the correct steps to seal your rubber roof, you can ensure that it remains in top condition and provides you with lasting durability.
In this guide, we will provide you with a detailed overview of how to seal a rubber roof and keep it in optimal shape for years to come.
Selecting The Right Sealant
When it comes to sealing a roof, the right sealant can make all the difference in ensuring a long-lasting and watertight seal. Let’s dive into the key factors to consider when selecting the most suitable sealant for your rubber roof.
When it comes to sealing a rubber roof, the right sealant can make all the difference in ensuring a long-lasting and watertight seal. Let’s dive into the key factors to consider when selecting the most suitable sealant for your rubber roof.
Consider The Type Of Rubber Roof
Different types of rubber roofs require specific sealants to ensure compatibility and maximum effectiveness. Make sure to identify the type of rubber roof you have before choosing a sealant.
Choosing The Appropriate Sealant
Ensure you choose a sealant that:
– Is compatible with your specific rubber roof material
– Provides UV resistance and weatherproofing
– Offers flexible adhesion to accommodate roof movement
Evaluate the following sealant options:
- Acrylic-based sealants:
- Easy to apply and cost-effective
- May require multiple coats for optimal sealing
- Silicone sealants:
- Excellent UV resistance and durability
- More expensive but longer-lasting
- Butyl sealants:
- Good adhesion and weather resistance
- May harden over time in extreme temperatures
By choosing the appropriate sealant based on your rubber roof type and specific needs, you can effectively seal your roof and protect it from water damage and wear.
Preparing The Rubber Surface
To properly seal a rubber roof, the surface must be thoroughly prepared beforehand. This involves cleaning the rubber surface to remove any dirt, debris, and mold. It’s important to ensure the surface is completely dry before applying the sealant to achieve optimal adhesion and long-lasting protection.
Cleaning The Roof Thoroughly
Start by clearing any debris from the roof surface. Then, use a soft-bristled broom to sweep away dirt.
Inspecting For Damage
Carefully check for any tears or punctures in the rubber. Fix any issues before proceeding.
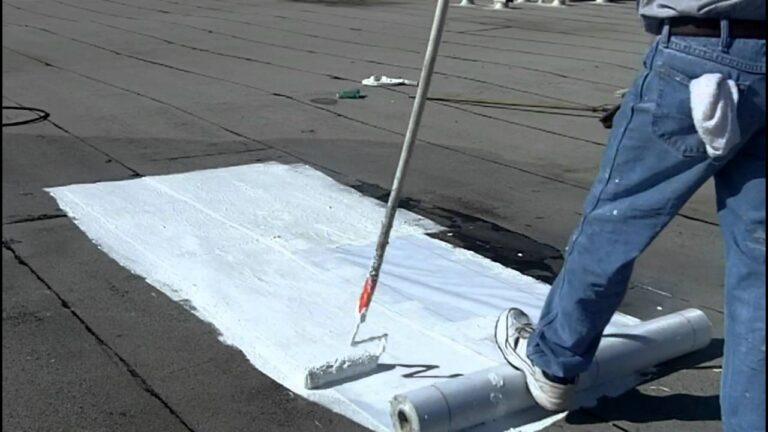
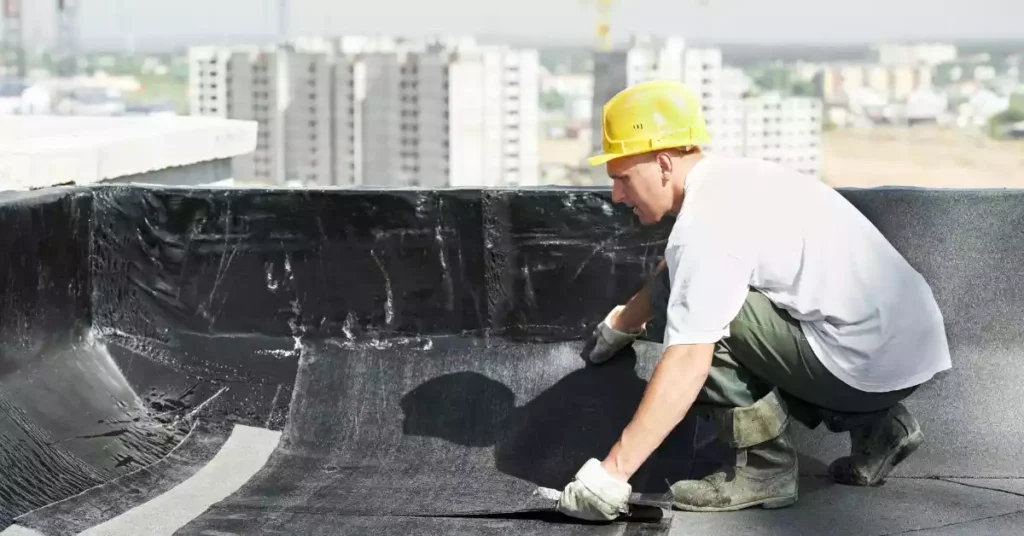
Applying The Sealant
When it comes to applying the sealant on a rubber roof, it’s important to follow the correct process to ensure a tight and durable seal. This step is crucial in protecting your roof from the elements and extending its lifespan. Applying the sealant involves using the correct tools and applying multiple layers for maximum effectiveness.
Using The Correct Tools
Before starting the sealant application, ensure you have the right tools at hand. This includes a high-quality paint roller with a long handle, a brush for detailed work, and a clean bucket for mixing the sealant. Using the correct tools will ensure a smooth and even application, leading to better coverage and protection for your rubber roof.
Applying Multiple Layers
When applying the sealant, it’s essential to apply multiple layers to create a strong and resilient barrier. Start by cleaning the roof thoroughly, removing any debris or dirt that could affect the adhesion of the sealant. Then, apply the first layer evenly using the paint roller, ensuring complete coverage of the roof surface. Allow the first layer to dry before applying subsequent layers, ensuring each layer adheres properly to the rubber surface.
Ensuring Proper Drying And Curing
To properly seal a rubber roof, ensure thorough drying and curing to guarantee long-lasting protection. Allow adequate time for the sealant to set before exposing it to any moisture or external elements. Proactive management of the drying and curing process is key to a successful seal.
Following Manufacturer’s Recommendations
To properly seal a rubber roof, it is crucial to follow the manufacturer’s recommendations on how to dry and cure the coating. These instructions are designed to ensure the longevity and effectiveness of the sealant. Neglecting or disregarding these guidelines can result in a subpar application that may lead to issues down the line.
Allowing Sufficient Time for Curing
Curing is a crucial step in the sealing process, as it allows the rubber roof coating to harden and form a protective barrier. Rushing this step can compromise the effectiveness of the sealant, leading to premature deterioration and potential leaks. It is essential to give the sealant ample time to cure, following the manufacturer’s specified time frame.
The recommended curing time will vary depending on the type of rubber roof coating used. Some coatings may require as little as 24 hours, while others may need several days. It is important to take these time requirements seriously and allow for sufficient drying and curing time before subjecting the roof to any stress or exposure.
The curing process can be influenced by various factors, such as temperature and humidity. It is crucial to consider these variables when determining the duration of the curing period. In high humidity or low temperature conditions, it may be necessary to extend the curing time to ensure proper adhesion and sealant performance.
In order to determine if the coating has fully cured, check for visual indicators such as a uniform appearance and a hardened surface. Additionally, touching the surface lightly should not leave any residue on your fingertips. If there are any doubts about the curing process, it is best to consult the manufacturer’s recommendations or seek professional advice.
Following the manufacturer’s recommendations and allowing sufficient time for curing are essential steps in the process of sealing a rubber roof. By adhering to these guidelines, you can ensure the longevity and effectiveness of the sealant, providing lasting protection against the elements. Take the time to properly dry and cure your rubber roof coating, and you’ll enjoy the benefits of a well-sealed roof for years to come.
Regular Maintenance And Inspection
Maintaining and inspecting your rubber roof regularly is essential for its longevity and performance. Regular maintenance not only helps prevent potential issues but also extends the life of your roof. In this section, we will discuss the importance of scheduled inspections and recommended maintenance practices for your rubber roof.
Scheduled Inspections
Scheduling regular inspections allows you to identify any problems early on and address them promptly. These inspections should ideally be conducted at least twice a year, in the spring and fall. However, you may want to increase the frequency if your area experiences extreme weather conditions. During the inspection, carefully examine the roof for signs of damage or wear and tear.
Here are a few key areas to pay attention to during your inspections:
- Check for any visible signs of cracks, tears, or punctures in the rubber membrane.
- Inspect the seams and edges for any signs of separation or lifting.
- Look for any areas where water might be pooling or not draining properly.
- Ensure that all flashing around vents, pipes, and other roof penetrations is intact.
By conducting these scheduled inspections, you can catch any potential issues early before they develop into more significant problems. Addressing them promptly will save you from costly repairs and more extensive damage to your rubber roof.
Recommended Maintenance Practices
In addition to inspections, following recommended maintenance practices is crucial for the care of your rubber roof. By implementing these practices, you can prevent common issues and help your roof maintain its integrity.
Here are some recommended maintenance practices for your rubber roof:
- Clean your rubber roof regularly using a gentle cleanser and a soft-bristle brush. This helps remove dirt, debris, and organic matter that can accumulate and deteriorate the rubber surface.
- Trim any overhanging tree branches that may come into contact with the roof. Falling branches can cause damage or create an environment conducive to algae or moss growth.
- Ensure proper drainage by keeping gutters and downspouts clear of leaves and other debris.
- Use caution when walking on the roof to avoid unnecessary damage. If you need to access the roof, consider using a walkway mat or distributing your weight evenly.
- Regularly check and maintain the caulking and sealants around roof penetrations to prevent water infiltration.
By incorporating these recommended maintenance practices into your routine, you can proactively protect your rubber roof and extend its lifespan. Remember, regular inspections and maintenance go hand in hand to ensure the optimal performance and durability of your roof.
Frequently Asked Questions Of How To Seal A Rubber Roof
What Is The Best Type Of Sealant For A Rubber Roof?
The best type of sealant for a rubber roof is a liquid rubber sealant. It is easy to apply and provides long-lasting protection against leaks and damage. Liquid rubber sealants are specifically designed for rubber roofs, offering excellent adhesion and flexibility to withstand various weather conditions.
Make sure to choose a high-quality sealant for optimal results.
How Often Should You Seal A Rubber Roof?
It is recommended to seal a rubber roof every 3-5 years or as needed. Regular maintenance and inspections can help identify any signs of wear and tear, allowing you to address them promptly. By sealing your rubber roof at the appropriate intervals, you can prolong its lifespan and protect it from potential issues such as leaks and UV damage.
Can I Seal A Rubber Roof Myself?
Yes, you can seal a rubber roof yourself. With the right materials and tools, sealing a rubber roof can be a relatively simple DIY project. However, it is important to follow the manufacturer’s instructions and safety guidelines. Ensure that the roof is clean, dry, and properly prepared before applying the sealant.
If you’re unsure or uncomfortable performing the task, it’s best to hire a professional.
Conclusion
Sealing your rubber roof is essential for protecting your home and extending the life of the roof. With proper preparation and the right materials, you can easily seal your rubber roof and prevent leaks and damage. Regular maintenance and inspection will help you catch any issues early and ensure the longevity of your roof.

I am Robert Sandin, a professional sealing expert with a diverse range of expertise. From concrete to various other materials, I possess in-depth knowledge and experience in the art of sealing. On my website, I offer valuable tips and expert recommendations on sealing techniques and products for different materials. Whether it’s concrete, wood, metal, or more, I am committed to providing you with the guidance you need for successful sealing projects.