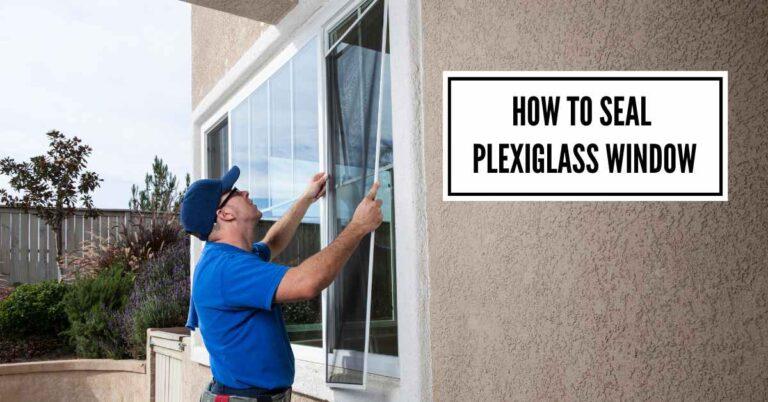
How To Seal A Window Without Nailing Flange: 10 Genius Steps
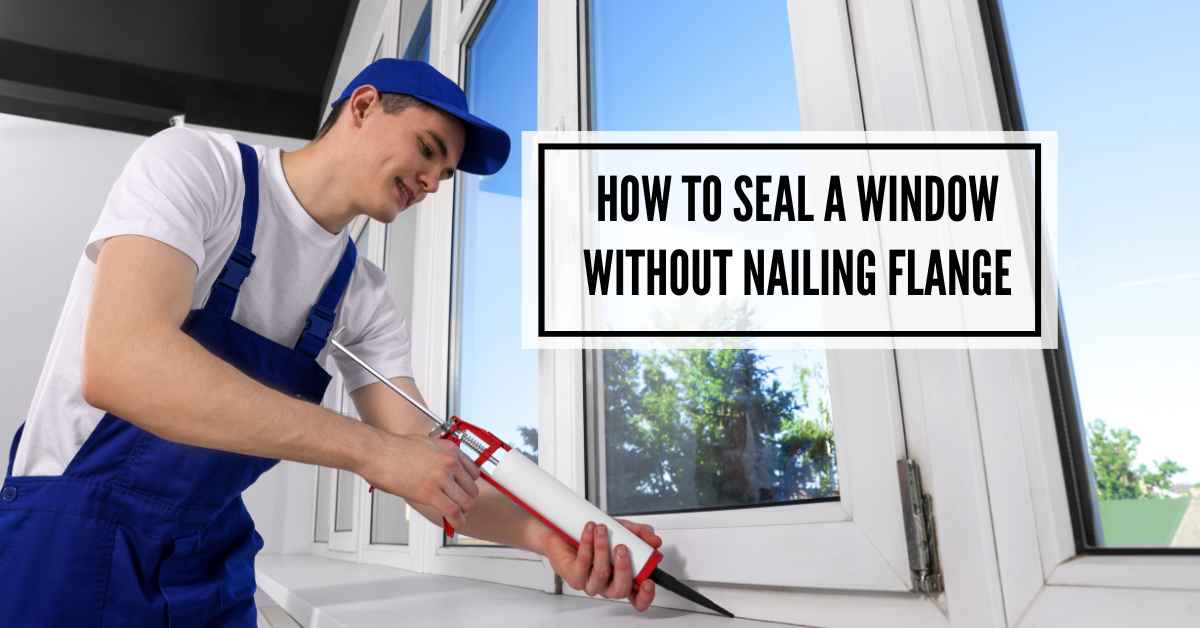
If you want to seal a window without a nail flange, first apply a resistant barrier and add flashing and sill pans. Then, you will have to add insulation and trims. Finally, seal both the interior and exterior sides of the windows with appropriate caulking.
Correctly sealing a home window is necessary as it is a long-term investment. Go through this article if you are wondering how to seal a window without nailing flange.
How Do You Seal A Window Without Nail Flange?
Do you want to install a replacement window without a nail flange? Nailing flanges compromise the plain, simple, and professional look of a window. They often ruin the exterior of the house.
Many household owners often prefer installing and sealing their home windows without nailing fins.
The following are the steps to install a Jeld-wen window without nailing flange or other options.
Step: 01—Inspect The Window Condition
The first important task is inspecting the various pre-installed components of the window.
Look for flaws in the window ledge and frame. If you notice any signs of damage, replace or repair the parts immediately to ensure the smooth functionality of the window.
You also want to consider when your windows need any additional structural support, such as glass beams, headers, etc., to maintain the structural stability of a building.
Step: 02—Measure The Window Opening
Taking accurate measurements of the window opening is crucial to avoid leaks and other issues.
Use a measuring tape to measure the window’s frame diagonally, starting from every upper corner towards the opposing lower corner.
Remove the decorative or protective elements placed around the window frame for more accurate measurement. Or they will cause interference or misalignment.
Step: 03—Take Off The Old Windows
When detaching the old windows, you need to be a bit careful to avoid damaging them. Its structural integration makes the removal task a bit delicate.
Do your window frames have any decorative material, such as interior trim, molding, etc.? You can use a crowbar or wrecking bar to take out them.
Now, utilize a utility knife to score along the sealant’s edge and remove all the sealants. Maintain a shallow angle to avoid damaging the wall or window frame. Remove the sealer from outdoor areas, too.
Some fasteners, such as bolts, screws, etc, support your old windows. Use a rotating power drill to remove screws.
Next, add gentle pressure from the outside frame until the entire frame is removed.
Step: 04— Apply Weather Resistant Barrier
Apply a weather-resistant barrier over the sheathing to prevent liquid water from entering a wall.
Prepare the sheathing properly and cut the WRB material to size. Start at the bottom, overlap seams, and staple the WRB to the sheathing using a powered stapler.
When you apply WRB strips on all sides of the opening, maintain a smooth, continuous application in all areas.
It will help you achieve a watertight and moisture infiltration system. There won’t be any compromise about the barrier’s effectiveness.
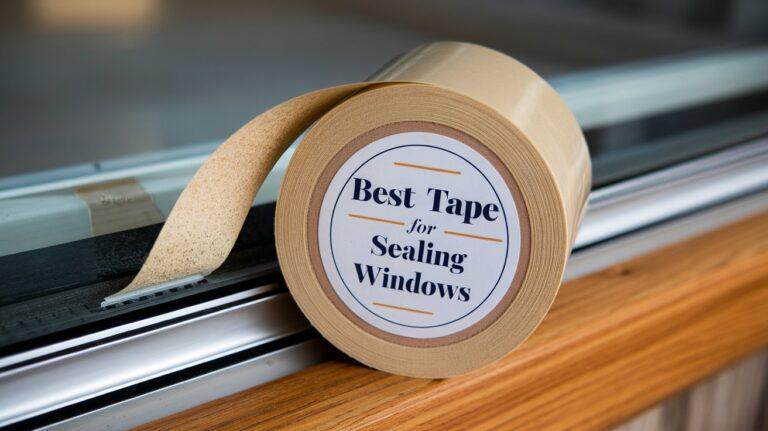
Step: 05— Use flashing tapes
While joining several WRB strips, there are likely to be some potential gaps or joints in the WRB. You can use flashing tapes for tight seals around the window opening.
Also, applying the flashing tapes around all the window frames is necessary. It will prevent mold, mildew, rot, or other complications.
Unwanted moisture and air will fail to seep through the window. It will enhance the overall energy efficiency and durability of the window installation.
Apply the flashing tapes at the sill first, then both sides and followed by the top finally.
Smoothen the applied tape to prevent wrinkles and ensure tight seals at corners. Cut the excess tape using scissors as needed. Repeat for each side and seal joints and seams thoroughly.
Step: 06— Position the window without flange
Place your window into the opening at a flat, square, and exact location to ensure proper alignment. Position the bottom side of the window first, followed by the both sides.
Grab your wood shims to let the window fit tight in the rough opening. It makes your placement task easier by keeping the window plumb and level and ensures smooth operation of the window.
Don’t forget to leave at least 1-inch space for insulation around the window frame. But it can’t be more than 5 inches. Do it before installing any screws or bolts.
Another important to remember is to keep the screws or bolts snuggly fit. Don’t overtighten them, as you are not using any nail flange.
Otherwise, the pre-tapped threads of screws might be damaged. Once the nails pass the “secure” level, keep them in the “snug” level.
Step: 07— Apply Flashing And Sill Pan
Window flashing is a water-repellent material that prevents water from entering inside a home over time.
Besides, sill pans are necessary for home windows to protect the angles and joints from water. You won’t have to worry about any air and water intrusion.
Apply self-adhesive flashing strips at the bottom first, followed by the sides, and finally, add them at the top area. Use a tiny portion at the joints and corners, too.
Next, cut and fit the sill pan to size. Secure it in place with adhesive and ensure it forms a watertight seal.
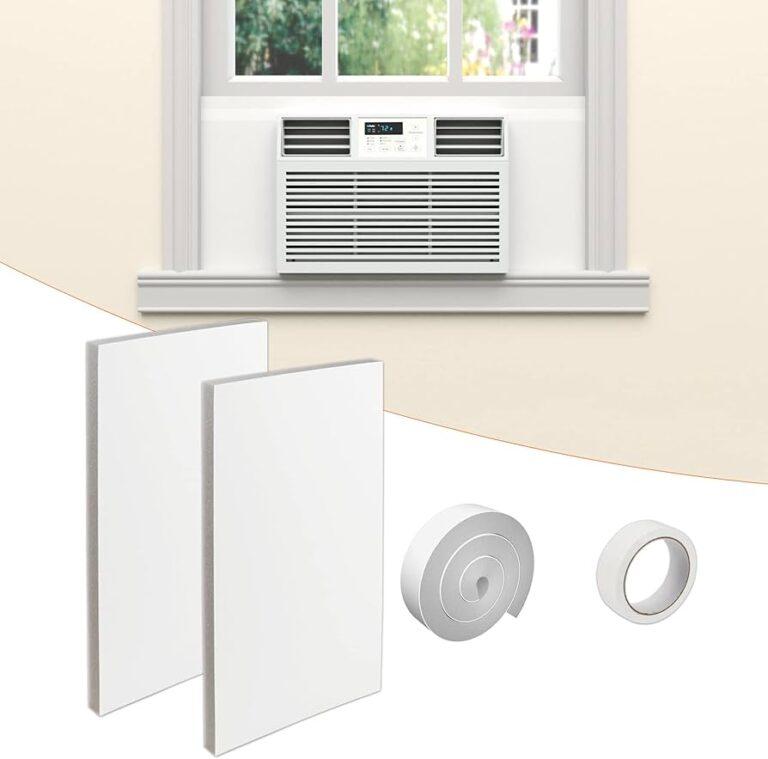
Step: 08— Add Insulation And Trims
Homeowners can use EPDM, foam, backer rods, or felt stripping to insulate their homes. It will keep unwanted heat out of your house and improve overall energy efficiency.
However, don’t add too much foam. It will cause an adverse effect. You may struggle to breathe properly. It will compromise your comfort levels.
Cut the foam to size and press all the gaps. If there are any excess, trim them with scissors.
Next, add internal and external trims to seal between the siding and the window frame. Plus, insects and other pests won’t be able to enter your house.
You can use MDF, wood, PVC, or tile for interior trim. But fiber cement, vinyl, and PVC materials are the best choice for exterior trims.
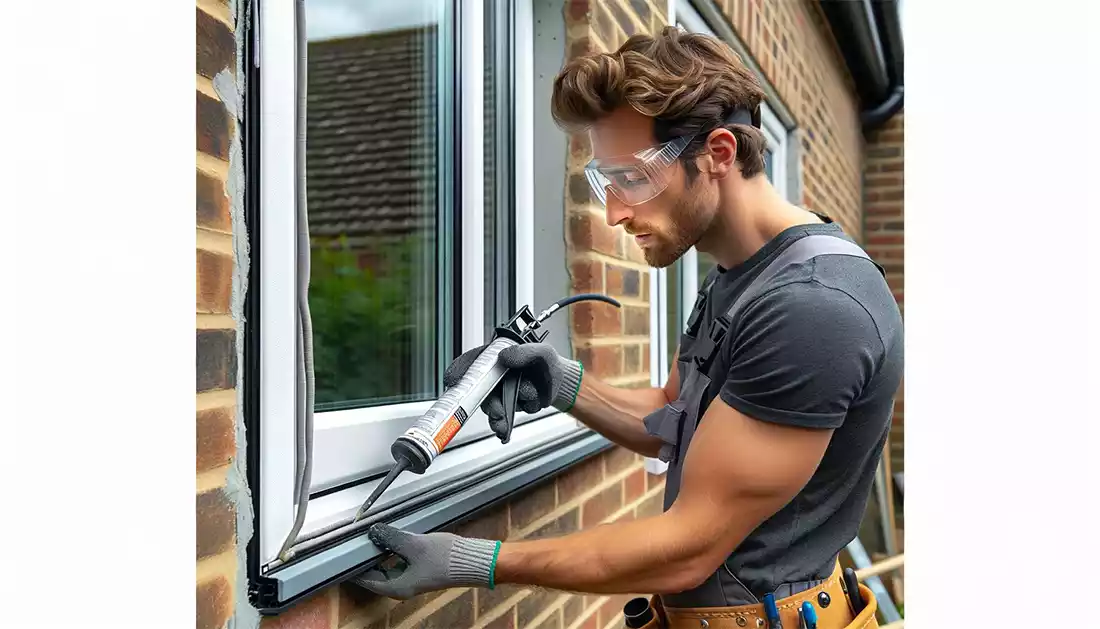
Step: 09— Seal the window with caulk
The next step is sealing the gaps between the window frames with caulk. Apply a continuous line of caulk in a narrow, cylindrical shape to fill the gaps and joints.
It will help you eliminate air leaks. Plus, caulks can flex in changing weather conditions. Extremely hot and cold temperatures will cause minimal harm to windows.
Sealing both the interior and exterior sides of the windows is necessary. Silicone caulks are the best choice for outdoors, and acrylic latex caulk for interiors.
You can use a caulking gun for smoother and more precise application. Its ratcheting action enables you to work faster with less effort.
After applying the sealant appropriately, gently dab it over the sealant surface. It will help you achieve a professional and finished look and remove excess sealant material.
Step: 10— Test the window functionality
Allows the window sealants to dry properly as long as the manufacturer recommends. Generally, window caulks take one hour to touch dry but at least 24 hours to cure completely.
If you have applied a thicker solution, the curing time can be a bit longer. Once the caulk has dried fully, inspect all the spots carefully.
Look for any gaps or joints that need foam or caulk. Once everything seems alright, try opening and closing the window for several to ensure it works smoothly.
That’s how you install and seal a home window without nailing the flange!

Tips for Taking Care of Windows
You have already learned how to install windows without nailing flange. Here are some bonus tips to take care of you are beautiful windows in the long run.
1. Clean The Window Glass Regularly
Is your house located in a high-traffic area near the main road? If so, it is likely to attract a lot of pollen and dust.
Clean the window’s glass every few weeks is a good rule of thumb. Smoke films, hard water, dirt particles, oxidation, scratches, etc., are less likely to build up on the glass surface.
There won’t be any dirt coating. Hence, more natural light enters your house. Use a non-abrasive, non-alcoholic cleaner to avoid scratching and damaging the glass.
2. Lubricate Moving Parts
It is a good rule of thumb to lubricate all the windows’ moving parts at least once a year. You can avoid premature damage and decrease wear and tear.
What to use to lubricate hinges and other metal components? Say no to Oil-based lubricants or harsh as they can attract dust and debris.
Instead, use a dry silicone spray to lubricate the hinges and locking mechanism of the window. Apply it two or three times without touching woody frames.
3. Inspect The Window Regularly
Home windows won’t last a lifetime. Regularly check its condition to see if there is any sign of wear and tear.
Immediately repair or replace the component to avoid expensive repairs in the future. Seek professional help if you are an expert.
FAQ’s
What are the signs that my window seal has failed?
Signs of seal failure include visible gaps, drafts, moisture accumulation, and an increase in energy bills.
Can I seal windows without removing them?
Yes, windows can often be sealed in place, especially if they lack nailing flanges.
Can sealing windows reduce my energy bills?
Absolutely! Proper sealing can significantly reduce drafts and energy loss.
What is the best type of sealant for windows without nail flanges?
Silicone or acrylic sealants are typically the best choices due to their flexibility and durability.
Should I seal my windows myself or hire a professional?
This depends on your comfort and experience with DIY projects. For basic sealing, DIY is usually sufficient, but for more complex situations, consider hiring a professional.
Conclusion
When it comes to sealing a window without a nail flange, you have to be a bit careful. It is crucial to add all the items sequentially and correctly to get the best value from it.
Hopefully, the above guideline has given a clear answer to the question, “How to seal a window without nailing flange?” Let me know if you are still facing any issues.

I am Robert Sandin, a professional sealing expert with a diverse range of expertise. From concrete to various other materials, I possess in-depth knowledge and experience in the art of sealing. On my website, I offer valuable tips and expert recommendations on sealing techniques and products for different materials. Whether it’s concrete, wood, metal, or more, I am committed to providing you with the guidance you need for successful sealing projects.