How to Seal around Bathroom Exhaust Fan: Stunning Tips to Stop Annoying Leaks
How to Seal around Bathroom Exhaust Fan Leak-Proof Tips Learn expert methods to prevent leaks Click now to make your fan airtight today.
Ensuring your bathroom exhaust fan is properly sealed prevents moisture and mold accumulation, essential for maintaining a healthy indoor environment. A well-sealed fan also enhances energy efficiency, keeping warm or cool air from escaping and ensuring your HVAC system works optimally.
Bathroom exhaust fans play a crucial role in ventilation, removing excess humidity and odors. Over time, the sealant around these fixtures can deteriorate, allowing air leaks and potential water damage. By sealing gaps around your exhaust fan, you essentially fortify your bathroom’s defenses against moisture intrusion and improve the overall performance of your fan. This quick maintenance task is straightforward and can save you from future costly repairs. Remember to choose the appropriate sealant for bathroom use, as it must withstand high humidity and temperature fluctuations.
The Importance Of Proper Ventilation
Welcome to the world of bathroom ventilation, a topic often overlooked but vitally important for the health and longevity of your bathroom. Ensuring that moist air from showers and baths can escape effectively is critical in maintaining a mold-free and fresh-smelling space.
Ventilation in the bathroom is essential for circulatory air quality and eliminating excess moisture, which can lead to mold growth and water damage. A bathroom without proper ventilation is a breeding ground for mildew and bacteria. This can compromise the structural integrity of your home and may trigger health issues.
Common Issues With Bathroom Exhaust Fans
A well-functioning exhaust fan is a bathroom’s best friend. But often fans suffer from problems such as noise, inefficiency, or air leaks. These issues stem from improper sealing and installation. Air leaks can also increase your energy bills and reduce fan performance.
Overview Of A Leak-proof Sealing Process
To prevent common fan issues, a leak-proof sealing process is paramount. This process involves inspecting the fan housing, sealing gaps, and ensuring that ductwork is properly connected. Let’s break down the steps you’ll take to keep your bathroom air fresh and moisture-free.
- Start by switching off the power to your exhaust fan.
- Remove the fan cover and inspect for dust buildup.
- Clean the fan blades and interior thoroughly.
- Check the duct connection and seal any gaps with foil tape.
- Apply caulk around the fan housing for a tight seal against the ceiling.
- Replace the fan cover and restore power once the caulk is dry.
Pre-sealing Preparation And Safety
Preparing to seal around a bathroom exhaust fan is key to ensuring a waterproof barrier. Safety is paramount. That means gathering the right tools and assessing the fan’s condition before starting. Take time to make necessary preparations for a job well done.
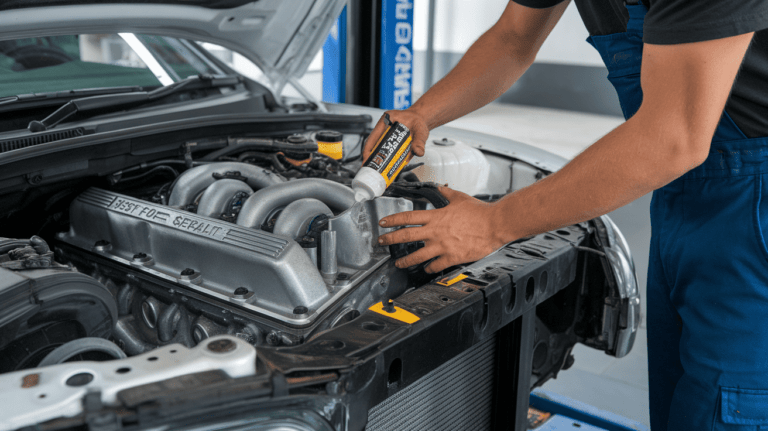
Tools And Materials Needed For Sealing
Before beginning the sealing process, gather the following:
- Caulking gun
- Silicone caulk – choose a type suitable for bathrooms
- Ladder – for easy access to the exhaust fan
- Clean cloths – for wiping surfaces
- Rubber gloves – to protect your hands
- Safety goggles – to keep your eyes safe
Safety Precautions And Best Practices
Follow these safety tips:
- Turn off power to the exhaust fan at the circuit breaker
- Use a sturdy ladder for stability
- Wear gloves and goggles for personal protection
- Ventilate the area to prevent fume inhalation
- Read the caulking product instructions carefully
Assessing Your Bathroom Exhaust Fan Condition
Before applying new caulk:
- Check for damages or rust on the fan
- Clean the area around the fan
- Remove any old caulk remnants
- Ensure the fan is properly mounted
This initial check will ensure the seal lasts and functions effectively.
Step-by-step Guide To Sealing The Exhaust Fan
Sealing a bathroom exhaust fan helps prevent moisture and mold buildup. A well-sealed fan also improves energy efficiency. Follow this straightforward guide to ensure your bathroom exhaust fan is sealed properly.
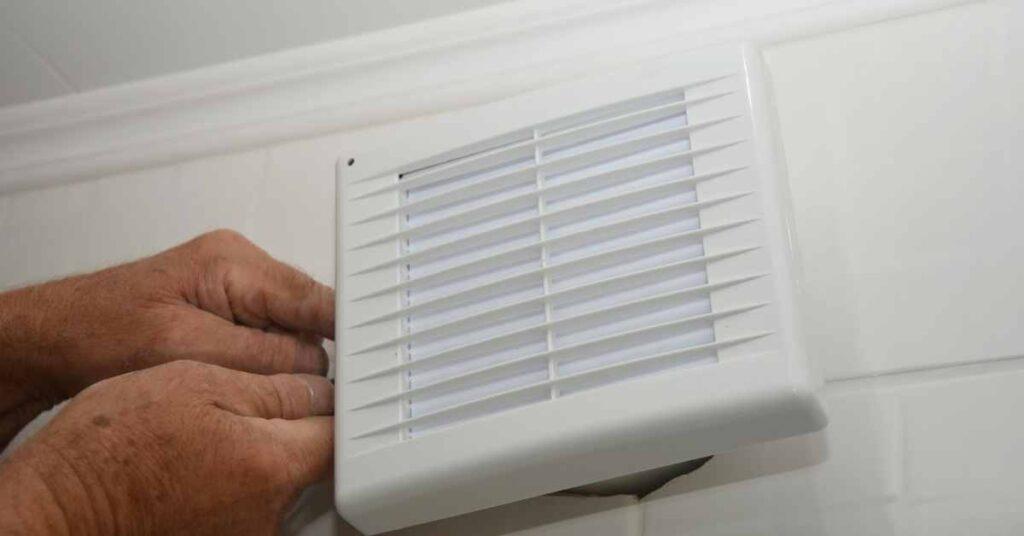
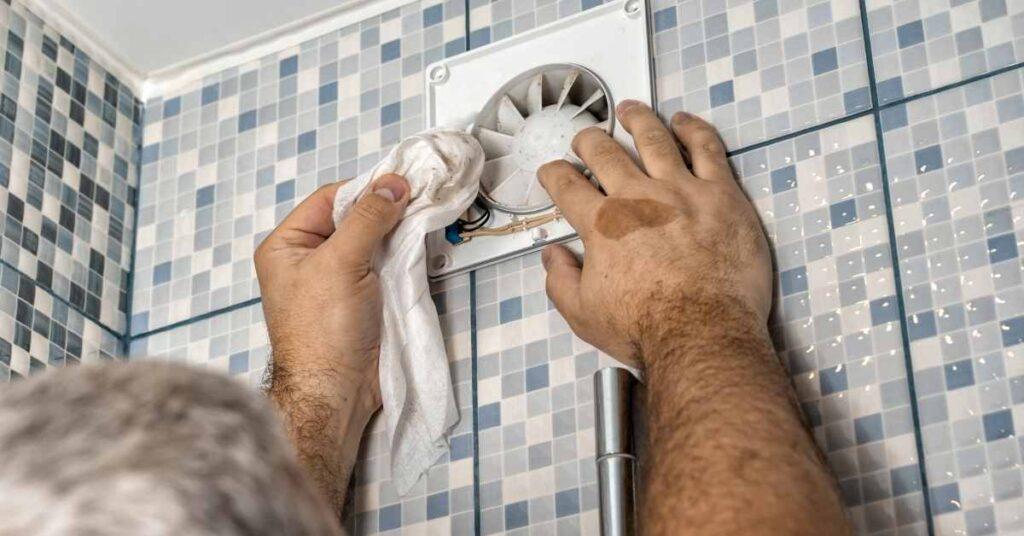
Removing The Fan Cover And Cleaning
- Turn off the power to your fan at the circuit breaker.
- Gently remove the fan cover. It usually snaps off or is held by screws.
- Clean the cover and the area around the fan with soapy water.
- Dry completely before proceeding to the next step.
Applying Sealant: Types And Techniques
| Type of Sealant | Application Technique |
|---|---|
| Silicone Caulk | Apply using a caulk gun in a continuous bead. |
| Expanding Foam | Use for larger gaps, following the product’s instructions. |
| Butyl Rubber | Spread evenly with a putty knife for a waterproof seal. |
Select the right sealant for the material of your fan and the size of the gap.
Ensuring Proper Adhesion And Coverage
- Press the sealant into any gaps around the fan housing.
- Smooth out the bead with a damp finger or tool to ensure a clean finish.
- Check for, and fill any missed spots to prevent leaks.
- Allow the sealant to dry as per the manufacturer’s instructions.
Reattaching The Fan Cover And Testing For Leaks
- Replace the fan cover securely after the sealant dries.
- Turn on the power and test the fan for a few minutes.
- Inspect around the fan for any signs of air leaks.
- Touch up as needed to ensure full sealant coverage.
Finishing with a leak test ensures the fan operates effectively.
Maintenance Tips And Troubleshooting
Maintenance tips and troubleshooting tactics are essential for keeping your bathroom exhaust fan in top shape. This can prevent moisture and mold buildup. Let’s dive into the specifics of keeping your fan well-sealed and functional.
Regular Maintenance To Prevent Future Leaks
Regular upkeep ensures your bathroom exhaust fan remains leak-free. Here are steps to maintain it:
- Check seals annually: Look for gaps or cracks in the sealant.
- Clean the fan: Dust build-up can lead to fan malfunction.
- Replace damaged parts: Fix or replace any worn components promptly.
- Test fan function: Make sure it’s operating correctly after any maintenance.
Troubleshoot Common Issues After Sealing
If problems arise post-sealing, consider the following:
| Issue | Solution |
|---|---|
| Moisture buildup | Recheck sealant and reapply if needed. |
| Noisy fan | Inspect for loose parts or obstructions. |
| Non-functional fan | Confirm power supply and circuitry are intact. |
When To Call A Professional: Recognizing Complex Problems
Some problems require a professional’s touch:
- Major water damage: This can signal a serious leak beyond the fan.
- Electrical issues: Faulty wiring should be handled by an expert.
- Structural problems: If the ceiling or fan housing is damaged, call for help.
Remember, timely intervention can save you from costly repairs.
Closing Thoughts
Sealing your bathroom exhaust fan offers benefits beyond preventing water damage. It boosts efficiency and enhances indoor air quality. A well-executed seal maintains the integrity of your bathroom. Below, key takeaways summarise this essential home maintenance task.
The Long-term Benefits Of A Well-sealed Exhaust Fan
- Energy Savings: Proper sealing curbs heat loss, lowering utility bills.
- Mold Prevention: A sealed fan blocks moisture, deterring mold growth.
- Sustained Durability: Quality sealing materials extend your fan’s lifespan.
Final Checklist For A Leak-proof Bathroom Fan
- Check sealant for gaps or cracks.
- Confirm tight duct connections.
- Inspect the exterior vent cover.
- Ensure the fan housing is secure.
- Test the fan post-sealant application.
Encouraging Building Health Through Proper Ventilation
Keeping air fresh is vital. A sealed exhaust fan promotes a healthier environment. Regular checks ensure optimal function. Consider these steps a form of care for your home’s well-being. Strive for optimal ventilation to maintain a clean, fresh, and safe living space.
Frequently Asked Questions
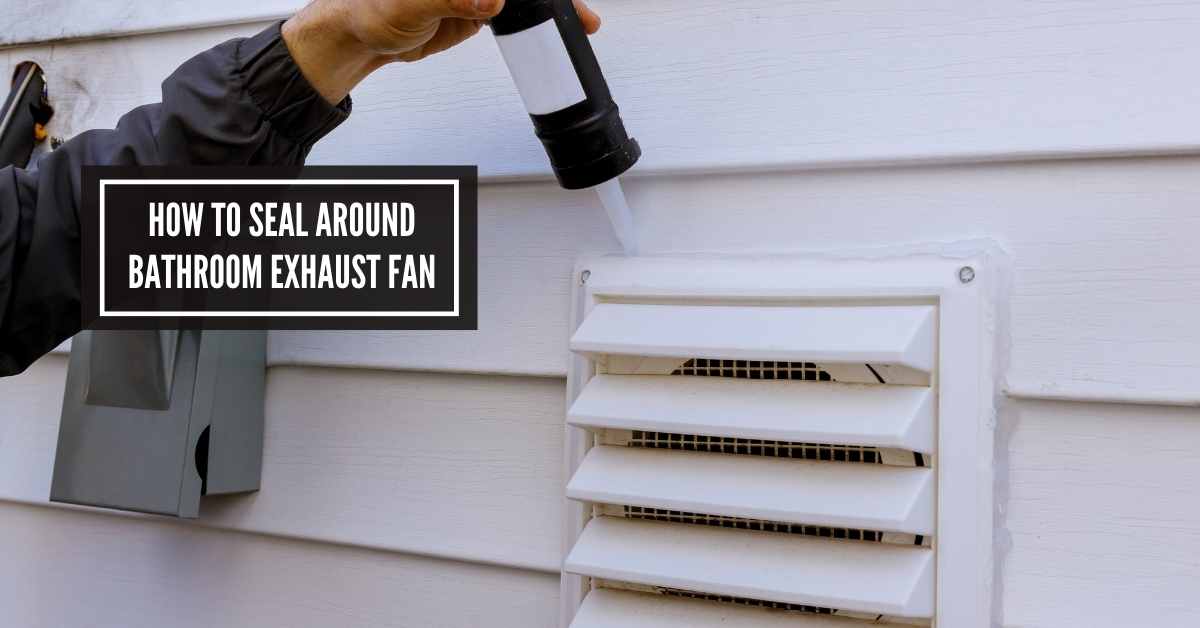
How Do You Seal The Gap Around A Bathroom Fan?
To seal a bathroom fan gap, turn off the power and remove the fan cover. Apply caulking around the fan housing where it meets the ceiling. Replace the cover and restore power once the caulk dries. This prevents air leaks and maintains bathroom insulation.
How Do I Fix The Gap Between My Exhaust Fan And Ceiling?
To fix a gap between an exhaust fan and the ceiling, turn off power, remove the fan cover, apply caulk around the gap’s perimeter, and reattach the cover. Ensure the caulk is smooth and even for a sealed and aesthetically pleasing finish. Always let the caulk dry completely before using the fan.
How Do I Stop My Bathroom Exhaust Fan From Leaking?
To stop your bathroom exhaust fan from leaking, first inspect and clean the ductwork. Seal any gaps with foil duct tape. Ensure the exterior vent flap closes properly and replace if damaged. Check for proper insulation around the fan to prevent condensation.
Do Exhaust Fans Need To Be Sealed?
Yes, sealing exhaust fans prevents air leaks, enhancing efficiency and reducing energy costs. Use caulk or foam for a tight seal.
What Materials Are Needed To Seal An Exhaust Fan?
To seal a bathroom exhaust fan, you need caulk or expanding foam, caulk gun, utility knife, and painter’s tape.
Final
Sealing your bathroom exhaust fan effectively prevents moisture issues and enhances energy efficiency. Tackling this DIY task can seem daunting, but with the right tools and instructions, it’s quite manageable. Remember to check the seal periodically to ensure ongoing protection.
Get started today to ensure a safer, more comfortable home environment!

I am Robert Sandin, a professional sealing expert with a diverse range of expertise. From concrete to various other materials, I possess in-depth knowledge and experience in the art of sealing. On my website, I offer valuable tips and expert recommendations on sealing techniques and products for different materials. Whether it’s concrete, wood, metal, or more, I am committed to providing you with the guidance you need for successful sealing projects.