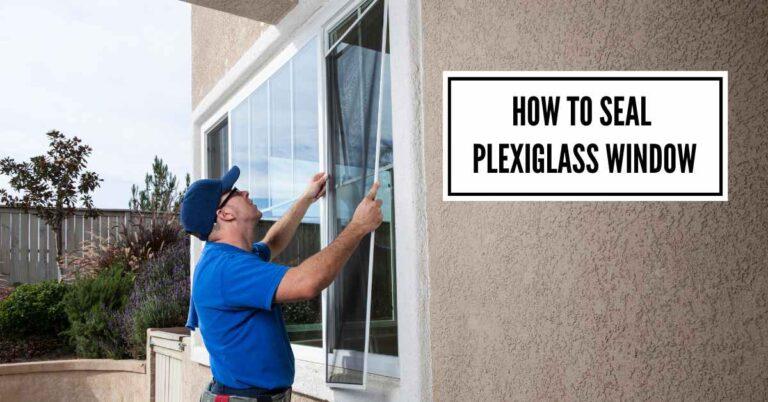
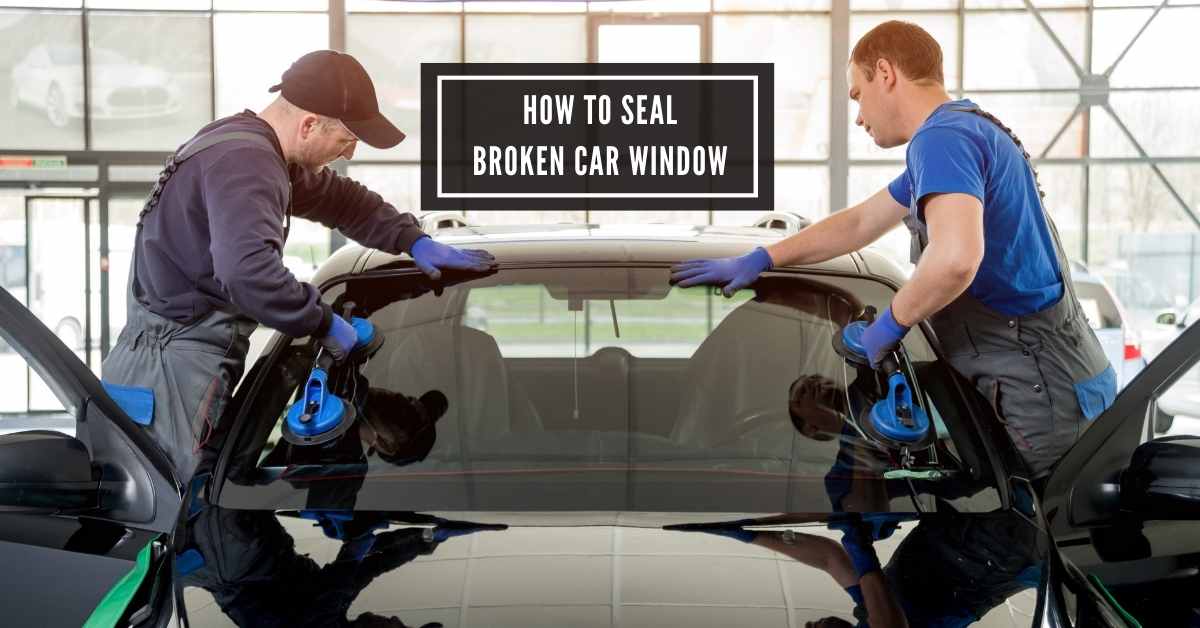
How to Seal Broken Car Window: The Ultimate Guide
To seal a broken car window, use clear tape to cover the crack temporarily. Then, visit a professional for repair.
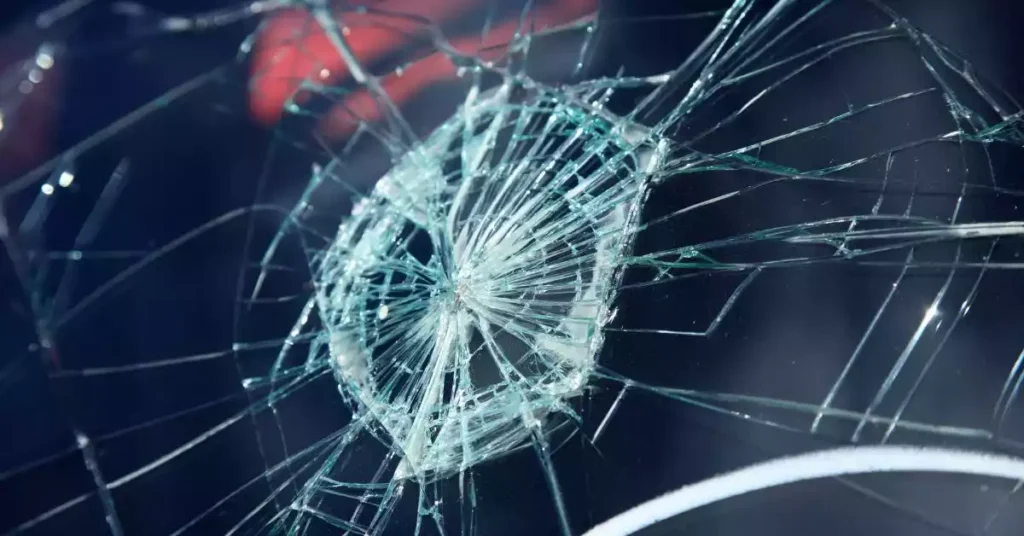
Driving with a broken car window can be risky and compromise the safety of your vehicle. Whether the damage is due to an accident, vandalism, or wear and tear, it’s essential to address it promptly to prevent further issues. Taking the necessary steps to seal a broken car window can help maintain the integrity of your vehicle and keep you safe on the road.
In this guide, we will discuss simple solutions to temporarily seal a cracked window before seeking professional assistance for a permanent fix. Let’s explore how you can address a broken car window swiftly and efficiently.
Assessing The Damage
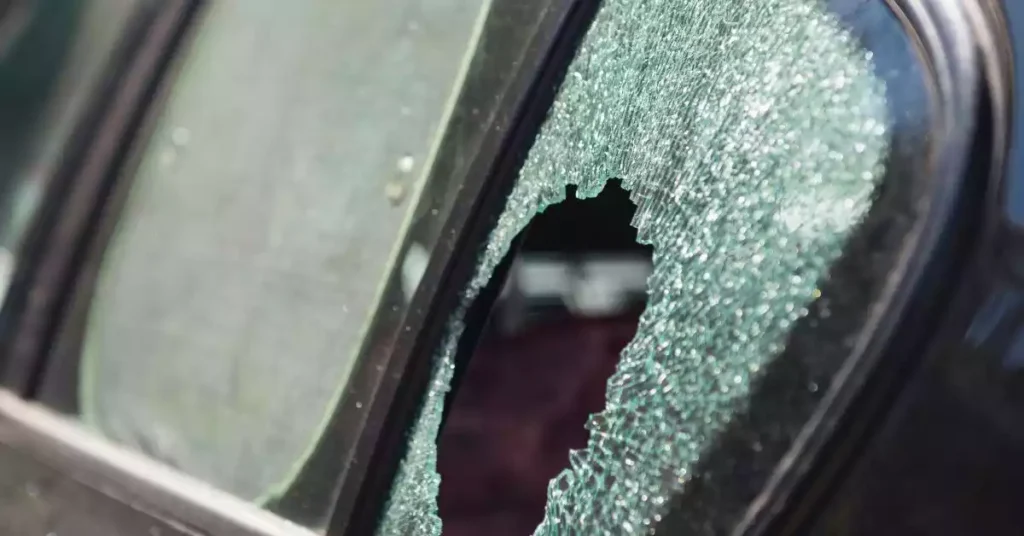
Identifying The Break
Look for the broken area on the car window.
Evaluating The Size Of The Damage
Measure the crack or chip to determine its extent. In assessing the damage to a broken car window, the first step is to identify the break. This involves visually examining the window to locate the damaged area. Once you have located the break, the next step is to evaluate the size of the damage. This can be done by measuring the crack or chip to determine the extent of the issue. By accurately assessing the damage, you can effectively proceed with the necessary steps to seal the broken car window.
Gathering The Necessary Materials
Gathering the necessary materials is the first crucial step in sealing a broken car window. To effectively seal a broken car window, ensure you have the right type of window and required tools on hand.
Type Of Window And Required Tools
| Type of Window | Required Tools |
|---|---|
| Tempered Glass Window | Gloves for safety Cloth for cleaning Sealant specific to tempered glass Window cleaner |
| Laminated Glass Window | Gloves for protection Cloth for wiping Specialized laminated glass sealant Glass cleaner |
Choosing The Right Sealant
When selecting a sealant, it’s essential to pick the correct one for the type of window you are dealing with. Consult with an expert or refer to your car’s manual for guidance on the suitable sealant for your specific window type.
Preparing The Area
Before you begin sealing the broken car window, it’s crucial to prepare the surrounding area to ensure a safe and effective process. This involves removing debris and glass shards and thoroughly cleaning the surrounding surface.
Removing Debris And Glass Shards
- Use protective gloves to carefully remove any visible glass shards from the window area.
- Use a vacuum cleaner with a hose attachment to suction any remaining glass pieces from the window frame and interior of the car.
- Wipe down the area with a damp cloth to ensure all debris and shards are fully removed.
Cleaning The Surrounding Surface
To ensure proper adhesion of the sealant, it’s important to thoroughly clean the surrounding surface. Follow these steps:
- Prepare a solution of mild detergent and water.
- Using a clean cloth, wipe the window frame and surrounding area to remove any dirt, dust, or grime.
- Rinse the area with clean water and allow it to dry completely before proceeding.
Applying The Sealant
To seal a broken car window, start by cleaning the area thoroughly. Apply the sealant in a continuous bead along the crack or chip, ensuring complete coverage. Use a plastic razor blade to smooth the sealant and let it dry for the recommended time to restore the window’s integrity.
Techniques For Even Application
When it comes to applying sealant on a broken car window, using the right techniques can make a significant difference in the outcome. To ensure the sealant is evenly spread, follow these simple steps:
- Clean the area thoroughly: Before applying any sealant, it’s crucial to clean the broken window and surrounding area. Use a mild detergent and water to remove any dirt or debris.
- Apply the sealant in a zigzag pattern: To achieve an even distribution, gently squeeze out the sealant in a continuous zigzag motion. Start from one corner and work your way across the broken window.
- Use a putty knife for spreading: Once the sealant is on the surface, use a putty knife to spread it evenly. Hold the knife at a slight angle and run it smoothly over the entire area, ensuring the sealant fills in all the gaps.
- Remove any excess sealant: After spreading the sealant, check for any excess. If there is any, use a clean cloth or paper towel to carefully remove it, taking care not to disturb the sealant that’s already applied.
Following these techniques will help you achieve a smooth and consistent application of the sealant, ensuring a stronger bond and more effective repair, ultimately enhancing the window’s durability.
Ensuring Proper Drying
After applying the sealant on your broken car window, ensuring proper drying is crucial to maximize its effectiveness. Here are a few tips to help you achieve optimal drying:
- Avoid touching or moving the car window: Once the sealant is applied, refrain from touching or moving the car window for the recommended drying time. This will prevent any disturbance to the sealant, allowing it to set properly.
- Provide adequate ventilation: Open the car doors or windows slightly to facilitate airflow. This will help in the drying process by allowing moisture to escape and the sealant to cure faster.
- Allow sufficient drying time: The drying time can vary depending on the type of sealant used. Check the product instructions for the recommended drying time, and make sure to allow the window ample time to dry before using or closing it.
- Protect the window from rain or moisture: If possible, park your car in a covered area or use a car cover to protect the window from rain or excess moisture during the drying process. This will prevent any potential damage to the sealant as it cures.
By following these guidelines, you can ensure that the sealant dries properly, creating a strong and durable bond on your broken car window. It’s important to exercise patience during the drying process to guarantee the longevity of the repair.
Final Touches
Discover how to effectively seal a broken car window with the final touches needed for a seamless repair. Follow these simple steps to secure your vehicle from potential damage and ensure a professional finish. Get back on the road with peace of mind knowing your window is properly sealed.
After successfully sealing your broken car window, there are a few final touches you should undertake to ensure a smooth and flawless finish. These final steps will help to guarantee both air and water tightness, as well as leave your window looking brand new. Let’s take a closer look at these final touches.
Checking For Air And Water Tightness
To ensure that your repaired car window is completely sealed, it’s important to check for air and water tightness. This step will help you identify any potential leaks or gaps that may compromise the effectiveness of your repair. Here’s what you need to do:
1. Visual Inspection: Thoroughly examine the edges of the repaired window. Look for any signs of visible gaps or inconsistencies in the sealing material. If you notice any irregularities, you will need to address them promptly.
2. Air Test: Close the repaired car window completely and roll it up. Use your hand to feel around the edges of the window for any air drafts. Pay close attention to corners and edges. If you feel any airflow, it means that there is still a gap and the sealing needs further attention.
3. Water Test: Take a spray bottle filled with water and spray it along the edges of the repaired window. Observe if there are any water droplets or leaks coming through. If water enters the car, it indicates that the seal is not completely watertight and further adjustment is required.
4. Repeating the Sealing Process: If you find any issues during the air or water test, you should repeat the sealing process. Apply additional sealant to the area that needs improvement and follow the same steps as before. This will help to ensure that the window is properly sealed and protect your car from any potential damage caused by air or water leakage.
Cleaning And Polishing The Window
Once you have confirmed the air and water tightness of your repaired car window, it’s time to clean and polish it. This step will not only enhance the overall appearance but also help to maintain the longevity of the repair. Follow these steps to clean and polish your car window:
1. Gentle Cleaning: Start by removing any dust, dirt, or debris from the surface of the window. Use a microfiber cloth or a soft brush to gently wipe away the particles. Avoid using abrasive materials that may scratch the glass.
2. Window Cleaner: Apply a small amount of window cleaner to a clean cloth or paper towel. Wipe the entire surface of the window, making sure to reach all corners and edges. Continue until the glass is clean and free of any residue.
3. Polishing Compound: To further enhance the appearance of your repaired car window, you can use a polishing compound. Apply a small amount of the compound onto a polishing pad or a soft cloth. Work the compound into the glass using circular motions. This will help to remove any fine scratches or imperfections, leaving the window looking shiny and new.
4. Final Inspection: After cleaning and polishing, examine the window again to ensure it is spotless and gleaming. Check for any remaining marks or smudges and remove them as necessary. A final inspection will ensure that your repaired car window looks as good as new and restores its aesthetic appeal.
Remember, the final touches are crucial in completing the repair process for your broken car window. By checking for air and water tightness and giving your window a thorough cleaning and polishing, you can enjoy a seamless repair that will last for a long time to come.
Frequently Asked Questions For How To Seal Broken Car Window
How Can I Temporarily Seal A Broken Car Window?
To temporarily seal a broken car window, you can use duct tape or plastic wrap. Apply the tape or wrap tightly across the window, covering the crack or hole. Ensure that the seal is secure to keep out rain and debris.
However, it is important to get the window repaired as soon as possible.
Can I Use Clear Nail Polish To Seal A Cracked Car Window?
Although clear nail polish may temporarily seal a small crack in a car window, it is not a long-term solution. The nail polish is not strong enough to withstand the pressure and movement associated with driving. It is best to seek professional repair to ensure a safe and secure fix for your car window.
What Is The Best Method To Seal A Broken Car Window Permanently?
The best method to permanently seal a broken car window is to have it repaired or replaced by a professional auto glass technician. They have the expertise and proper tools to ensure a secure and durable seal. Attempting to seal the window yourself may lead to further damage or an ineffective fix.
Conclusion
Sealing a broken car window can be done at home with simple materials and a step-by-step guide. By following the instructions provided in this post, you can save time and money, as well as ensure the safety and security of your vehicle.
Remember to always prioritize safety and proper techniques when handling car window repairs.

I am Robert Sandin, a professional sealing expert with a diverse range of expertise. From concrete to various other materials, I possess in-depth knowledge and experience in the art of sealing. On my website, I offer valuable tips and expert recommendations on sealing techniques and products for different materials. Whether it’s concrete, wood, metal, or more, I am committed to providing you with the guidance you need for successful sealing projects.