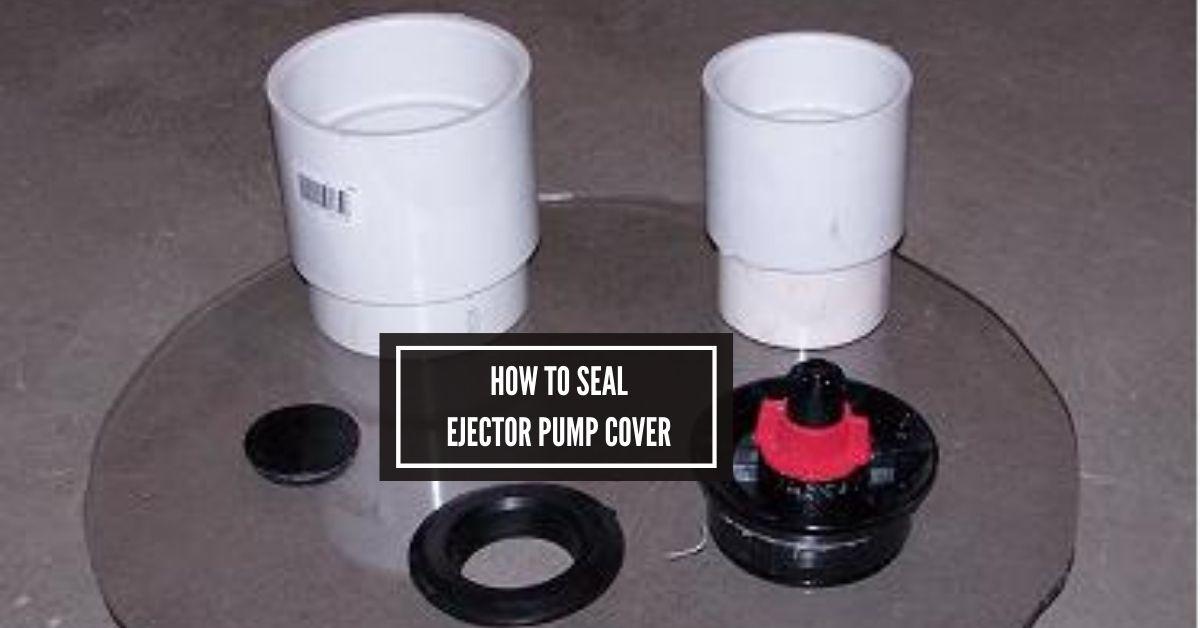
How to Seal Ejector Pump Cover: Leak-Proof Tips!
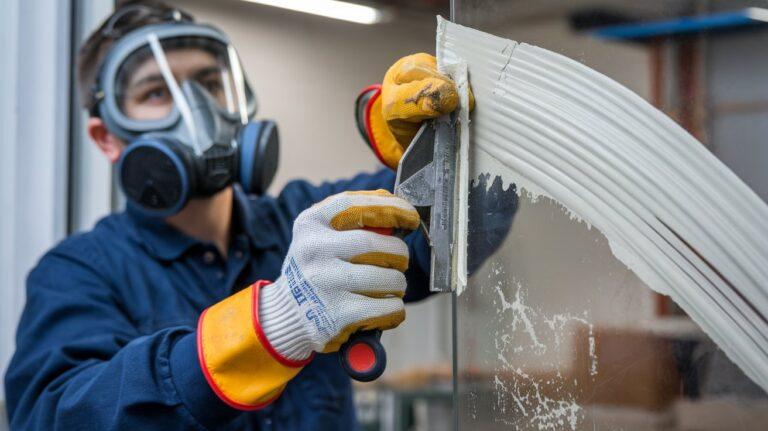
To seal an ejector pump cover, first clean the area, then apply a silicone sealant evenly around the cover edge. Ensure the cover sits snugly and allow the sealant to cure as per product instructions.
Ejector pumps are critical in managing wastewater in homes where below-grade plumbing fixtures can’t rely on gravity to move waste into the sewer line. A properly sealed ejector pump cover is crucial for preventing odors and sewage gases from entering the home, as well as for ensuring the system operates efficiently.
Homeowners should prioritize this task to maintain a healthy living environment. Familiarizing yourself with the process of sealing the cover will not only enhance the system’s functionality but also extend its service life. Quick and effective sealing, with attention to detail, can vastly improve your ejector pump’s performance.

Credit: www.reddit.com
Introduction To Ejector Pumps
Imagine a system that keeps your basement dry. Ejector pumps do just that. They remove wastewater when gravity can’t. Homes below the sewage line need this. The ejector pump is key.
Understanding Ejector Pumps And Their Importance
Ejector pumps combat gravity. They push waste to the main sewer. These pumps are vital for hygiene. They prevent backflow too.
Ejector pumps have dual roles:
- Remove waste: They move it from basements to sewers.
- Protect homes: They stop sewage from entering basements.
Common Issues With Ejector Pumps: Identifying Leaks
Leaky seals can spell trouble. Water might escape. This can harm your house. Spot leaks early. You can tell by:
- Water on the floor: Puddles near the pump are a giveaway.
- Noises: Unusual sounds can indicate a problem.
- Odor: A sewage smell means a possible leak.
If leaks are left unchecked, they can lead to significant water damage and even health hazards due to mold and bacteria growth. By addressing leaks promptly, homeowners can maintain a healthy living environment and avoid costly repairs.
Credit: www.homedepot.com
Preparation For Sealing The Ejector Pump Cover
Before ensuring your ejector pump remains in excellent working condition, proper preparation is key. The goal is to create a watertight seal on the ejector pump cover. This process begins with some essential steps.
Safety Measures And Tools Required
A safe working environment is crucial. Safety goggles and gloves are must-haves. Check for electrical hazards before starting.
- Eye Protection – Safety goggles
- Hand Protection – Durable gloves
- Power Disconnection – Tools to turn off electricity
Keep essential tools close. A caulking gun and silicone sealant are needed for the seal. A screwdriver, cleaning supplies, and a flashlight will also help.
| Tool | Use |
|---|---|
| Screwdriver | To open the cover |
| Caulking Gun | For applying sealant |
| Silicone Sealant | To create the seal |
| Flashlight | To illuminate the area |
Cleaning And Clearing The Area
Ensure the work area is clean and clutter-free. Remove debris around the ejector pump. A clean surface ensures a better seal.
- Switch off the power to the pump
- Clear the area of tools and debris
- Clean the cover and surrounding surface
Inspecting The Ejector Pump Cover For Damage
Look closely at the ejector pump cover. Hunt for cracks or wear. Identify areas that need repair or sealing.
If damage is found, take steps to fix it before sealing. Use a sealant that is suitable for the material of the cover and compatible with wastewater environments.
Step-by-step Guide To Sealing The Ejector Pump Cover
A leaky ejector pump can be a homeowner’s nightmare. This guide will walk through the process of sealing an ejector pump cover effectively, offering a tight, leak-proof seal.
Choosing The Right Sealant For Your Ejector Pump
Selecting the appropriate sealant is critical for optimal performance.
- Check the pump manual for manufacturer recommendations.
- Opt for a high-quality silicone sealant that resists moisture and mold.
- Ensure the sealant is compatible with the pump material.
Removing The Old Sealant And Preparing The Surface
- Turn off the pump and disconnect it from power.
- Remove the existing sealant using a putty knife or scraper.
- Clean the surface thoroughly to remove any debris or residue.
- Allow the area to dry completely before applying new sealant.
Applying The Sealant And Ensuring A Tight Seal
Applying the sealant correctly ensures a waterproof barrier.
- Cut the tip of the sealant tube to match the size of the gap.
- Apply the sealant evenly along the edge of the pump cover.
- Use a sealant smoothing tool or your finger to press the sealant into the gap.
- Wipe away excess sealant before it dries for a clean finish.
Testing For Leaks And Troubleshooting
After the sealant has dried, conduct a leak test to ensure a secure seal.
- Reconnect the pump to power and fill the sump with water.
- Monitor for any signs of leakage around the sealed area.
- If leaks are present, apply additional sealant and retest.

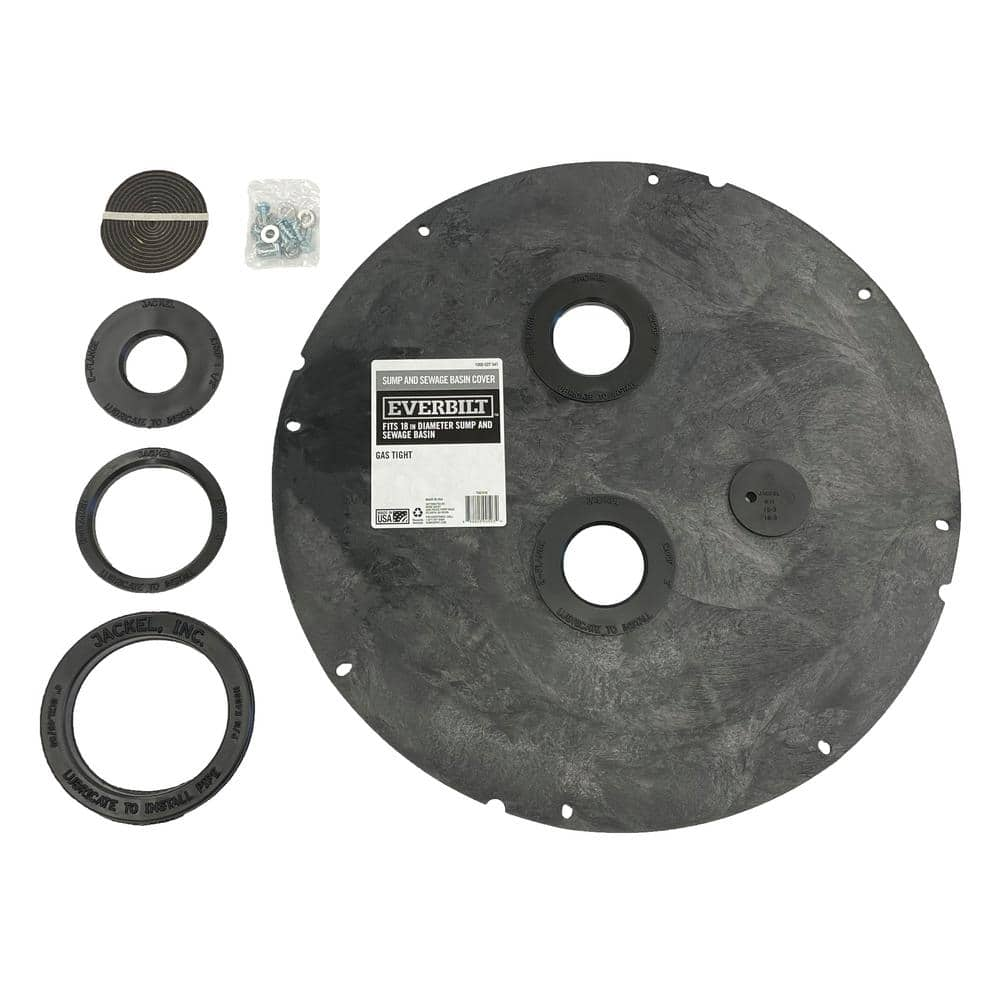
Credit: www.amazon.com
Maintenance Tips To Prevent Future Leaks
Maintaining your ejector pump seal is crucial. Regular checks keep your basement dry and safe.
Regular Inspection And Cleaning Schedules
Maintain your ejector pump by inspecting and cleaning it often.
Create a routine. Regular maintenance prevents leaks and extends your pump’s life.
- Check the cover monthly for cracks or damage.
- Clean the pit and make sure it’s free of debris.
- Look for signs of wear on the gasket, and replace it if needed.
Detecting And Addressing Small Issues Early
Small problems turn into big ones if ignored.
Listen for unusual noises. They might indicate a problem.
Seal small cracks or holes as soon as you spot them. This avoids major leaks.
Professional Inspections And When To Seek Help
Sometimes, you need a pro. Knowing when is key.
Get a professional inspection annually.
If you notice constant issues or major damage, call a professional. They keep your pump running smoothly.
Frequently Asked Questions Of How To Seal Ejector Pump Cover
How Do You Seal An Ejector Pump Cover?
To seal an ejector pump cover, clean the rim, apply a waterproof sealant, place the cover carefully, and secure it with screws. Ensure the seal is airtight to prevent leaks and odors.
Should An Ejector Pump Be Sealed?
Yes, an ejector pump should be sealed to prevent sewer gases from entering the home and to ensure proper functioning.
Does A Sump Pump Cover Need To Be Sealed?
Yes, sealing a sump pump cover is crucial to prevent radon gas, moisture, and odors from entering your home. A well-sealed cover also deters pests and improves safety.
How Do You Secure A Sump Pump Cover?
Ensure your sump pump cover is secure with bolts or screws and seal gaps with silicone caulk for a tight fit. Regular checks maintain the seal’s integrity, preventing debris entry and reducing hazardous gas emissions. Always consult your pump’s manual for specific attachment instructions.
What Is An Ejector Pump Cover?
An ejector pump cover is a secure lid designed to contain noise, prevent debris entry, and contain sewage gases.
Conclusion
Sealing your ejector pump cover is essential for a safe, odor-free home. This guide has shown you simple, effective steps to ensure a tight seal. Remember, regular maintenance can prevent future issues. Don’t hesitate to seek professional help if needed.
Keep your basement dry and your mind at ease.

I am Robert Sandin, a professional sealing expert with a diverse range of expertise. From concrete to various other materials, I possess in-depth knowledge and experience in the art of sealing. On my website, I offer valuable tips and expert recommendations on sealing techniques and products for different materials. Whether it’s concrete, wood, metal, or more, I am committed to providing you with the guidance you need for successful sealing projects.