Unlock the Secrets: How to Seal Kitchen Cabinet Edges in 2023

Do you know your kitchen cabinetry is one of the most noticeable spots in your kitchen for guests? There should not be any gaps or cracks between cabinets. Otherwise, it compromises its appearance.
Sealing the bottom edge is necessary for any washing machine, sink, or dishwasher near the kitchen cabinet. You should aim at having fine and smooth edges.
The sealing lines must be straight and smooth. It will protect the kitchen and other nearby items. Do you know what sealant to use and how to seal kitchen cabinet edges?
Kitchens are a significant and long-term investment. It is necessary to seal kitchen cabinet edges properly before installing the cabinets. I will cover this topic in this article. Keep reading!
How To Seal Kitchen Cabinet Edges: 5 Easy Steps
Have you just refinished your existing cabinets or finally gotten your dream kitchen?
Wouldn’t you like to protect them before you start seeing nicks and water damage caused by everyday use?
Step: 01— Choosing The Right Product
Choosing a compatible caulk color that matches the cabinet color is necessary.
Kitchen cabinets come in mainly white. But dark charcoal gray, vibrant blue, Greige, etc., are standard, too.
If it is unavailable, select a color that matches your kitchen floor.
Another essential product is using painter’s tape. It will help you achieve a stunning result.
Caulking with tape along the surface will help you get a straight line and avoid adding the sealant on unwanted areas.
Step: 02— Preparing The Area
When sealing the bottom of kitchen cabinets, clean it properly. They may have dust, food particles, food splatters, and watermarks.
The caulk will fail to adhere correctly and lose its effectiveness quickly if it doesn’t sit well on the cabinet.
You can create a mixture of dish soap (or liquid dishwashing detergent), vinegar, and warm water.
Add the solution to a spray bottom and spray it on the kitchen cabinets carefully. Let it sit for 30 to 40 seconds.
Then, use a fresh fabric to wipe down everything. Grab another dry cloth to remove all moisture from the kitchen cabinet.
Step: 03— Taping The Kitchen Cabinets
Correctly using painter tape is necessary to get straighter lines, ensure less mess, and better looking results.
Ensure the painter’s tape on the cabinet floor is positioned directly under the recessed space at the bottom of the base cabinet. However, make sure it is not placed below it.
Also, ensure that a small portion of the cabinet toe kick is visible for the upper tape line.
Plus, you want to apply the painter’s tape to all connecting cabinets in a single attempt with no breaks. This will help you get consistent coverage and save time.
It will be pretty messy if you apply painter tapes in each cabinet section separately.
Once you have applied the tape, aim for the narrowest line possible while achieving the desired outcome.
Slowly pat the tape down as it sticks to the cabinet to avoid bubbles or wrinkles. Leave the painter’s tape briefly before you seal the edges.
Step: 04— Preparing The Area
Sealing the entire tape line at once without any breaks is necessary. This will ensure a seamless and consistent finish while minimizing potential inconsistencies or gaps.
However, you can work on some areas at a time. Divide it into separate sections, but complete each one at once. This will help you achieve a perfect result.
After caulking the entire line, removing the painter’s tape is necessary. Make sure to do it before it becomes dry.
Next, filling the space beneath the kitchen cabinets requires applying the sealant at a continuous bead within the overlapped region of the joint.
Avoid working more than 2 or 3 feet at a time to maintain control. It will help you achieve a professional finish. Plus, the sealant won’t become dry.
Gently use your fingers to apply a medium layer along the cabinet edge, smoothing it out for a seamless finish.
Work at a 45-degree angle between horizontal and perpendicular while maintaining a slow and consistent speed. Your main objective should be getting a smooth, mess-free seal.
Step: 05— Removing The Tape
Once you apply a perfect line of sealant on the cabinet edge, removing the painter’s tape is necessary.
Peeling off the tape while the sealant is still wet will help you achieve a precise, excellent caulk line.
This will help you prevent any unwanted smudging or smearing of the caulk. Otherwise, the tape may stick to the caulk if you let the caulk fully dry.
Now, let the sealant cure fully for 24 hours. Once the caulk dries appropriately, it may shrink a bit due to the absence of water molecules.
As the seal becomes hard, there will be no moisture. Its mass, width, or length may decrease slightly.
If you notice any tiny gaps, apply the painter’s tape and use caulk cautiously to close the gap.
That’s it! Your kitchen cabinet now has a polished and finished look. It looks so professional, right?
How to Seal Large Gaps of Kitchen Cabinets?
The doors and drawers of a kitchen cabinet have some significant gaps. They are called edges or borders. Besides, some kitchen cabinets may have top and bottom edges.
Does your kitchen cabinet have more than a 1/4-inch gap between the toe kick and the floor?
If so, the sealant alone is not effective in closing this gap. It is more likely to crack within a short period.
Here are the two best options suitable for significant gaps in kitchen cabinets.
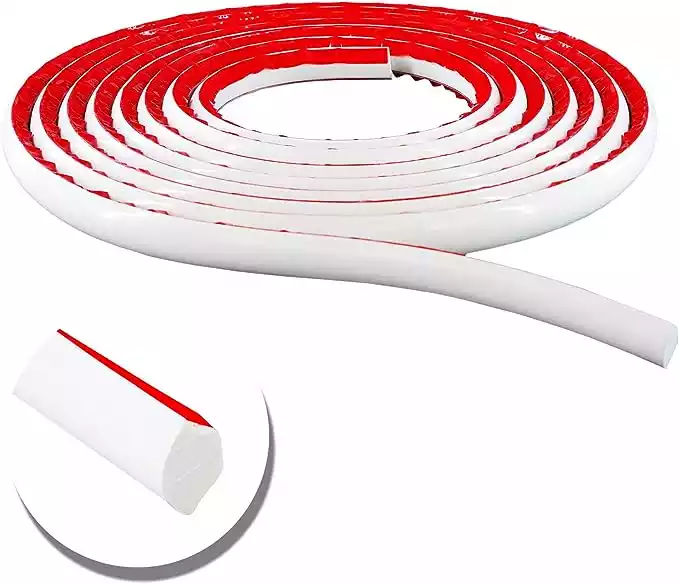
Option: 01— Backer Rods
One of the standard solutions is using backer rods. They are made of synthetic foam material. You can use them to seal off more significant gaps.

Cut the backer rod perfectly, depending on the gap size, and carefully place it between the toe kick and the floor.
As mentioned earlier, apply caulk on the top and below the backer rod.
Option: 02— Quarter Round Molding
Another convenient option is quarter round, which is also known as shoe or toe molding.
You can place it to cover the small gap or uneven edge between the flooring and the toe kick of the kitchen cabinet.
Carefully place the quarter round under the kitchen cabinet. Use a nail gun and compressor to secure its position.
If you don’t have a nail gun, you can alternatively utilize a hammer and finish nails to fasten the quarter round.
Now, use a small amount of Aliphatic resin or carpenter’s glue to ensure the quarter round stays firmly in place.
What to Use to Seal Kitchen Cabinets?
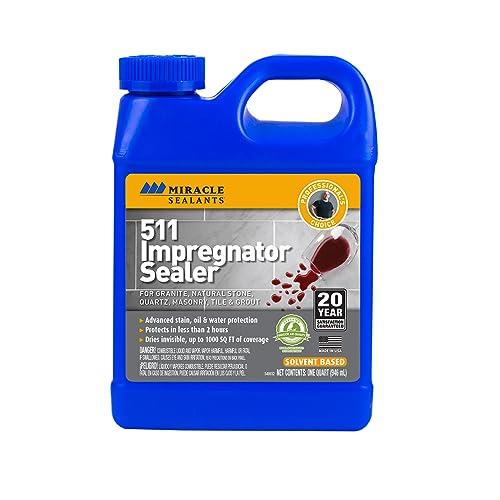
What is the best sealant for kitchen cabinet edges? The following are the top choices you can use to seal kitchen cabinets.
1. Latex or Acrylic Caulk
Latex or Acrylic Caulk is a good choice for moderate waterproofing, such as a kitchen backsplash.
They have a decent adhesion quality to adhere well to any cabinet wood. Besides, you can paint on top of the Acrylic-latex caulk once it is adequately dried.
You can also clean it with warm, soapy water. Using harsh chemicals and ruining your beautiful kitchen cabinet won’t be necessary.
Achieving a smooth and seamless appearance using latex or acrylic caulk won’t be a problem.
But follow the manufacturer’s instructions regarding how to apply the product and how long you must wait to cure it completely.
2. Silicone Caulk
Another best sealant for kitchen cabinets is silicone caulk. It is waterproof and mold-resistant. Your kitchen cabinets will stay in good condition for years.
They are also known as rubberized silicone caulk due to their flexibility. You have to pay a few dollars more than acrylic caulking.
But it is worth the investment as silicone caulks are less prone to easily peeling, cracking, or distorting.
Instead of pulling the caulk gun, push it to get a professional finish. Also, ensure good ventilation for faster cure.
Avoid spraying any water on the silicone sealant. This could affect the adhesion of the sealant.
3. Elastomeric Caulk
Elastomeric caulks are the best choice for filling slightly more significant gaps that regular sealants can’t back up.
They are tenaciously strong and straightforward to apply. You can easily paint on top of the sealant and clean it with water.
Elastomeric caulks are also well-known for their extreme durability. Temperature and humidity variations won’t cause any damage to this high-quality sealant.
However, correctly applying the caulk is the key. You want to distribute the stress over the entire bonding area evenly.
FAQ’s
How often should I reseal my cabinet edges?
Every 2-3 years, depending on wear and tear.
Can I use the same sealant for all types of edges?
No, different materials require different types of sealants.
How long does it take for the sealant to dry?
Typically, it takes 24-48 hours, but read the manufacturer’s instructions.
Do I need to empty my cabinets before sealing?
It’s not necessary but recommended for easier access.
Is sealing cabinet edges a one-time thing?
No, regular maintenance is required for long-lasting results.
Summing Up
The average lifespan of kitchen cabinets is 20 years. But high-quality kitchen cabinets can last as long as 50 years. However, the functionality and appearance may deteriorate over time if you don’t install it correctly and regularly do maintenance tasks.
Water and mold can significantly shorten the lifespan of kitchen cabinets. They usually enter through the edges or gaps of kitchen cabinets. You must seal these gaps and protect your kitchen cabinets. Hopefully, you have a clear idea of how to seal kitchen cabinet edges.

I am Robert Sandin, a professional sealing expert with a diverse range of expertise. From concrete to various other materials, I possess in-depth knowledge and experience in the art of sealing. On my website, I offer valuable tips and expert recommendations on sealing techniques and products for different materials. Whether it’s concrete, wood, metal, or more, I am committed to providing you with the guidance you need for successful sealing projects.