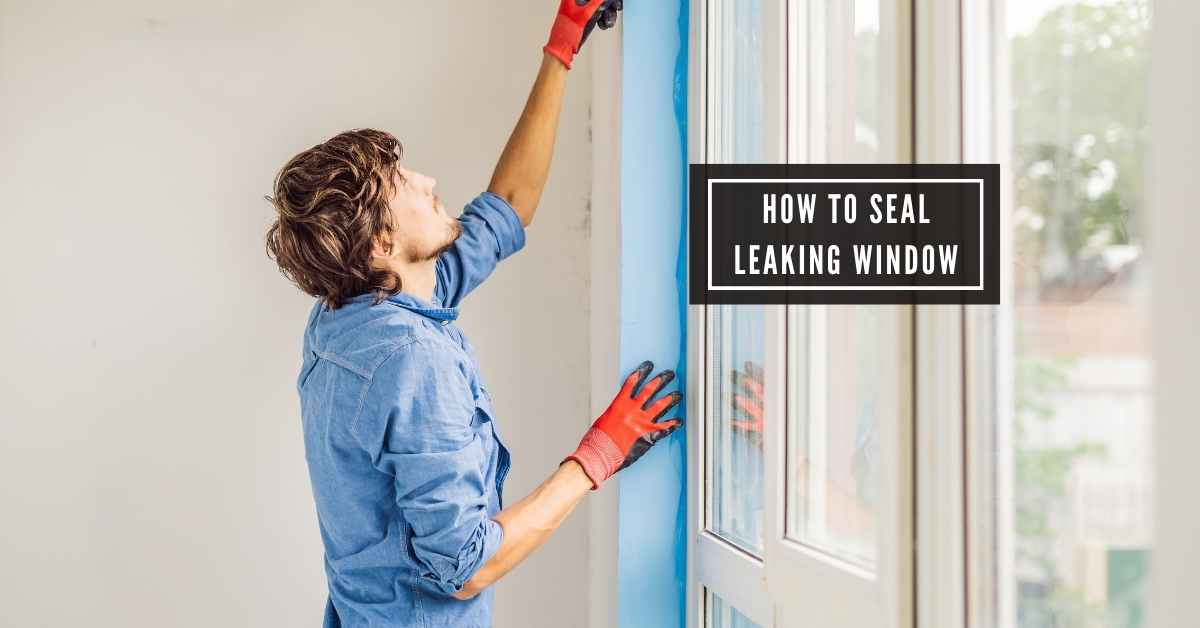
How to Seal Leaking Window: Powerful Easy Fix Now
To seal a leaking window, apply silicone caulk along the edges of the window frame. This will create a waterproof seal and prevent further leaks.
A leaking window can lead to water damage and energy loss, making it essential to address the issue promptly. By following simple steps and using the right materials, you can effectively seal the window and protect your home from potential damage.
We will discuss easy and cost-effective solutions to seal a leaking window. Whether you are dealing with a drafty old window or a newly installed one that is leaking, these techniques will help you tackle the problem effectively. Let’s explore how to seal leaking window and ensure your home stays dry and comfortable.
Identifying The Source Of The Leak
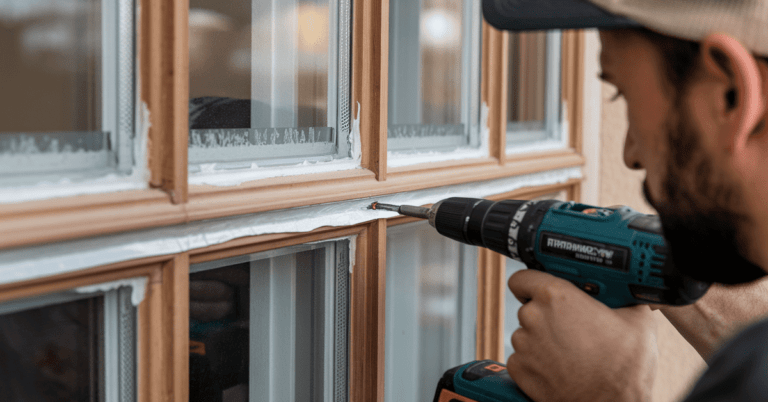
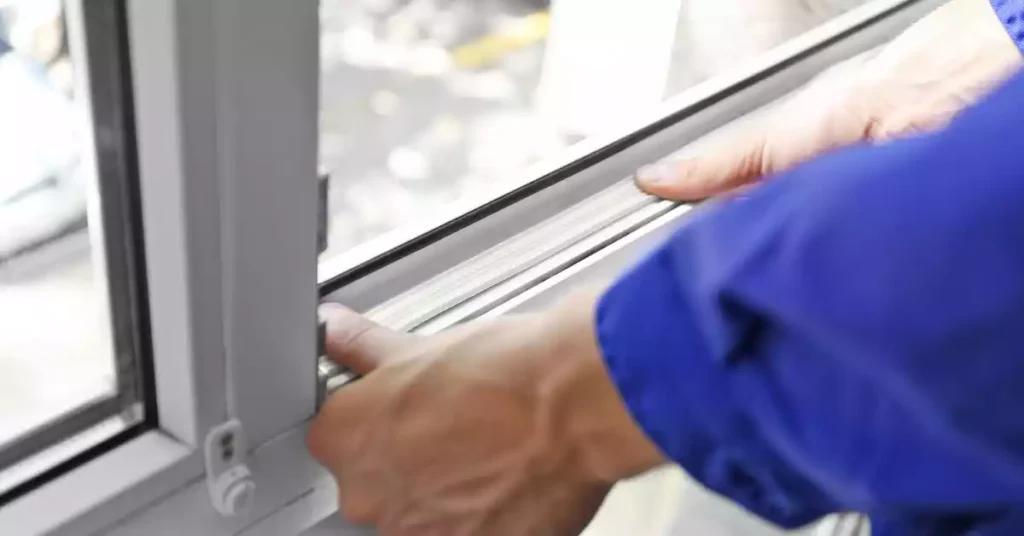
Checking The Window Frame
Inspect the window frame for any visible cracks or gaps that could be allowing water to seep through.
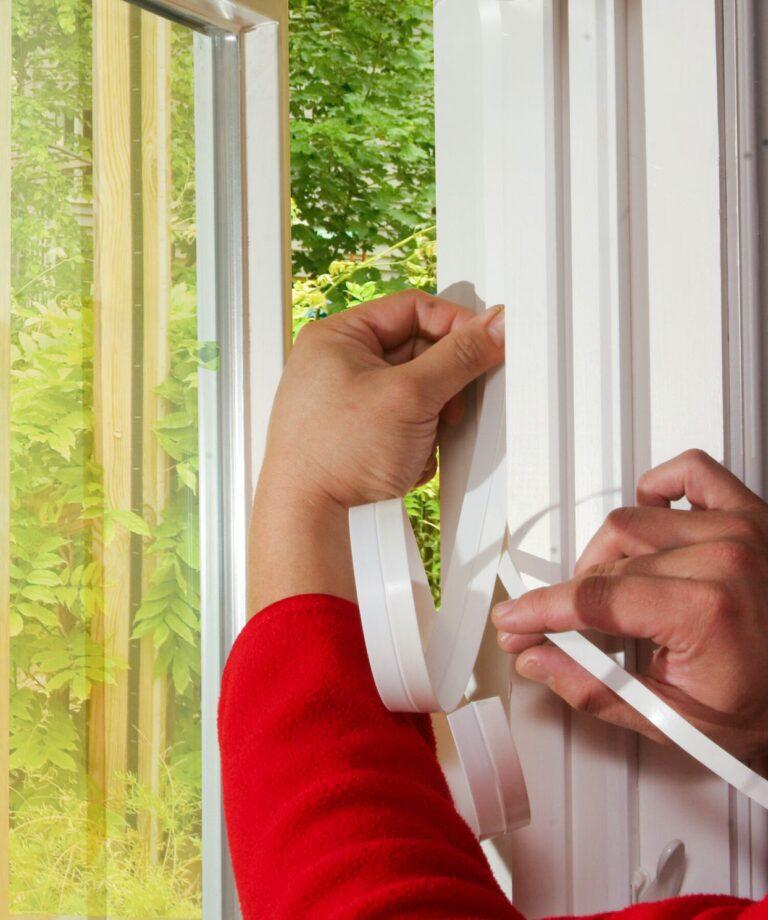
Examining Weather Stripping
Look closely at the weather stripping around the window to see if there are any signs of wear or damage.
Gathering Necessary Tools And Materials
Essential Tools
When sealing a leaking window, having the right tools is crucial. Here are the essential tools you will need:
- Caulking gun
- Putty knife
- Utility knife
- Caulk remover tool
- Clean cloth
Required Sealants And Caulks
To effectively seal the window, you must have the appropriate sealants and caulks ready. The following are the required sealants and caulks:
- Silicone sealant
- Acrylic latex caulk
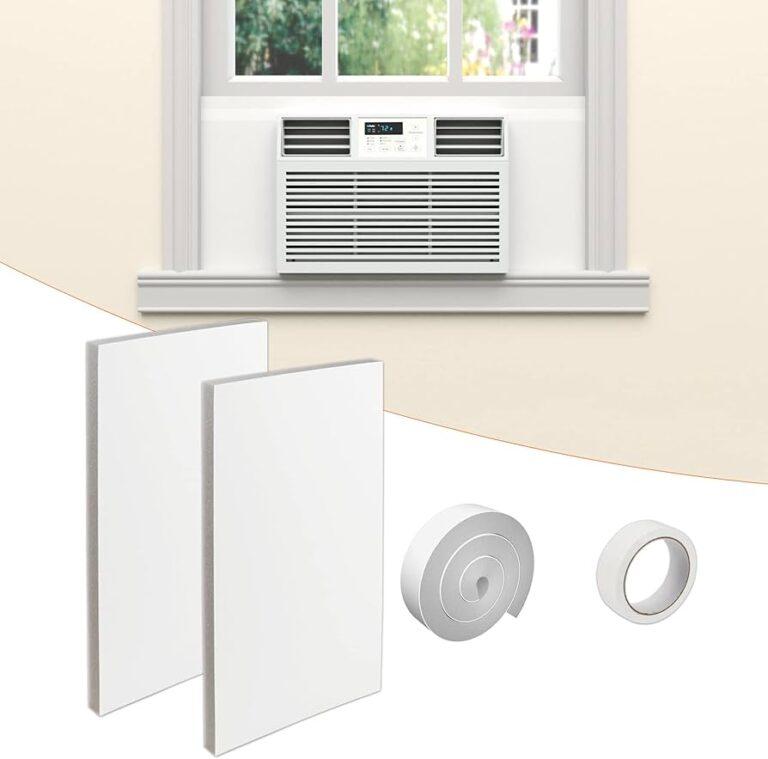
- Weatherstripping
- Painter’s tape
- Caulk finishing tool
Preparing The Area For Sealing
Preparing the area for sealing your leaking window is crucial for ensuring a successful and long-lasting fix. Before applying any new sealant, it’s important to properly clean and dry the window area, as well as remove any old sealant or caulk to create a clean surface for the new application.
Cleaning And Drying The Window Area
Begin by thoroughly cleaning the area around the leaking window with a mixture of mild soap and water. Use a soft-bristled brush or sponge to gently scrub away any dirt, grime, and debris. Ensure the window frame and surrounding surfaces are completely free from any dust or residue.
Next, carefully dry the cleaned area with a clean, dry cloth or towel. Inspect the window for any moisture or dampness, ensuring that the surface is entirely dry before proceeding to the next steps.
Removing Old Sealant Or Caulk
- Inspect the window for any old sealant or caulk that may need to be removed. Use a caulk softener or a putty knife to carefully loosen and remove the old sealant from the window frame.
- Once the old sealant is removed, thoroughly clean the area using a solvent or rubbing alcohol to remove any remaining residue. Make sure the surface is completely clean and smooth before applying new sealant.
Applying The Sealant Or Caulk
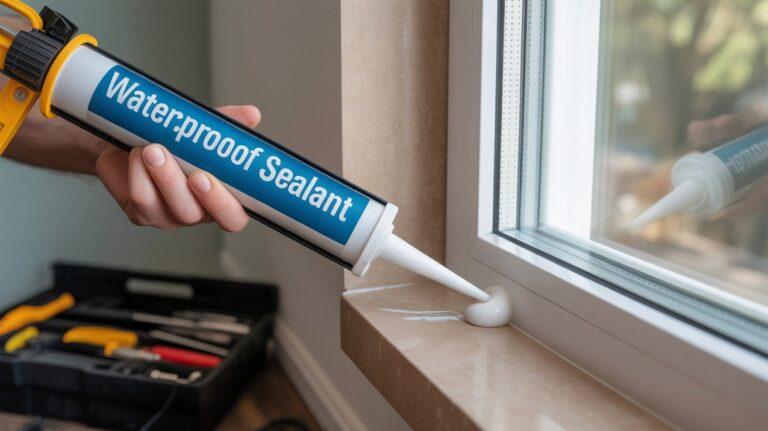
To seal a leaking window, start by applying sealant or caulk to the gaps and cracks around the window frame. Use a waterproof sealant and apply it in a continuous bead, covering any areas where water can penetrate. Smooth the sealant with a putty knife to ensure a tight seal and prevent further leaks.
Choosing The Right Sealant Or Caulk
Choosing the right sealant or caulk is crucial in ensuring a proper and long-lasting seal for your leaking window. Before heading to your local hardware store, consider the specific needs of your window. If it is an exterior window, you’ll want to ensure the sealant or caulk is weather-resistant and able to withstand the elements. For interior windows, look for a sealant or caulk that is paintable and blends well with the surrounding area.
Silicone-based sealants are known for their flexibility and durability, making them a popular choice for window sealing projects. It’s important to read the manufacturer’s instructions and ensure the sealant or caulk you choose is compatible with the materials of your window frame, such as wood, vinyl, or aluminum.
Step-by-step Application Process
Now that you have chosen the right sealant or caulk, it’s time to apply it to your leaking window. Follow these step-by-step instructions to achieve a successful seal:
- Clean and prepare the surface: Before applying the sealant or caulk, make sure the surface is clean and free of any dirt, dust, or old sealant. Use a scraper or putty knife to remove any loose or peeling caulk, and wipe the area with a clean cloth or sponge to ensure optimal adhesion.
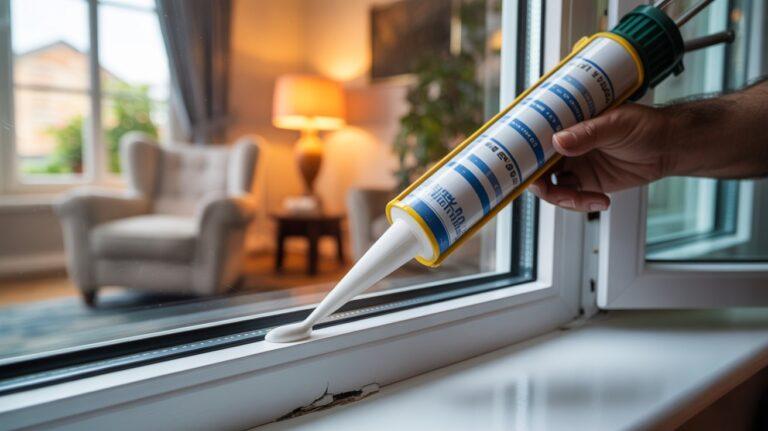
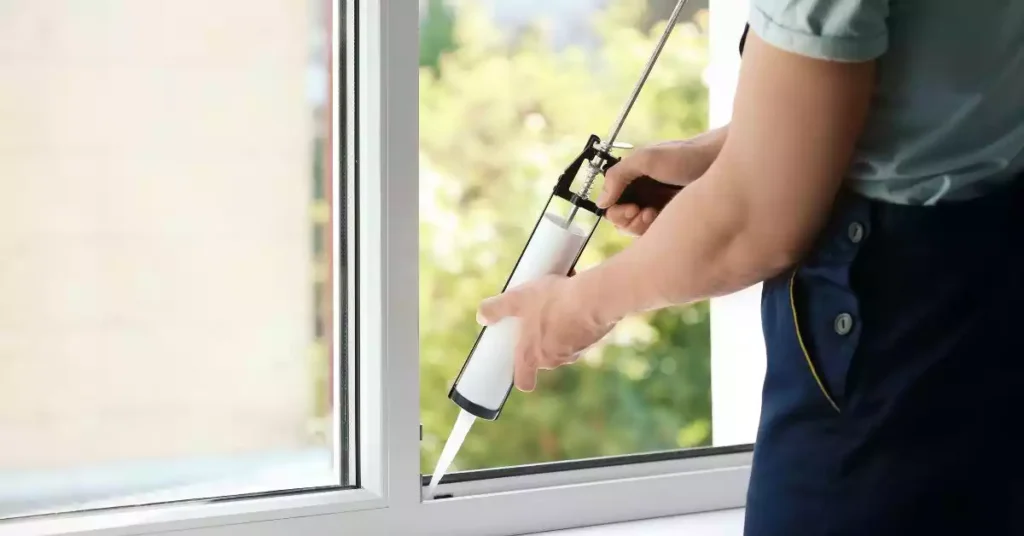
- Prepare the caulk gun: Insert the tube of sealant or caulk into a caulk gun. Cut the spout at a 45-degree angle, ensuring an appropriate-size opening for the desired bead of caulk. Secure the cartridge in the caulk gun by pushing the rod into the back of the cartridge.
- Apply the sealant or caulk: Start at one end of the window and hold the caulk gun at a 45-degree angle. With a steady hand, squeeze the trigger to dispense a smooth, continuous bead of sealant or caulk along the gap or crack. Move the caulk gun slowly and evenly along the entire length of the window, applying an even amount of pressure.
- Smooth and shape the caulk: After applying the sealant or caulk, use a caulk smoother or your finger to smooth and shape the caulk, ensuring a neat and professional finish. Wipe away any excess caulk with a damp cloth before it dries.
- Allow the caulk to dry: The drying time of the sealant or caulk may vary depending on the brand and type. Refer to the manufacturer’s instructions for the specific drying time. Avoid touching or disturbing the caulk during the drying process to ensure a strong and effective seal.
Testing The Sealed Window
To test a sealed window, use a flashlight to inspect for gaps or cracks. Apply new sealant to any areas needing repair to prevent leaks and enhance energy efficiency. Regular maintenance can help prolong the lifespan of your window seals.
Once you have sealed your leaking window using the proper steps and materials as mentioned in the previous sections, it is essential to test the effectiveness of your work. This step is crucial to confirm that the window is properly sealed and no additional leaks are present. Testing the sealed window involves two main aspects: checking for leaks and ensuring proper sealant adhesion.
Checking For Leaks
After you have applied the sealant to the leaking window, it’s important to inspect the area thoroughly to determine if any leaks still persist. This step involves a simple yet effective process:
- First, close the window securely to create a tight seal.
- Next, pour water over the sealed area, directing the flow towards the window from both the inside and outside.
- Observe carefully for any signs of water penetration, such as drips or damp spots on the window frame or surrounding area.
- If you notice any leaks, you may need to reapply the sealant to the affected areas, ensuring proper coverage.
By thoroughly checking for leaks, you can address any remaining issues and ensure that your window is effectively sealed.
Ensuring Proper Sealant Adhesion
Aside from checking for leaks, it’s crucial to examine the sealant itself to ensure it is firmly adhered to the window frame. Proper sealant adhesion guarantees that the sealant will endure the test of time and maintain its effectiveness in preventing leaks. Here are a few steps to help you:
- Inspect the sealant for any cracks, gaps, or areas where the adhesion may have weakened.
- Using your finger or a small tool, gently press on the sealant to ensure it is firmly attached to the window frame.
- Check for any signs of the sealant peeling or separating from the surface.
- If you identify any weak points or areas of concern, carefully remove the damaged sealant and reapply it to ensure proper adhesion.
By thoroughly checking the sealant’s adhesion, you can be confident that your window is effectively sealed and protected against leaks.
Frequently Asked Questions For How To Seal Leaking Window
Q: What Are The Common Causes Of A Leaking Window?
A: Leaking windows can be caused by faulty sealing, improper installation, damaged window frames, or worn-out weatherstripping. These issues allow water to seep through the gaps, resulting in leaks and water damage.
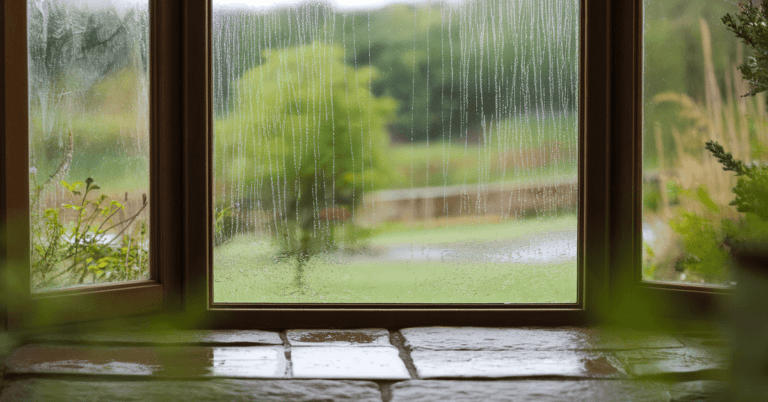
Q: How Can I Identify A Leaking Window?
A: Look for signs such as water stains or moisture on the window frames, walls, or floors. Condensation or fogging between the glass panes can also indicate a problem. Additionally, drafty or unusually cold areas near windows may signal leaks.
Q: Can I Seal A Leaking Window Myself?
A: Yes, you can seal a leaking window yourself. Start by inspecting the window for gaps or cracks. Use caulking or weatherstripping to seal any visible openings. For more extensive repairs, consider using window sealant or contacting a professional for assistance.
Q: What Materials Do I Need To Seal A Leaking Window?
A: To seal a leaking window, you will need caulking, weatherstripping, a putty knife, a utility knife, and a caulk gun. Depending on the type and severity of the leak, you may also require window sealant, sash locks, or replacement parts.
Conclusion
Fixing a leaking window is a common problem that can be easily tackled with the right tools and techniques. By identifying the root cause of the leak and utilizing the appropriate sealant, you can effectively prevent further damage to your home and maintain a comfortable living environment.
Don’t hesitate to address this issue promptly for a secure and dry living space.

I am Robert Sandin, a professional sealing expert with a diverse range of expertise. From concrete to various other materials, I possess in-depth knowledge and experience in the art of sealing. On my website, I offer valuable tips and expert recommendations on sealing techniques and products for different materials. Whether it’s concrete, wood, metal, or more, I am committed to providing you with the guidance you need for successful sealing projects.