How to Strip Tile Sealer: Easy and Effective Methods
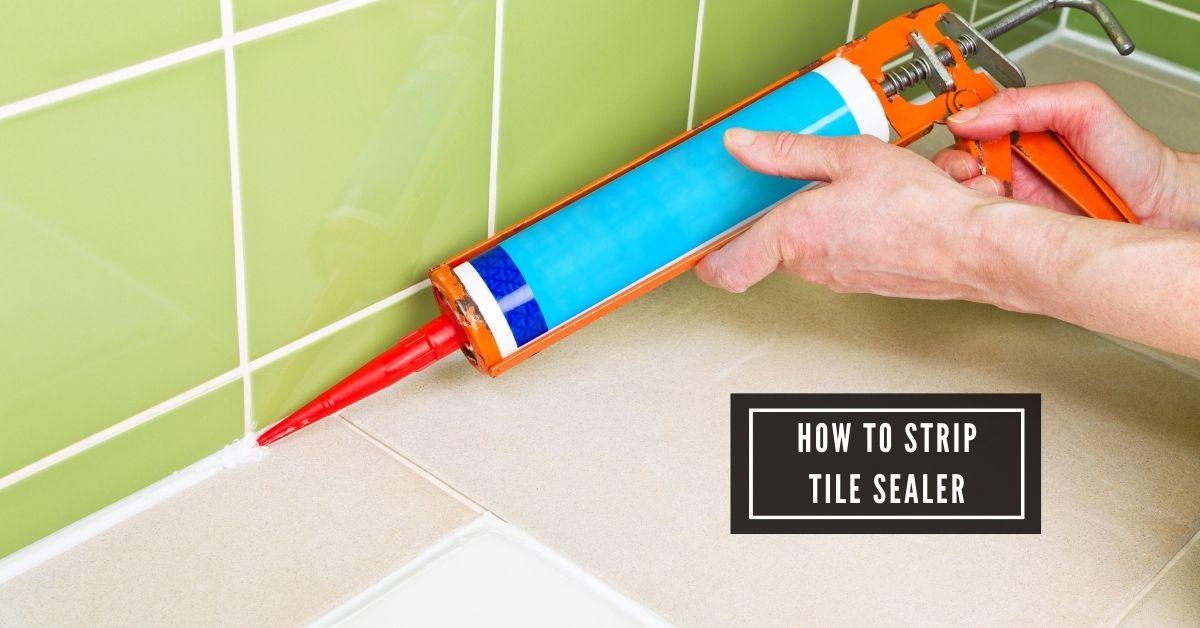
To strip tile sealer, use a commercial sealer stripper following manufacturer’s instructions. Protect surrounding surfaces before applying.
Maintaining tile surfaces is essential for preserving their appearance and functionality. When it comes to removing old sealer, a commercial sealer stripper can effectively break down the existing sealant. By following the manufacturer’s guidelines and taking precautions to protect surrounding surfaces during the stripping process, you can achieve a clean and successful tile restoration.
Properly stripping the sealer is crucial for ensuring a smooth and even application of a new sealant, prolonging the lifespan of your tiles and enhancing their overall beauty and durability.
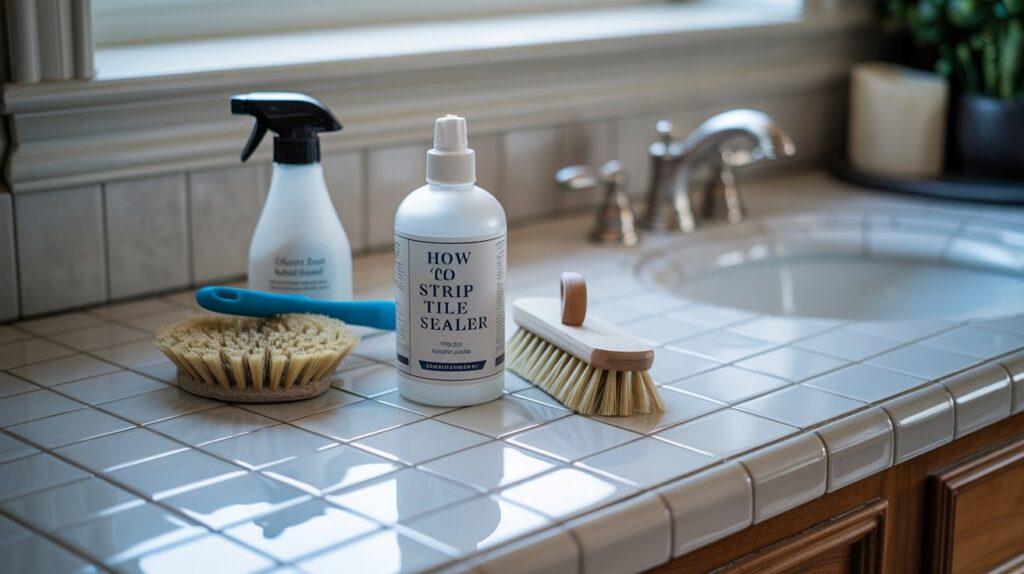
Tools And Materials
Tools and Materials: Key Elements for Stripping Tile Sealer
Essential Tools For Stripping Tile Sealer
- Putty knife
- Scrubbing brush
- Sponge
- Bucket
Recommended Materials For The Process
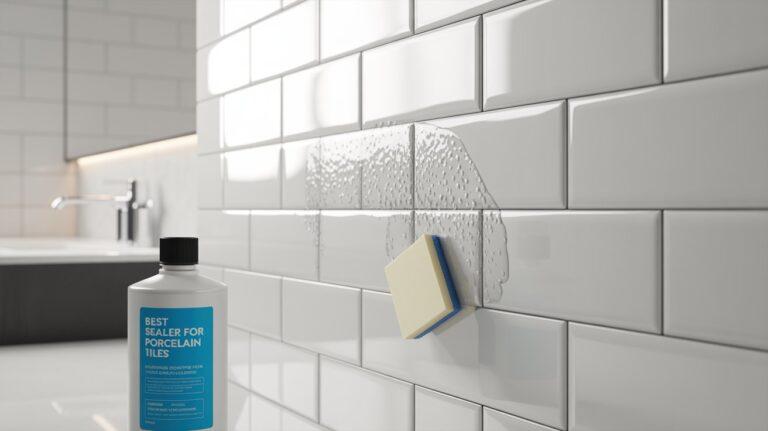
- Tile sealer stripper solution
- Protective gloves
- Safety goggles
- Drop cloths
Step-by-step Methods
When it’s time to remove tile sealer, following a step-by-step approach can help achieve the best results. Below are two effective methods to strip tile sealer: Chemical Stripping and Mechanical Stripping.
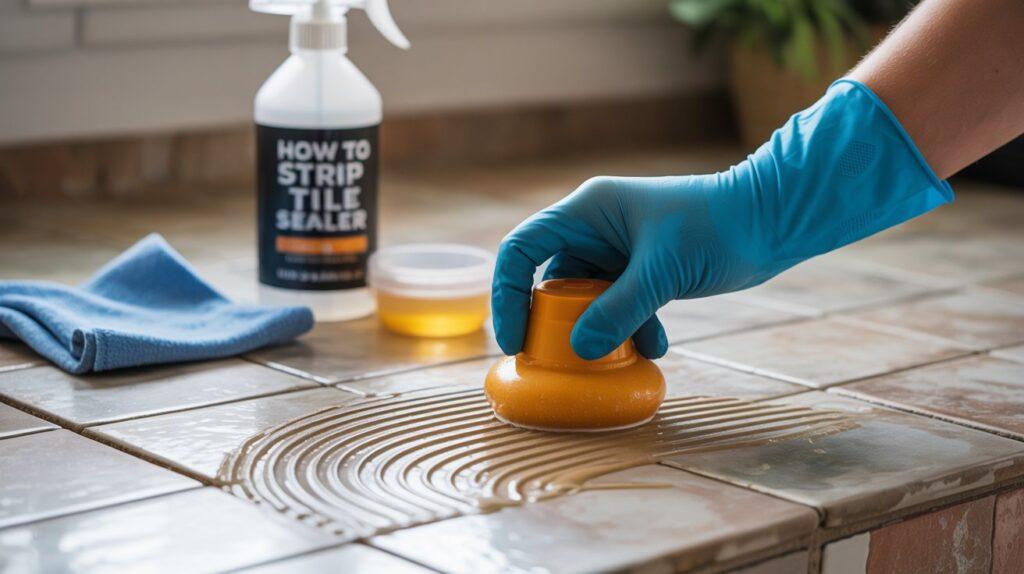
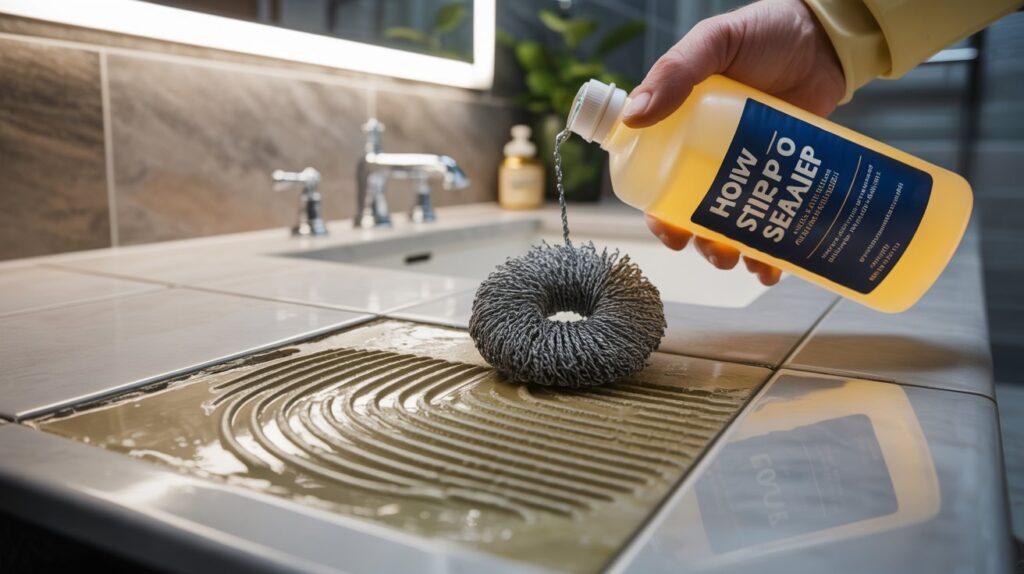
Method 1: Chemical Stripping
- Mix a commercial sealer stripper according to the manufacturer’s instructions.
- Apply the solution onto the tiles using a brush or roller.
- Allow the stripper to sit for the recommended time to soften the sealer.
- Scrub the tiles with a brush or scrubbing pad to loosen the sealer.
- Remove the sealer residue using a wet-dry vacuum or mop.
- Rinse the tiles with clean water to remove any remaining stripper residue.
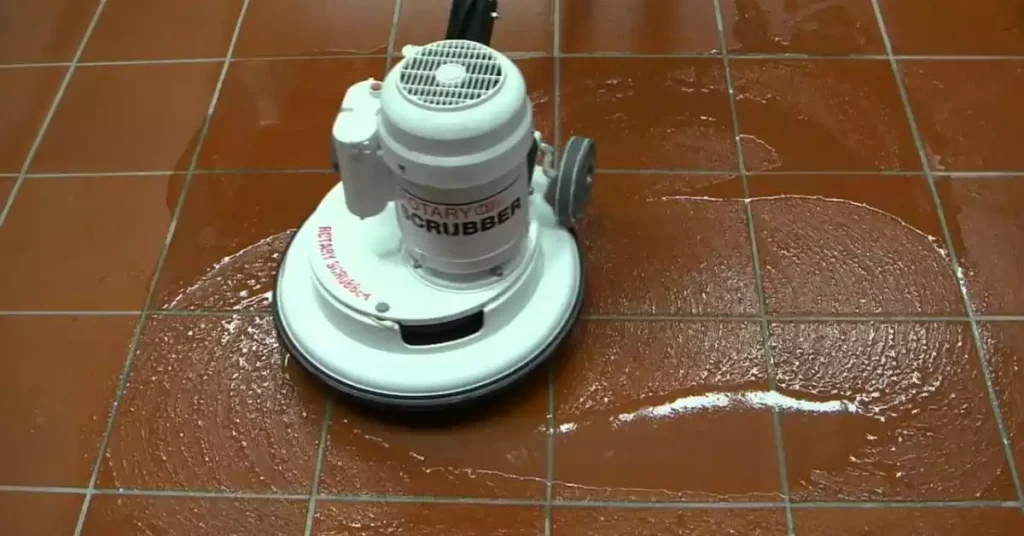
Method 2: Mechanical Stripping
- Use a floor buffer with a stripping pad attachment.
- Move the buffer across the tiles to agitate and remove the sealer.
- Work in small sections to ensure thorough stripping.
- Inspect for any remaining sealer and repeat the process if necessary.
Tips For Success
Preparing The Work Area
A well-prepared work area is key to successfully stripping tile sealer. Begin by clearing the space of any obstacles and covering surrounding surfaces with a protective layer of plastic sheeting or drop cloths. This will prevent any accidental damage to your floors or furniture during the stripping process. Additionally, ensure proper ventilation in the work area to minimize exposure to fumes from the stripping agents and to aid in the drying process post-stripping.
Safety Precautions To Consider
Prioritize safety throughout the process of stripping tile sealer. Utilize personal protective equipment (PPE) including gloves, goggles, and a respirator to shield yourself from potential skin and eye irritation, as well as inhalation of fumes. When working with chemical stripping agents, always follow the manufacturer’s instructions carefully and keep the area well-ventilated. Ensure that all pets and children are kept away from the work area during the stripping process to avoid any potential accidents.
Aftercare And Maintenance
Learn how to effectively strip tile sealer with our comprehensive aftercare and maintenance guide. Discover step-by-step methods to remove sealer for a refreshed and clean surface. Improve the longevity of your tiles with proper maintenance techniques.
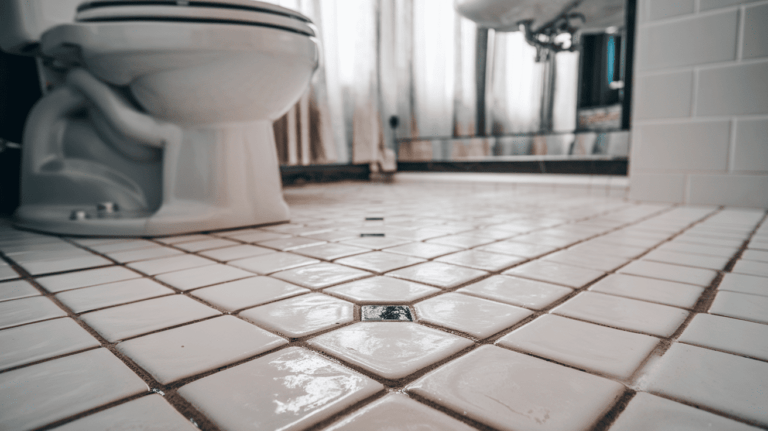
Taking care of your newly stripped tiles is crucial to maintain their appearance and longevity. After removing tile sealer, there are a few important steps you need to follow to ensure the tiles stay in optimal condition for years to come. This section will guide you through the aftercare and maintenance process to keep your stripped tiles looking their best.
Sealing The Stripped Tiles
Once you have successfully stripped the tile sealer, it is essential to seal the tiles to protect them against stains, water damage, and everyday wear and tear. Sealing the tiles will also give them a beautiful, enhanced finish, making them more resistant to dirt and grime.
To seal the stripped tiles, follow these steps:
- Clean the tiles thoroughly: Before applying the sealer, make sure the tiles are free from any dust, debris, or remnants of the old sealer. Use a pH-neutral cleaner and a soft mop or cloth to remove any remaining residue.
- Allow the tiles to dry completely: After cleaning, allow the tiles to dry thoroughly. This will ensure that the sealer adheres properly and provides maximum protection.
- Apply the sealer: Using a clean, lint-free cloth or a sealant applicator, apply the sealer evenly on the stripped tiles. Work in small sections to ensure thorough coverage. Be sure to follow the manufacturer’s instructions regarding the drying time and number of coats required.
Long-term Maintenance Tips
To prolong the lifespan of your stripped and sealed tiles, it’s essential to establish a regular maintenance routine. Here are some useful long-term maintenance tips to keep your tiles in excellent condition:
- Regular cleaning: Clean your tiles regularly with a mild, pH-neutral cleaner and a soft mop or cloth. Avoid using abrasive cleaning agents or tools, as these can damage the sealant.
- Wipe up spills promptly: Accidents happen, and spills are hard to avoid. When liquids, oils, or other substances are spilled on your tiles, wipe them up immediately to prevent staining or damage.
- Use doormats and rugs: Place doormats at entrances and rugs in high-traffic areas to prevent dirt, sand, and debris from scratching or dulling your tiles.
- Protect with furniture pads: Place furniture pads under the legs of your furniture to prevent scratching or denting the tiles.
- Avoid harsh chemicals: Avoid using harsh chemicals or acidic cleaners on your tiles, as they can break down the sealer and damage the surface. Stick to gentle, non-abrasive cleaners.
By following these aftercare and maintenance tips, you can ensure that your stripped tiles stay in great condition for an extended period. Regular cleaning, prompt spill cleanup, and appropriate protection measures will help maintain the beauty and durability of your tiles.
Frequently Asked Questions For How To Strip Tile Sealer
How Do You Strip Tile Sealer?
To strip tile sealer, start by using a sealer stripper specifically designed for tile. Apply the stripper to the surface, let it sit for the recommended time, and then scrub the area with a scrub brush. Rinse thoroughly with water once the sealer is removed.
Can You Strip Sealer From Ceramic Tiles?
Yes, you can strip sealer from ceramic tiles. Use a tile sealer stripper designed for ceramic tiles, following the instructions on the product. Apply the stripper, let it sit for the recommended time, and then scrub the tiles with a scrub brush.
Rinse thoroughly with water to remove the sealer residue.
What Are The Benefits Of Stripping Tile Sealer?
Stripping tile sealer has several benefits. It allows you to remove old, worn-out sealer that may be discolored or damaged. It also provides a clean surface for resealing or refinishing the tiles. Stripping the sealer can rejuvenate the appearance of your tiles and improve their durability and longevity.
Is It Necessary To Strip Old Tile Sealer Before Resealing?
It is generally recommended to strip old tile sealer before resealing. Stripping the old sealer ensures that the new sealer will adhere properly and provide optimal protection. It also allows you to remove any dirt, stains, or imperfections that may be trapped under the old sealer, resulting in a smoother and more even surface.
Conclusion
Stripping tile sealer is an important step in maintaining the look and functionality of your flooring. By following the proper steps and using the right products, you can effectively remove old sealer and prepare the surface for resealing. With regular maintenance, your tiled floors will continue to look beautiful and last for years to come.

I am Robert Sandin, a professional sealing expert with a diverse range of expertise. From concrete to various other materials, I possess in-depth knowledge and experience in the art of sealing. On my website, I offer valuable tips and expert recommendations on sealing techniques and products for different materials. Whether it’s concrete, wood, metal, or more, I am committed to providing you with the guidance you need for successful sealing projects.